How to Mix Metal Vocals: Layering, Pitch-Shifting & a “Scream Bus” (w Buster Odeholm)
Nail The Mix Staff
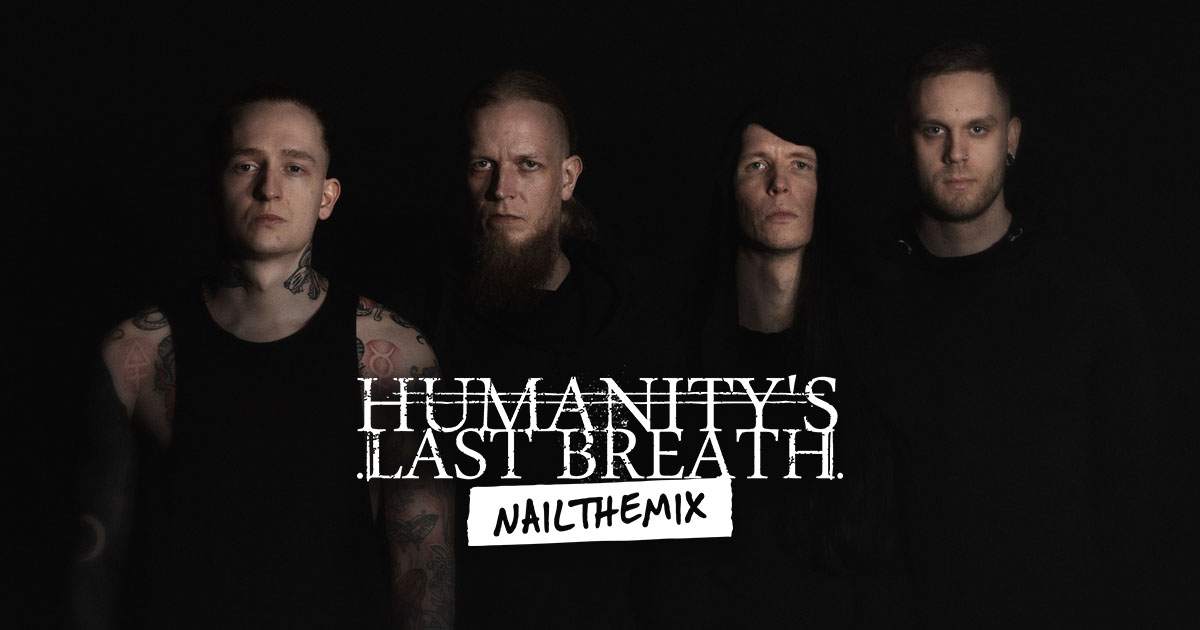
Let’s be honest, the vocals on a Humanity’s Last Breath track are a force of nature. They sound less like a human and more like some subterranean demon clawing its way into the mix. That impossibly low, guttural, and yet somehow articulate tone is a signature of their sound, and the man behind the console making it all work is producer and mixer Buster Odeholm.
Recently, Buster gave us a look inside his DAW session for the track “Thrown,” revealing the complex layering, clever bussing, and aggressive processing that goes into these insane vocals. Forget simple vocal chains; this is a masterclass in modern metal production. Let’s break down some of the key techniques he uses.
The Foundation: Recording & Raw Processing
Before any fancy effects, getting a solid source tone is priority one. But Buster’s setup proves you don’t always need the most expensive gear, and that modern problems require modern solutions.
The Unexpected Mic Choice: SM7B For The Win
You might expect a vocal this massive to be captured by some priceless tube condenser. Interestingly, the sessions started with a super-expensive microphone, but it crapped out mid-session. The solution? They switched to the trusty workhorse Shure SM7B.
To ensure consistency, Buster simply used an EQ to tone-match the SM7B’s frequency response to the original mic. The result was so seamless that he couldn’t even hear a difference. It’s a killer reminder that with the right know-how, the SM7B is more than capable of capturing world-class metal vocals.
The entire session was also recorded remotely using Audio Movers. To get around the inherent latency, Buster set up a zero-latency monitor feed for the vocalist, then simply nudged the recorded takes back into time on his end.
The Initial Insert Chain
Once the raw takes are in place, the real processing begins. This isn’t about subtle tweaks; it’s about control and aggressive shaping.
Taming the Beast Before it Roars
The first thing in the chain after the tone-matching EQ is some surgical control.
- Low-End Control: To manage the “puff” and proximity effect from those intense low vocals, Buster uses a dynamic EQ to control the mud without completely gutting the tone. He targets the low-end around 150 Hz but uses a gentler 12dB slope (instead of his usual 18dB) to keep some of that powerful body.
- Gullfoss: Buster calls this his favorite plugin. It acts as an intelligent EQ, automatically taming harshness and anything that exceeds its threshold. It’s a fantastic tool for cleaning up problem frequencies before they even hit the compressor. Instead of heavy metal compression, sometimes smart gain reduction from a tool like Gullfoss is all you need.
Shaping and Saturating
With the vocal under control, it’s time to add character.
- Subtractive EQ: Next, he carves out space with some classic subtractive EQ, cutting problem areas around 400 Hz and 800 Hz. These kinds of smart EQ strategies are fundamental to getting clarity in a dense mix.
- Character EQ: For aggression and bite, a 1176-style EQ is used to add that top-end crispiness that helps the vocals cut through.
- Saturation: To no one’s surprise, Soundtoys Decapitator makes an appearance to add that essential layer of harmonic distortion and grit.
Building Dimension: Layers, Panning, and FX
A single vocal track is never going to sound as massive as what you hear on the final record. The secret lies in creative layering and stereo enhancement.
The Low-End “Dub” Trick
This is a killer technique for adding weight. To make certain words pop, Buster copies them to a separate effects track. On this new track, he:
- Pitches the audio down an octave.
- Uses a formant shifter to lower the vocal character even further.
- Adds more distortion.
- Runs it through a stereo doubler.
The result is a super-wide, very low, demonic-sounding layer that sits underneath the main vocal, adding immense power and a stereo footprint to key phrases. He notes in the session for Thrown that he wishes he’d made it even louder.
Strategic Panning with Dedicated Busses
Buster’s panning setup is brilliantly organized for maximum control and impact.
- The Pan Bus: Individual panned vocal tracks (L, R, L, R) are routed to a dedicated “Pan Bus.” This bus has its own compressor to ensure the panned vocals remain consistent and glued together before they hit the main vocal bus.
- The “Loud” Panners: For moments when a panned vocal needs to be the main focus and hit with full force, he uses separate tracks that bypass the Pan Bus entirely. This allows certain panned phrases to feel more aggressive and in-your-face.
Gluing It All Together: The “Scream Bus”
All the main vocals, backing vocals, and the Pan Bus feed into one final “Scream Bus” for the final glue and polish. The chain here is intense:
- Compression: First, a compressor to level things out.
- More Low-End Control: Another dynamic EQ to tame any resonances that have built up.
- Distortion & Multi-band: A stack of processors including more distortion, a multi-band compressor, and another distortion unit that gets automated on and off for effect.
- Width: An automated stereo doubler to add width when needed.
- Leveling: A Vocal Rider, listening to the music stems, to automatically keep the vocal level consistent against the full mix.
The Final Polish: Automation is Everything
A static mix is a boring mix. Buster uses a ton of automation to create the dynamics and impact that make the song so intense. He automates everything from muting tracks to create silence before a big impact, to turning the doubler off to make a line feel dry and focused, and then turning it back on for a massive chorus. Delays are thrown, reverbs swell, and manual fades create custom effects. This constant movement is what brings the vocal performance to life.
From Good to God-Tier
Learning the specific plugins and settings Buster Odeholm used on Humanity’s Last Breath’s “Thrown” is an incredible look into pro-level vocal mixing. It’s a mix of classic techniques and innovative, purpose-built workflows, from the SM7B trick to the low-dub layers and complex bussing.
Humanity's Last Breath on Nail The Mix
Buster Odeholm mixes "Labyrinthian"
Get the Session
These ideas are something you can apply to your own mixes right now. But imagine watching Buster build this entire vocal chain from scratch, explaining every plugin choice and automation move as he does it. With Nail The Mix, you get to do just that. Every month, you get the real multi-tracks from a massive metal song and watch the original producer mix it in a full-day, live-streamed class. It’s time to move beyond presets and see how the pros truly unlock their sound.
Get a new set of multi-tracks every month from a world-class artist, a livestream with the producer who mixed it, 100+ tutorials, our exclusive plugins and more
Get Started for $1


