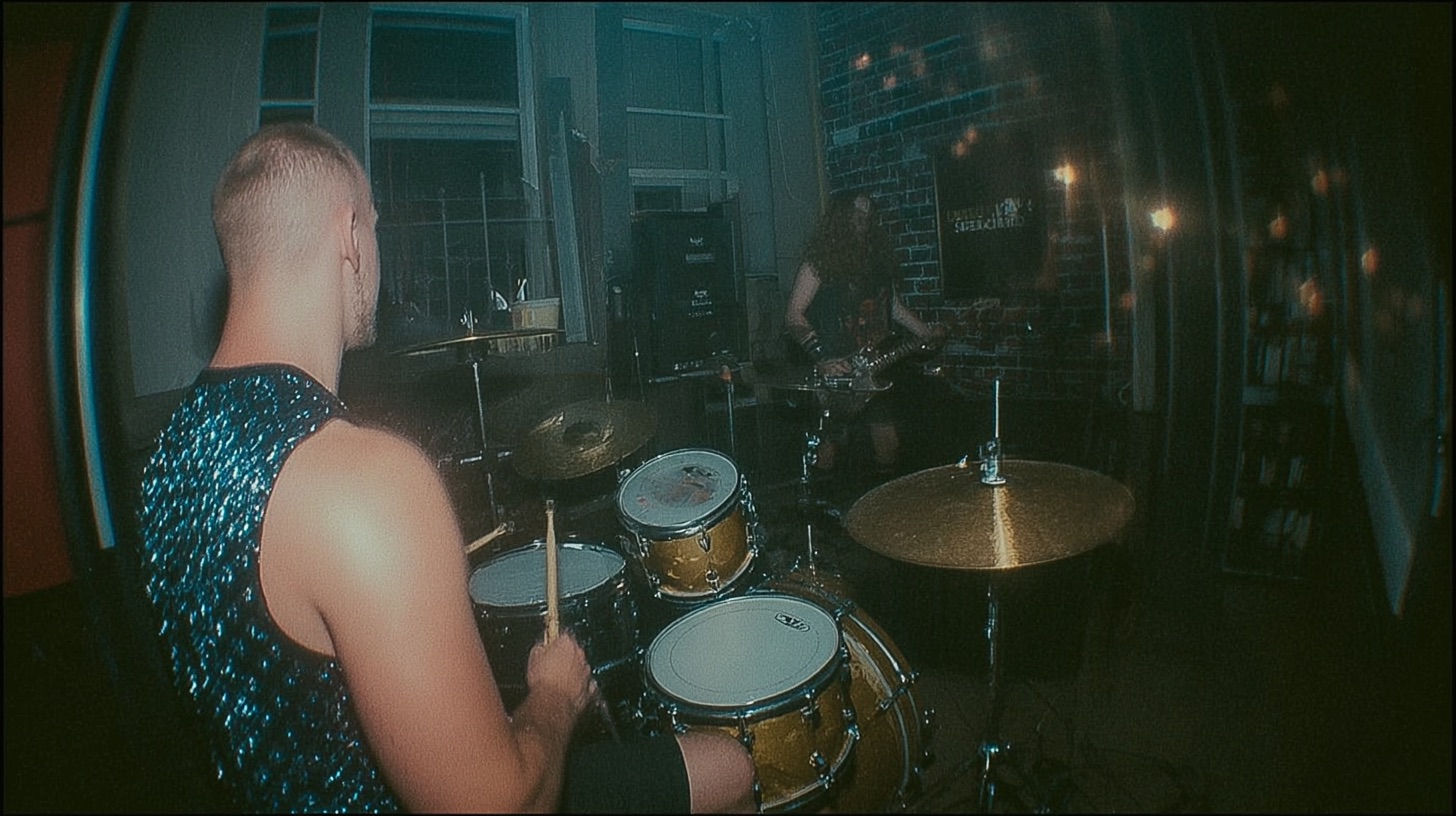
How To Sample Replace Metal Drums FAST In Pro Tools with tab-to-transient (ft. Bring Me The Horizon)
Nail The Mix Staff
Let’s face it, the drum sound on a Bring Me The Horizon record is a benchmark for modern metal, and Dan’s techniques are a big reason why—from this pasting trick to his famous ‘core section’ strategy. It’s punchy, consistent, and sits perfectly in a wall of guitars and synths. But getting that level of polish isn’t just about picking a great sample; it’s about how you meticulously place it into the session to support the live performance.
When mixing “MANTRA” for BMTH, producer and mixer Dan Lancaster ran into a common problem: a killer kick sample with a problematic tail. Instead of reaching for a standard drum trigger plugin, he used a lightning-fast manual workflow inside Pro Tools—though this principle can be adapted in any of the best DAWs for metal—for maximum control and a tighter final mix. We got a front-row seat to this process during his Nail The Mix session, and it’s a technique you need to add to your arsenal.
The Problem: When Your Kick Sample Has Too Much Junk in the Trunk
The foundation of a tight mix is a tight kick drum. In this session, the provided kick sample had a powerful initial transient, but the decay was followed by a long, “flappy” sub-frequency tail. While this might not be obvious on smaller speakers, on a full-range system, that extra sub information can create mud, clash with the bass guitar, and eat up valuable headroom, which is a classic problem when you’re trying to mix a powerful low-end.
Dan’s job was to clean this up. A kick that long and uncontrolled just won’t work in the long run. It needed to be tight and consistent to provide the solid foundation the track deserved.
Manual Sample Replacement: The Ultimate Control Tactic
You might think the obvious solution is to load a new sample into a trigger plugin and call it a day. But that approach can introduce its own set of problems, mainly potential phase issues between the sample and the live shells. To avoid any risk and maintain full control over the sound, Dan opted to manually edit and replace the sample right on the timeline.
Here’s how he did it.
H3: Step 1: Crafting the Perfect Kick Hit
Before replacing anything, you need the perfect weapon. Dan’s first move was to create the ideal version of the kick sample.
- He found one clean hit of the sample on the track.
- He precisely trimmed the end of the audio clip, cutting off the long sub tail right where the kick’s main body ended.
- He added a quick fade out (a few milliseconds is all it takes) to ensure the edit was smooth and free of any clicks.
This single, edited audio clip became his new “master” kick sample, ready to be deployed across the entire song.
H3: Step 2: The Tab-to-Transient Power Move
This is where the magic happens, and it’s a workflow that separates the pros from the beginners. Instead of manually dragging and dropping each sample, Dan used one of Pro Tools’ most powerful keyboard shortcuts: Tab to Transient.
By placing the cursor on the kick sample track and hitting the Tab key, Pro Tools instantly jumps the cursor to the beginning of the next transient. With his edited “perfect” sample copied to his clipboard, his workflow became a simple, lightning-fast rhythm:
- Tab: Jumps to the next kick transient.
- V: Pastes the edited sample. (This is a Pro Tools shortcut for “Paste At Insertion Point”).
He blazed through the entire song in just a couple of minutes, mindlessly replacing every problematic kick with his new, tight version. This lightning-fast approach is a core part of a professional Pro Tools drum editing workflow.
H3: Step 3: Bringing Back the Human Feel
Now the track has a perfectly consistent kick sample, but there’s a new problem: it sounds like a machine gun. The original performance from drummer Matt Nichols had dynamics—some hits were intentionally softer than others. A great mix enhances the performance, not erases it—a philosophy Dan also applies when mixing Oli Sykes’ raw vocals.
To fix this, Dan did another pass, this time focusing on restoring the human element:
- He referenced the original (now inactive) sample track to see where the softer hits were.
- On his new, edited track, he used Clip Gain to manually pull down the volume of the samples that corresponded with those softer original hits.
This crucial step ensures the groove and dynamic intention of the original performance are preserved. You get the sonic consistency of a perfect sample combined with the feel of a real drummer.
Fine-Tuning and Final Checks
The heavy lifting is done, but a few final details take this technique from good to great.
H4: The Habitual Crossfade
After pasting all the new samples and adjusting their dynamics, Dan selected all the clips on the track and applied a batch crossfade (around 3 milliseconds). He admits this is partly a habitual safety measure. In this case, it might not even be strictly necessary to prevent pops, but it’s a zero-cost, two-second move that guarantees your edits are seamless.
H4: Nudging for Phase Alignment
The final and most critical check is phase. He zoomed in on the waveform and compared his new sample track to the live, multi-mic’d kick drum track. He noticed the sample was hitting consistently a few milliseconds early.
A slight misalignment like this can thin out the combined sound. His solution was simple: he selected the entire sample track and nudged it back in time until the waveforms of the sample and the live kick were perfectly aligned. This is a vital step in modern metal mixing, as proper EQ strategies can only do so much if your foundational sources are fighting each other. A phase-aligned kick and sample will deliver a much fatter, punchier low end, and will also ensure your kick hits your bus compression consistently every single time.
Bringing It All Together for a Pro-Level Foundation
By following this method, you can take any drum sample and tailor it perfectly to a performance, giving you complete control over tone and timing.
To recap the workflow:
- Isolate and edit one sample to create your “perfect” hit.
- Use Tab-to-Transient and Paste to rapidly replace every hit in the song.
- Use Clip Gain to manually restore the dynamics of the original performance.
- Apply batch crossfades and check your phase alignment against the live drums.
This level of granular detail is exactly what it takes to build a professional, hard-hitting drum mix as part of your overall drum mixing strategy. It’s not about finding a magic preset; it’s about making deliberate, informed decisions to serve the song.
Bring Me The Horizon on Nail The Mix
Dan Lancaster mixes "Doomed"
Get the Session
Seeing a master at work like Dan Lancaster demystifies these advanced processes. If you want to watch Dan mix this entire Bring Me The Horizon track and explain every single move—from drum editing to vocal chains and final bus processing—then check out Nail The Mix. Every month, you get to be a fly on the wall as the world’s best producers mix massive songs from scratch, and you even get the multi-tracks to practice on yourself. It’s the ultimate way to unlock your sound and learn the real-world techniques behind the records you love. You can get instant access to the full Bring Me The Horizon mixing session with Dan Lancaster here.