Audio Compressors for Metal: Settings & Techniques
Nail The Mix Staff
Alright, let’s talk about one of the most powerful, and sometimes most confusing, tools in your metal mixing arsenal: the audio compressor. If you’re chasing those tight, punchy, aggressive mixes that make modern metal hit so damn hard, you absolutely need to get comfortable with compression. This isn’t just about making things louder; it’s about shaping dynamics, adding character, and making your tracks sit together like a well-oiled machine.
Forget just slapping a preset on and hoping for the best. We’re diving into what these things actually do and how you can use them to make your metal productions sound absolutely crushing.
Why Compressors Are Your Best Friend in a Brutal Metal Mix
So, what’s the big deal? In metal, you’ve got insane dynamic range – from a whisper-quiet clean guitar intro to a full-on blast beat assault. Compressors help you manage that.
- Consistency is King: Think about screaming vocals. One line might be a roar, the next a guttural growl. A compressor evens these out, making the vocal sit consistently in the mix without you having to ride the fader like a maniac. Same goes for inconsistent kick drum hits or wildly dynamic basslines.
- Punch & Aggression: Used right, a compressor can make your drums EXPLODE. It can add that satisfying thwack to a snare or that chest-thumping oomph to a kick.
- Transient Shaping: This is where things get really cool. You can either let the initial hit (transient) of a drum slice through before the compression kicks in, making it snappier, or you can clamp down on it to make it sound tighter and more controlled.
- The “Glue” Factor: Ever heard people talk about “bus compression”? Slapping a compressor on a group of tracks (like all your drums, or even your whole mix) can help everything cohere, making it sound like a single, powerful unit instead of a bunch of separate parts.
Compressor Flavors: Choosing Your Weapon for Metal Mayhem
Not all compressors are created equal. Different types have different characteristics, and knowing which one to reach for can make a huge difference.
VCA Compressors: The Clean & Punchy Workhorses
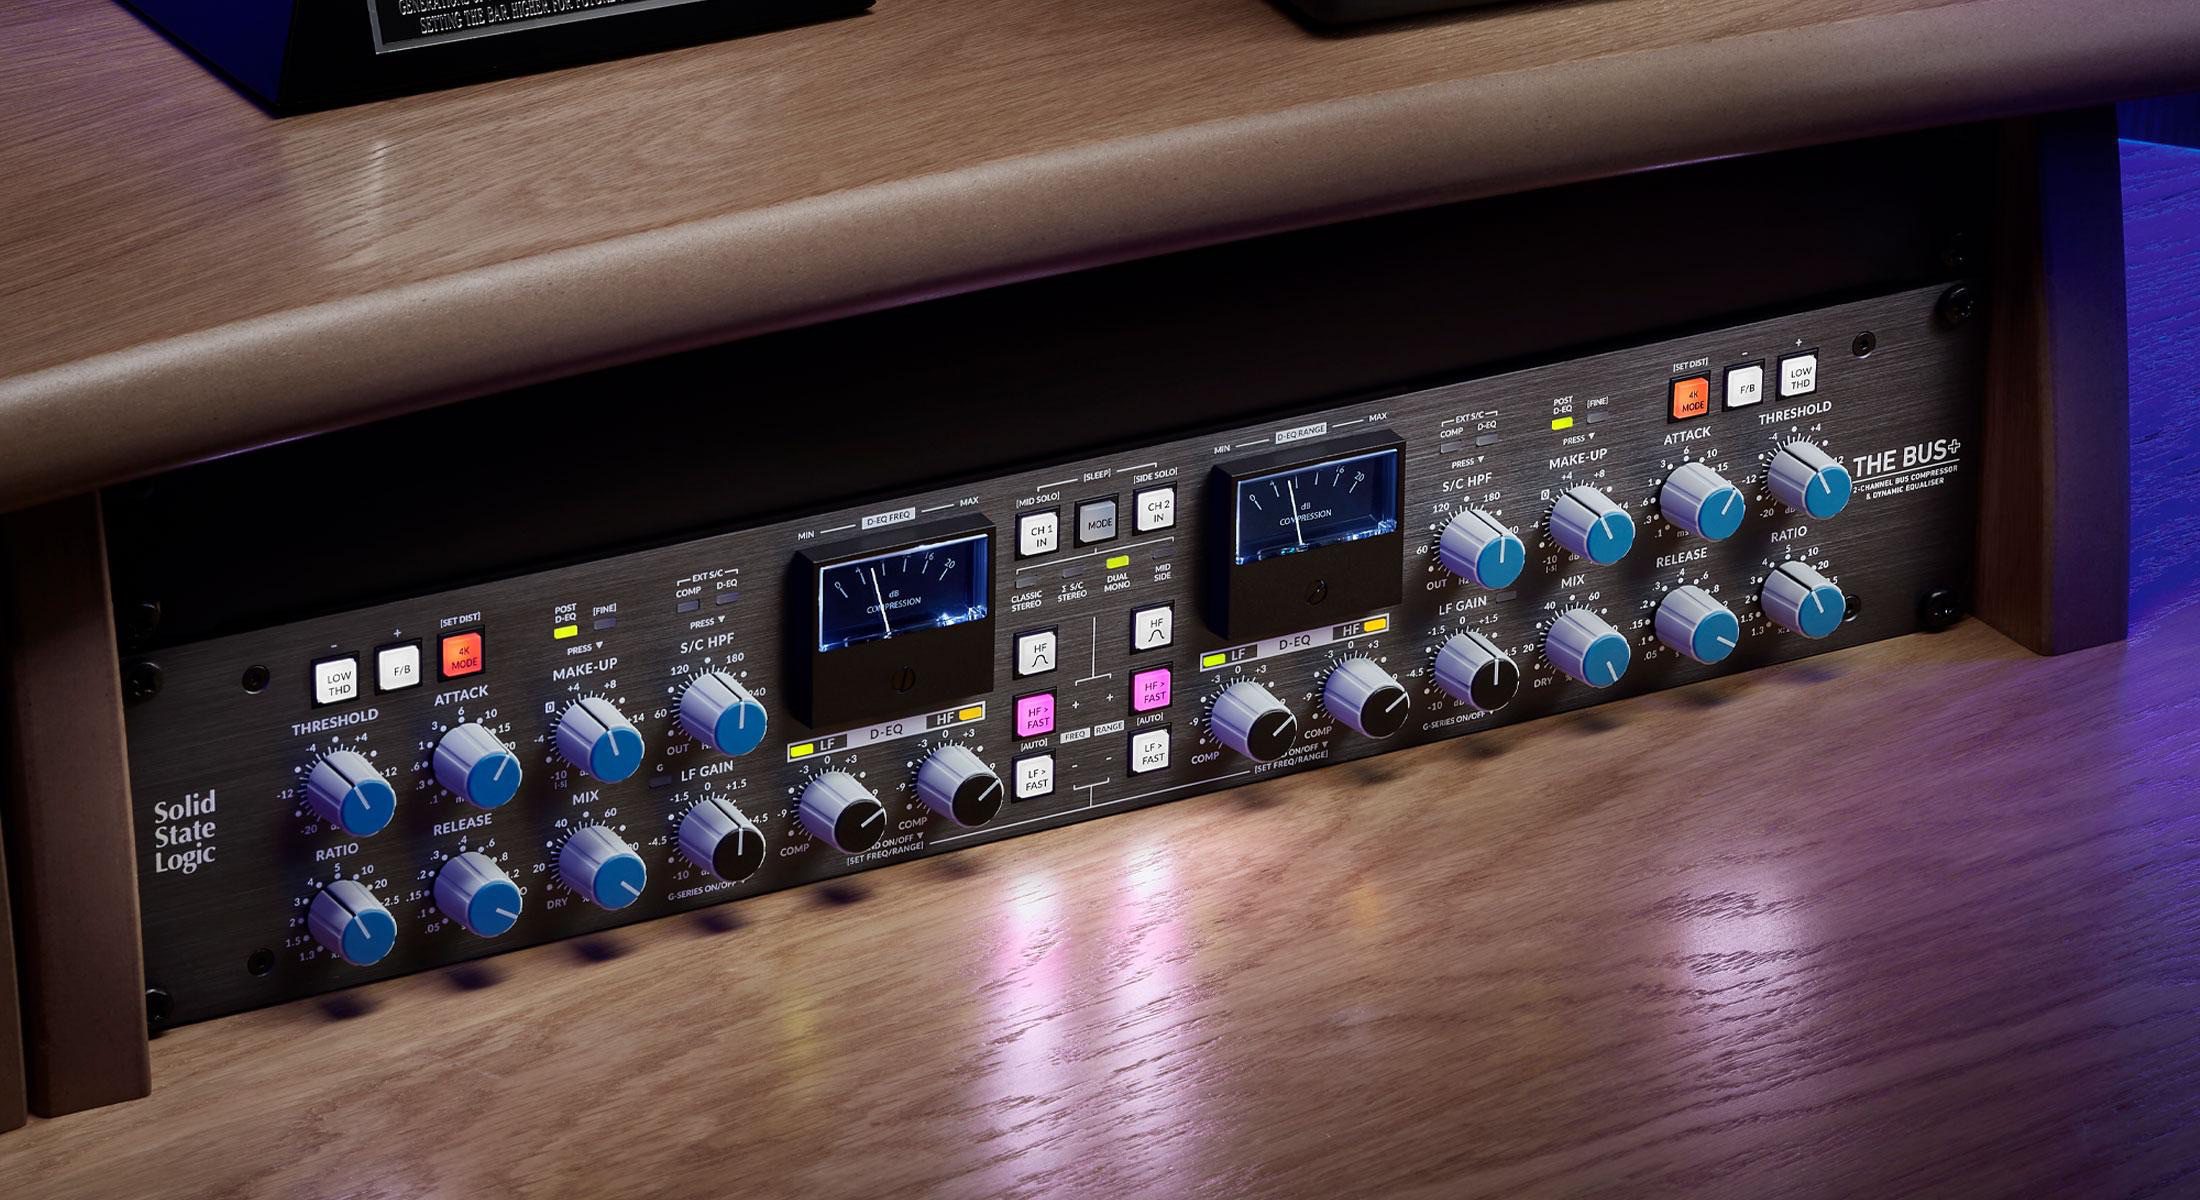
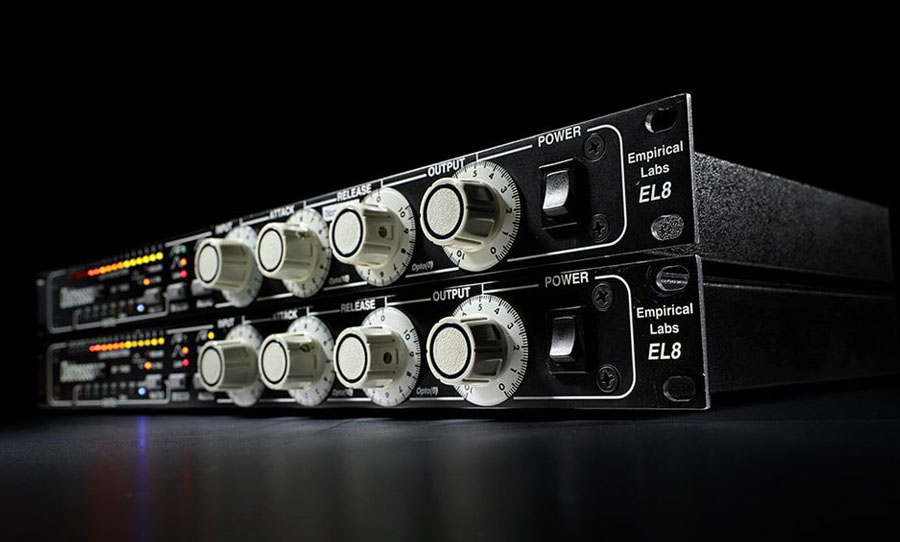
Think SSL G-Compressor, API 2500, or the versatile Empirical Labs Distressor (though it can do way more than just VCA). VCAs are generally known for their clean, transparent control and their ability to add serious punch.
- Metal Uses: These are godsends on the drum bus. An SSL G-Comp style plugin (like the Waves SSL G-Master Buss Compressor or Cytomic The Glue) with a ratio of 4:1, a medium attack (10-30ms), and a fast release (0.1-0.3s), shaving off just 2-4dB, can make your drums sound tight and punchy. They’re also great on the mix bus for overall cohesion or even on rhythm guitar groups to even them out. The Distressor is a modern classic that can be clean or incredibly aggressive – try it in “British Mode” (1176 all-buttons-in emulation) on a room mic or parallel drum bus for some serious smash.
FET Compressors: Fast, Aggressive, and Full of Character
The king here is the Urei 1176 (and its many plugin emulations like the Slate Digital FG-116, Waves CLA-76, or Arturia Comp FET-76). FET compressors are known for their lightning-fast attack times and the distinct color they can impart.
- Metal Uses: Screaming vocals LOVE an 1176. Set the ratio to 4:1 or 8:1, fastest attack, fastest release, and drive the input until you’re getting 5-7dB of gain reduction (or more for really aggressive stuff). This pins the vocal in place and adds that desirable aggressive edge. They’re also killer on individual snare drums for crack, on bass guitars for a consistent, growly tone, and famously for parallel drum compression using the “all buttons in” mode (or “Brit” mode on some plugins) for total annihilation.
Opto Compressors: Smooth & Musical Leveling
The classic is the Teletronix LA-2A (check out plugin versions like the Waves CLA-2A or Universal Audio’s own). Opto compressors use a light-dependent resistor, giving them a slower, smoother, and very musical compression characteristic.
- Metal Uses: While not your first pick for taming aggressive transients, optos are fantastic for smoothing out lead vocals after you’ve hit them with something faster like an 1176. They also work wonders on bass guitar for gentle leveling, or even on clean guitar sections to add warmth and sustain. Aim for just a few dB of gain reduction; a little goes a long way. The Tube-Tech CL1B is another beloved opto, especially for vocals, offering a bit more control.

Digital/Modern Compressors: The Surgical Scalpels
Your DAW probably comes with a decent stock compressor, and then there are incredibly versatile modern plugins like FabFilter Pro-C 2 or Waves C6/PuigTec EQs (though the C6 is more multi-band, its principles apply). These often offer features like lookahead (so the compressor can “see” peaks coming), variable knee settings, and sidechain EQs.
- Metal Uses: Perfect for when you need clean, precise dynamic control without adding much color. Use them for surgical tasks, like taming specific boomy notes on a bass or controlling pick attack on guitars with lookahead enabled. Many offer advanced sidechaining capabilities, which we’ll get to.
Dialing It In: Key Compressor Parameters for Metal
Understanding these knobs is crucial. Don’t just turn ’em ’til it sounds “squashed.”
Threshold
This is simple: it’s the level at which the compressor starts working. Signals below the threshold are untouched. Signals above it get turned down according to your other settings.
Ratio
Once a signal crosses the threshold, the ratio determines how much it gets turned down. A 2:1 ratio means for every 2dB the signal goes over the threshold, the output only increases by 1dB. A 4:1 ratio is a common starting point. For metal, you might use anything from a gentle 1.5:1 on the mix bus to a 20:1 or “Limit” (∞:1) setting for aggressive peak control or creative effects.
Attack Time
This is HUGE for metal. Attack time is how quickly the compressor reacts once the signal crosses the threshold.
- Fast Attack (e.g., <5ms): The compressor clamps down almost instantly. This tames transients, making things sound smoother, thicker, or sometimes “further back.” Good for controlling pokey bass notes or aggressive pick attack on guitars if it’s too much.
- Slow Attack (e.g., 10-50ms+): The compressor lets the initial transient (the “crack” of the snare, the “thump” of the kick) pop through before it starts compressing. This is key for adding punch to drums. Try a 10-30ms attack on a snare to let that initial hit slice through, then compress the body of the sound.
Release Time
This is how quickly the compressor stops compressing after the signal falls back below the threshold.
- Fast Release (e.g., <100ms): The compressor recovers quickly. This can make things sound louder and more aggressive, but if it’s too fast, you can get “pumping” or distortion artifacts (which can be cool if you want it!).
- Slow Release (e.g., 200ms+): The compression is smoother and less obvious. This can make things sound bigger and more sustained.
A common trick is to try and time the release to the groove of the song, so the compression “breathes” in time with the music.
Knee
This determines how gradually the compression kicks in around the threshold.
- Hard Knee: The compression engages abruptly as soon as the threshold is crossed. More aggressive, more obvious.
- Soft Knee: The compression starts more gently as the signal approaches the threshold and becomes more aggressive as it goes further past. Smoother, more transparent. For metal, hard knee is often the default, but a soft knee can be great for mix bus or vocal smoothing.

Makeup Gain
Since compression turns things down, makeup gain lets you bring the overall level back up. This is CRITICAL for A/B testing. Make sure the compressed signal is roughly the same loudness as the uncompressed signal so you’re judging the effect of the compression, not just a volume change.
Metal Compression Techniques You NEED To Try
Now for the fun stuff – specific ways to apply these bad boys.
Sidechain Compression (Ducking & Pumping)
This is where one audio signal triggers the compressor on another audio signal.
- Metal Uses:
- Kick Ducking Bass: The classic. Send your kick drum signal to the sidechain input of a compressor on your bass track. Set a fast attack, a release timed to the kick drum’s decay (maybe 50-150ms), and aim for 2-4dB of gain reduction on the bass only when the kick hits. This carves out space for the kick drum to punch through without you having to EQ the life out of your bass.
- Guitars Ducking Vocals: Subtler, but can help vocals cut through a wall of guitars. Sidechain the lead vocal to a compressor on the main rhythm guitar bus, aiming for just 1-2dB of very gentle ducking when the vocal is present.
- Creating Pumping Effects: You can sidechain a synth pad to a kick drum with extreme settings for that EDM-style pumping, sometimes used in metalcore or electronic-infused metal.
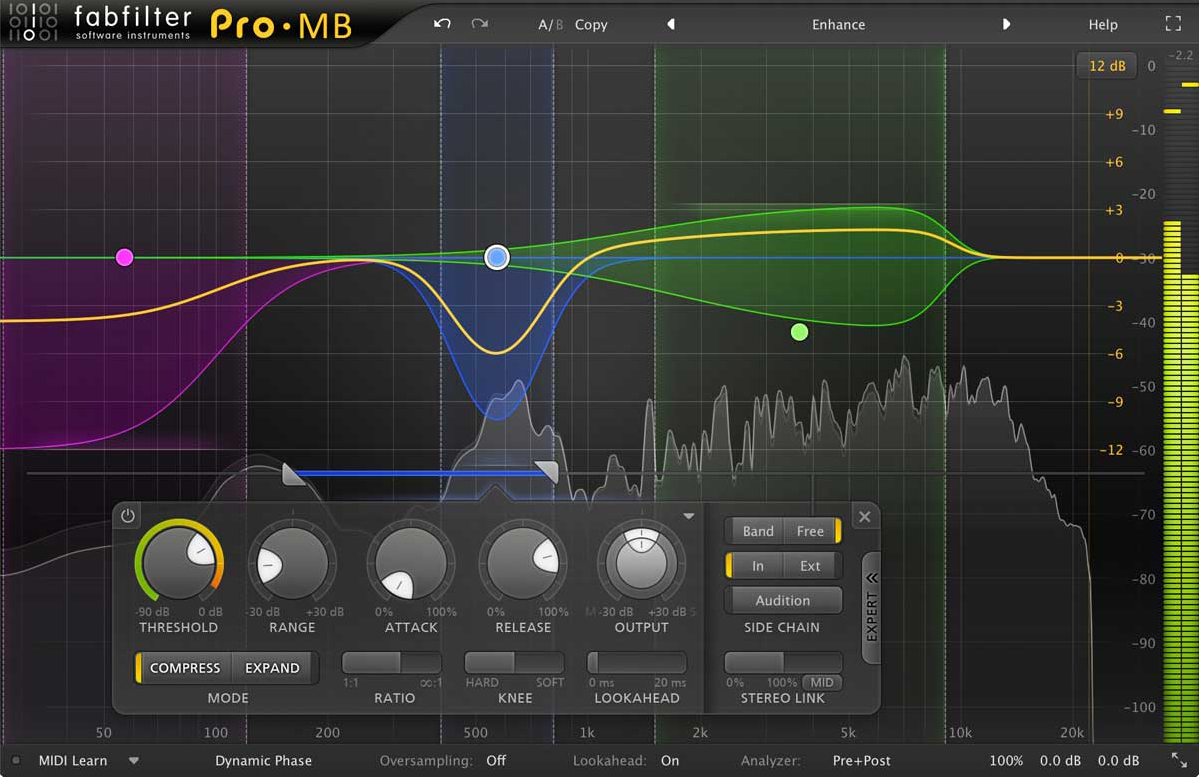
Multi-band Compression: Surgical Dynamic Control
Instead of compressing the whole signal, a multi-band compressor (like FabFilter Pro-MB or Waves C6) splits the audio into different frequency bands and lets you compress each one independently.
- Metal Uses: This is super powerful. Got palm mutes on your distorted guitars that get a bit too “woofy”? Using a multi-band compressor on just the low-mid frequencies can tighten them up without thinning out the whole tone. Taming harsh sibilance on vocals (around 5-8kHz) without dulling the whole vocal, or controlling booming low-end on a bass guitar are other great uses. It can also be a lifesaver on the master bus for very gentle, targeted dynamic shaping.
Parallel Compression (The “New York” Trick)
This is a game-changer for drums in metal.
- How it Works: You send your drum tracks (or just kick and snare, or the whole drum bus) to an auxiliary track. On that aux, you absolutely CRUSH the signal with a compressor – think an 1176 in “all buttons in” mode, or a Distressor in “Nuke” mode. We’re talking massive gain reduction, fast attack, fast release. Then, you blend this heavily compressed signal back in underneath your main (less compressed or uncompressed) drum tracks.
- Metal Uses: You get the weight, sustain, and excitement of the hyper-compressed drums, but you retain the punch and clarity of the original transients. It makes drums sound HUGE. Try it on vocals or bass too for added thickness without squashing the life out of them.
Serial Compression: Two (or More) is Better Than One
Sometimes, instead of making one compressor work really hard, you use two (or more) compressors in a chain, each doing a little bit.
- Metal Uses: Very common on vocals. You might use an 1176 first with a fast attack to catch the really aggressive peaks and add some grit (maybe 4-6dB GR), followed by an LA-2A to smooth everything out and add warmth (another 2-3dB GR). This often sounds more transparent and controlled than one compressor doing 10dB of work. Can also be used on bass or even the mix bus.
Common Compressor Pitfalls in Metal (And How to Dodge ‘Em)
It’s easy to go overboard. Here’s what to watch out for:
- The Dreaded Over-Compression: If your mix sounds lifeless, flat, and all the punch is gone, you’ve probably overdone it. Back off the threshold, reduce the ratio, or ease up on that parallel bus.
- Attack/Release Misdemeanors: Setting your attack too fast on drums can kill the punch. Setting your release too fast can cause nasty pumping or distortion (unless that’s what you’re after). Listen carefully!
- Forgetting Makeup Gain & A/B: Always level-match when comparing your compressed signal to the bypassed signal. Louder often sounds “better” initially, even if it’s actually worse.
- Compressing Just Because: If a track sounds great and sits well dynamically, it might not need compression! Don’t feel obligated.
Bringing It All Together: Bus Compression & The Almighty Mix Bus
Compressing groups of tracks (buses) is where a lot of the magic happens in a pro metal mix.
Drum Bus Compression: The Glue & The Punch
We touched on this with VCAs. The goal here is to make all your individual drum elements (kick, snare, toms, overheads, rooms) feel like one cohesive, powerful kit.
- Typical Setup: An SSL G-Comp style plugin is king. Try a slowish attack (10-30ms to let transients through), a fast to medium release (maybe 0.1s, or auto-release if available, timed to the groove), a low ratio (2:1 or 4:1), and aim for just 1-3dB of gain reduction. This subtly “glues” the drums together and adds a touch of punch and excitement. For more specific techniques, dive deeper into our Metal Compression Secrets: Beyond Just Making It Loud hub.
Guitar Bus Compression: Cohesion for the Chugs
Less universally applied than drum bus compression, but still useful. If you have multiple rhythm guitar tracks, sending them to a bus and applying some gentle compression can help them gel and sound more like a unified wall of sound. Similar settings to drum bus compression might work, or you might opt for something with a bit more color depending on the vibe.
Mix Bus Compression: The Final Polish
This is the compressor that goes across your entire mix (before any final limiting for loudness — a separate process you can explore in our limiter vs. compressor guide).
- Typical Setup: High-end mastering-grade compressors shine here (think software emulations of the Shadow Hills Mastering Compressor, Vertigo VSC-2, or again, the SSL G-Comp). Use a very slow attack (30ms or more), a release timed to the song (auto-release is often great here), a very low ratio (1.5:1 or 2:1), and aim for just 1-2dB of gain reduction on the loudest parts of your song. This adds a final layer of cohesion and “polish,” making the mix sound more “finished,” though there are always ways to push it further with techniques like super aggro mix bus compression.
Ready to Hear It In Action?
Phew, that’s a lot of info on audio compressors! These settings and techniques are killer starting points. Experiment with them, listen critically, and find what works for your tracks. Remember, compression is as much an art as it is a science.
But here’s the thing: reading about settings is one thing. Seeing and hearing how legendary producers actually use these tools on real-world metal multitracks from bands you love? That’s a whole different level of learning. Imagine watching guys like Joey Sturgis, Eyal Levi, Will Putney, or Jens Bogren dial in their compression, explaining every move, every nuance, on songs from bands like Periphery, Gojira, or Thy Art Is Murder.
State Champs on Nail The Mix
Kyle Black mixes "Secrets"
Get the Session
That’s exactly what you get with Nail The Mix. Each month, you get the raw multitracks from a massive metal song and watch the original producer mix it from scratch, including all their compression wizardry. If you’re serious about taking your metal mixes from “pretty good” to “pro-level destructive,” then you need to see how the best in the business do it.
Ready to stop guessing and start mixing with confidence? Check out Nail The Mix and Unlock Your Sound: Mixing Modern Metal Beyond Presets.
And remember, compression works hand-in-hand with EQ. Once you’ve got your dynamics dialed, you’ll need to carve out space and enhance frequencies. For a deep dive into that, make sure to check out our Carve Your Core: EQ Strategies for Mixing Modern Metal guide. Now go make some noise!