Mixing deathcore vocals with Neve saturation and FabFilter Pro-MB (ft. Lorna Shore)
Nail The Mix Staff
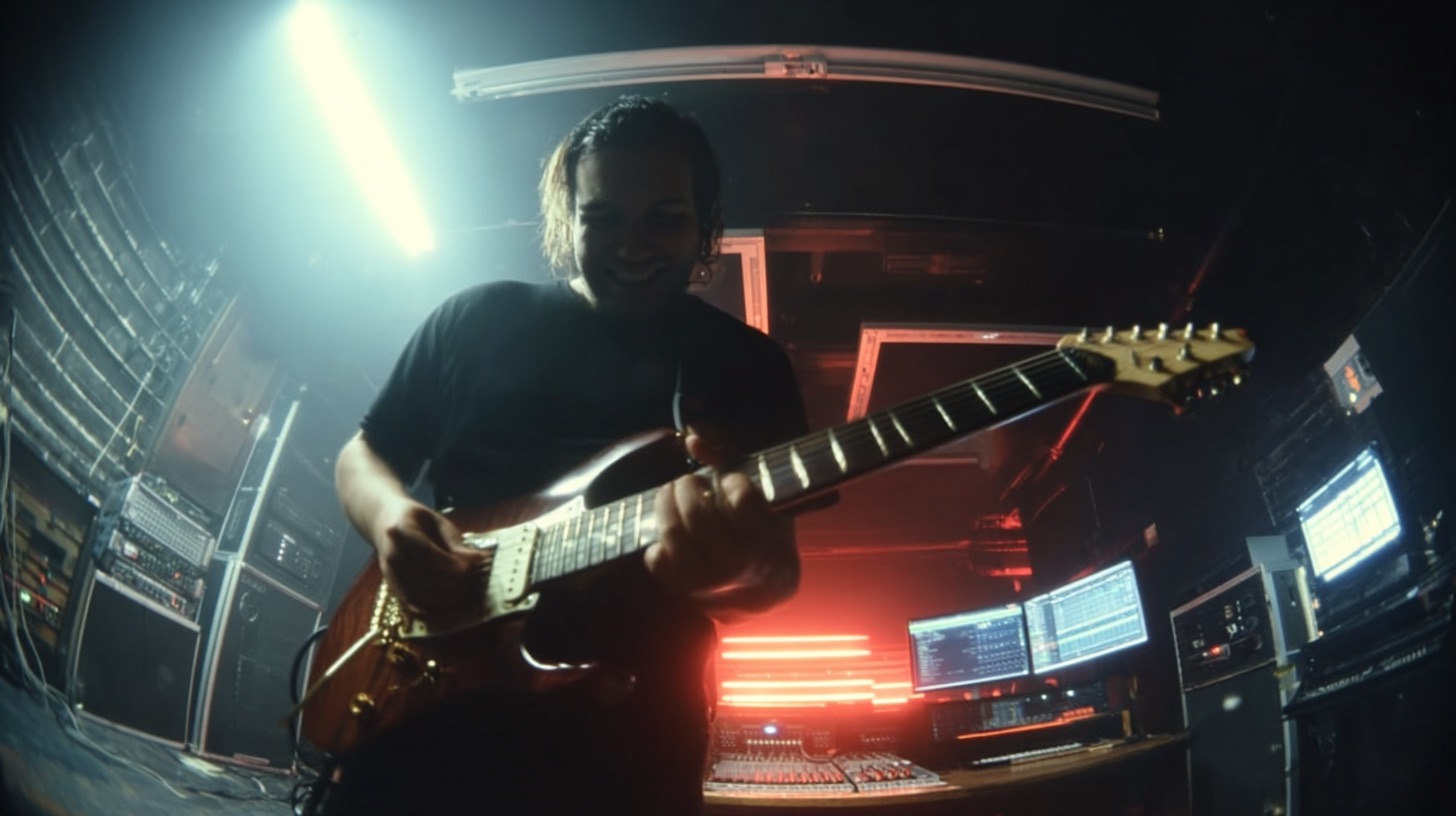
Let’s be honest, Will Ramos’s vocal performance on Lorna Shore’s “To The Hellfire” is a landmark in modern metal. The sheer power, range, and terrifying texture he delivers is something producers dream of—and dread—mixing. How do you take a vocal performance that’s already so massive and make it fit into an equally dense, chaotic track without losing its impact or turning the mix into a muddy mess?
We got a look inside the session with producer/mixer Josh Schroeder, who broke down his approach to taming this beast. The secret isn’t a single magic plugin, but a thoughtful combination of killer source tone, smart bus processing, and, most importantly, creative automation that makes the song feel like a dynamic journey. If you’ve ever struggled with making your brutal vocals cut through while still having impact, you’ll want to see how Josh handled it on this legendary track.
The Foundation: Heavy Lifting Before the DAW
One of the most revealing parts of Josh’s process is what isn’t happening on the individual vocal tracks. When you look at the raw channels in his DAW, there are literally no plugins. No EQ, no compression, nothing.
That’s because all the heavy lifting was done on the way in. The vocal chain was maxed out with high-end hardware, including heavy compression, clipping, and a healthy dose of Neve saturation. This approach bakes the core character of the vocal right into the recording. The tracks arrive in the session already beautifully compressed and blown-up, with a ton of that aggressive texture ready to go. It’s a powerful reminder: a great mix starts with a great recording.
Building the Core Vocal Bus Chain
With the source tone already dialed, Josh’s work in the DAW is all about shaping and fitting this massive vocal into the mix. All the processing happens on a master vocal bus, treating the vocal as one cohesive instrument.
Taming Harshness, Keeping the Grit
The first step on the bus is finding the balance between disgusting texture and painful harshness. Will’s vocals have an incredible amount of high-frequency grit that needs to be front-and-center. However, this can easily introduce nasty sibilance (“s” and “sh” sounds) that are fatiguing to the ear. A de-esser is used here not just to duck the esses, but to carefully control the bad kind of harshness while letting all that glorious, aggressive texture shine through.
Sculpting with EQ and Multiband Compression
After taming the harshness, it’s time to shape the vocal’s frequency response so it plays nice with the other instruments.
- Multiband Compression: A touch of multiband compression (using a FabFilter Pro-MB) is applied. This isn’t for heavy-handed squashing; it’s a gentle, surgical tool used to keep certain frequency ranges from building up and clashing with guitars or taking the punch out of the snare, especially when vocal layers start stacking up.
- Sculpting EQ: Next, a Pro-Q is used to brighten the vocal up and add presence. Josh also rolls off more of the low-end here to clean up mud and make sure the vocal isn’t competing with the bass and kick drum. Applying smart vocal EQ strategies is crucial for creating clarity in a dense mix.
Adding Width and Taming Peaks
To give the vocal a bit more size, a stereo doubler is used to widen the image slightly. This subtle effect helps the vocal occupy more space without sounding obviously processed.
Following the doubler, one more simple compressor is added to the chain. The goal here isn’t to add color or pump, but to act as a safety net. When all the vocal layers come in during the biggest sections, this compressor just catches the most offensive peaks that stick out, further tightening the dynamic range. Mastering an audio compressor is about knowing when to be aggressive and when to be transparent.
Creating Space with Reverb
Finally, to pull the vocal out of a completely dry space and give it a home in the mix, Josh uses a classic plate reverb—the Waves New York Plate. It’s a simple, effective way to create a sense of depth and separate the vocal from the wall of instruments behind it.
The Real Secret: Creating Dynamics with Panning and Layering
Here’s where the mix goes from good to great. In a song this relentlessly heavy, creating dynamics is key to keeping the listener engaged. Josh uses automation as a performance tool to make the song feel like it has distinct and powerful moments.
The Narrow-to-Wide Transition
Listen to the track and you’ll notice the vocal’s stereo width changes dramatically.
- Verses & Pre-Choruses: In sections where the guitars are playing more intricate parts, the layered vocals are kept very narrow, almost mono. This is a deliberate choice to let the guitars own the stereo field and have maximum clarity.
- The Breakdown: When the first breakdown hits, it’s all about the chugs. The guitars become simpler, creating a sonic opening. Josh uses this moment to pan the vocal layers out wide. The vocal suddenly explodes across the speakers, creating a massive point of impact that makes the breakdown feel even heavier.
The “Sleight of Hand” Transition Trick
So you’ve created this huge, wide vocal moment. How do you get back to a narrower vocal for the next section without it feeling like a step down? Josh uses a technique he calls “sleight of hand.”
The band transitions out of the breakdown with a dramatic tempo change. This tempo shift is the perfect distraction for the listener’s ear. While your brain is processing the tempo change, Josh uses automation to subtly fade out the extra-wide vocal layers and adds a touch of delay to smooth the transition. It’s a classic magic trick: make them look over here so they don’t see what you’re doing over there.
Using Performance to Shape the Mix
This transition is further enhanced by Will’s incredible vocal performance. As the layers fade out, Will’s vocal shifts from a deep low to a piercing high scream. This natural change in his voice thins out the texture, which Josh enhances with more reverb and EQ. The vocal goes from a wide, full-body monster to a thin, ethereal screech that hangs in the air before the next pre-chorus kicks in with a powerful, single-layer mid-scream. This allows the pre-chorus to feel huge on its own, clearing the deck so the final chorus can hit with every vocal trick in the book.
Master the Mix
These techniques—combining smart processing with creative automation—are what separate a decent mix from a professional one. It’s about understanding the song’s structure and using your tools to enhance the natural dynamics of the performance.
Lorna Shore on Nail The Mix
Josh Schroeder mixes "To the Hellfire"
Get the Session
Watching a pro like Josh Schroeder break down his session for “To The Hellfire” is an incredible learning opportunity. If you want to go beyond presets and learn how to make these kinds of decisions in your own productions, check out Nail The Mix. Every month, you get the real multitracks from a massive metal song and watch the original producer mix it from scratch, explaining every plugin, every fader move, and every creative choice they make. It’s the closest you can get to sitting in the studio with the best in the business and truly learn how to mix music.
Get a new set of multi-tracks every month from a world-class artist, a livestream with the producer who mixed it, 100+ tutorials, our exclusive plugins and more
Get Started for $1


