Analog Parallel Drum Compression with Hardware (ft. Sleeping With Sirens)
Nail The Mix Staff
Let’s cut to the chase: that punchy, explosive, and articulate drum sound on modern rock and metal records doesn’t happen by accident. While samples and in-the-box processing are powerful, there’s a special kind of magic that happens when you bring analog hardware into the mix—especially for something as crucial as parallel drum compression.
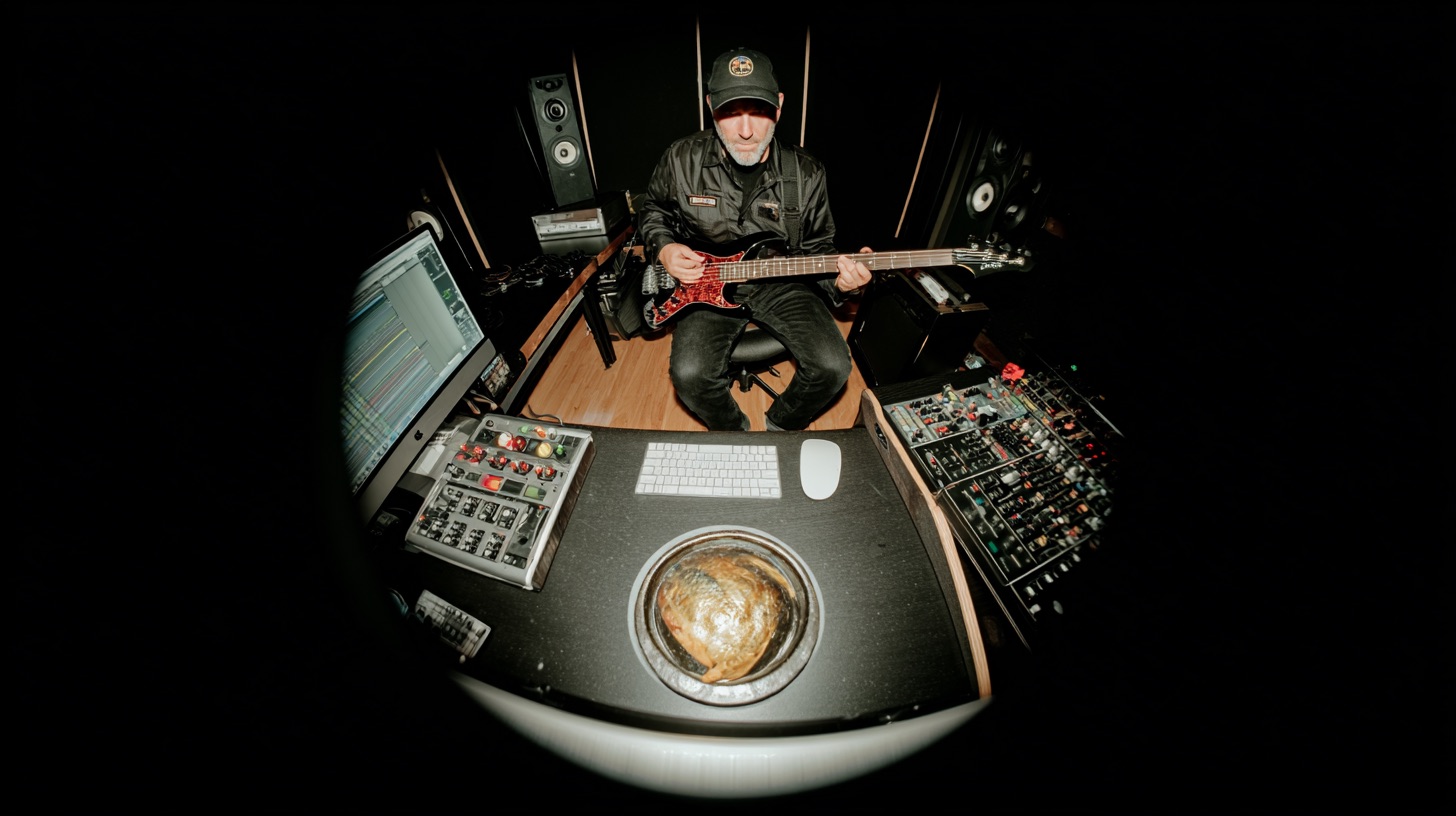
But working with outboard gear isn’t always plug-and-play. It introduces a critical challenge: latency. We got a rare look inside a mix session with legendary producer Kris Crummett (Sleeping With Sirens, Dance Gavin Dance, Issues) to see exactly how he tackles this, using a pair of hardware Distressors to add snap and aggression to a drum bus, all while keeping everything perfectly in phase.
Let’s break down his pro-level workflow for integrating analog gear seamlessly.
Setting Up the Analog Parallel Bus
Before getting into the nitty-gritty of latency, let’s look at the basic setup. Kris creates a parallel bus for his drums, a common technique for adding power and excitement. Instead of reaching for a plugin, he routes this bus to the physical world using a hardware insert.
In his Pro Tools session, this is done using the built-in I/O plugin, which allows you to send audio out of your interface’s D/A converters and back in through the A/D converters. The destination for this audio trip? A stereo-linked pair of the iconic Empirical Labs Distressor compressors. The goal is to create a hyper-compressed signal that can be blended underneath the main, unprocessed drum bus to add aggression and character.
This is where things get tricky. That round trip out of and back into the computer takes time—a very, very small amount of time, but enough to wreak havoc on your phase alignment if not handled properly.
The Big Hurdle: Taming Outboard Gear Latency
If you’ve ever tried sending a signal to an external piece of gear and blending it back in, you might have been met with a thin, hollow, phasey sound. This is latency at work. Kris explains that this problem is especially pronounced for producers using Pro Tools with non-Avid hardware.
Pro Tools is programmed to automatically compensate for the latency of its own AVID-brand converters. The catch is that AVID converters are notoriously slower than most other converters on the market. Kris uses high-end Prism converters, which are significantly faster.
The result? The processed signal from the Distressors travels out and back through the fast Prism converters, returning to the DAW before Pro Tools expects it to. The software’s built-in delay compensation is based on a slower trip, so the returned signal is now out of time with the original dry track. When you combine them, you get nasty phase cancellation that completely sucks the life out of your drums.
The Fix: Manual Delay Compensation
So how does a pro like Kris fix this? He “compensates for the compensation.”
The solution is surprisingly simple: manually add a tiny bit of delay to the returning signal to push it back into perfect alignment. In Pro Tools, the go-to tool for this is a simple utility plugin called Time Adjuster.
By placing Time Adjuster on the parallel bus, Kris can add a precise delay, measured in samples, to the signal coming back from the Distressors. After a quick “before and after” demonstration, the difference is night and day. Without it, the drums sound hollow and weak. With it engaged, the punch and weight return, and you simply get the added snap and aggression from the hardware compression—exactly what you want.
Finding Your Magic Number
Your specific delay offset will depend on your audio interface and sample rate. Kris mentions his session for this Sleeping With Sirens track is running at 96kHz, and at that rate, his magic number is a 15-sample delay.
You can find your own value with a simple “blip test”:
- Create a track with a short, sharp sound, like a stick click or a synth blip.
- Route that track out and back in through your interface on a new track using a hardware insert.
- Record the result.
- Zoom in on the waveforms and measure the distance in samples between the start of the original blip and the start of the recorded one. This value is the offset you’ll need to dial into your delay plugin.
Dialing in the Distressor Settings for Maximum Snap
Once the technical latency puzzle is solved, it’s all about the creative side—crushing the drums. For this track, Kris pushes the Distressors hard to get that signature crack. Here are his settings:
- Ratio: 20:1. This is a very aggressive, almost limiting setting designed to slam the signal.
- Attack: 5
- Release: 5
- Input: 6 (though he uses the gain on the Time Adjuster plugin to drive the input even harder)
He pushes the signal into the compressors until they’re showing around -12dB of gain reduction. Solo’d, the parallel bus sounds over-the-top and “pretty funny,” which is a great sign that you’re in the right ballpark for parallel processing. By blending just a little of this crushed signal back in with the main drum bus, he adds a ton of energy and snap without sacrificing the natural dynamics of the original performance. This is one of the core metal compression secrets that separates amateur and pro mixes.
Bring It All Together (And Learn A Lot More)
Integrating analog gear might seem intimidating, but as Kris Crummett shows, it boils down to a few key steps:
- Use a hardware insert in your DAW to create an analog parallel bus.
- Identify your system’s specific latency by performing a “blip test.”
- Use a delay plugin like Time Adjuster to manually align your returning signal.
- Don’t be afraid to use extreme compression settings to create an aggressive parallel signal.
These are the exact kinds of high-level workflow solutions that pros use to get world-class sounds. Learning the why behind techniques like manual delay compensation and extreme metal compression is what elevates your mixes. After all, once you have your tone, you need to use smart EQ strategies to make it fit in a dense mix.
Sleeping With Sirens on Nail The Mix
Kris Crummett mixes "If You Can't Hang"
Get the Session
If you’re ready to stop guessing and want to see how this all comes together, imagine watching Kris Crummett mix this entire Sleeping With Sirens track, explaining every plugin, fader move, and creative choice along the way. At Nail The Mix, that’s exactly what you can do.
It’s time to unlock your sound and mix beyond presets. Get behind the console with Kris and download the actual multi-tracks from this session to try these techniques for yourself.
See Kris Crummett’s full Sleeping With Sirens mixing session and get the multi-tracks here.