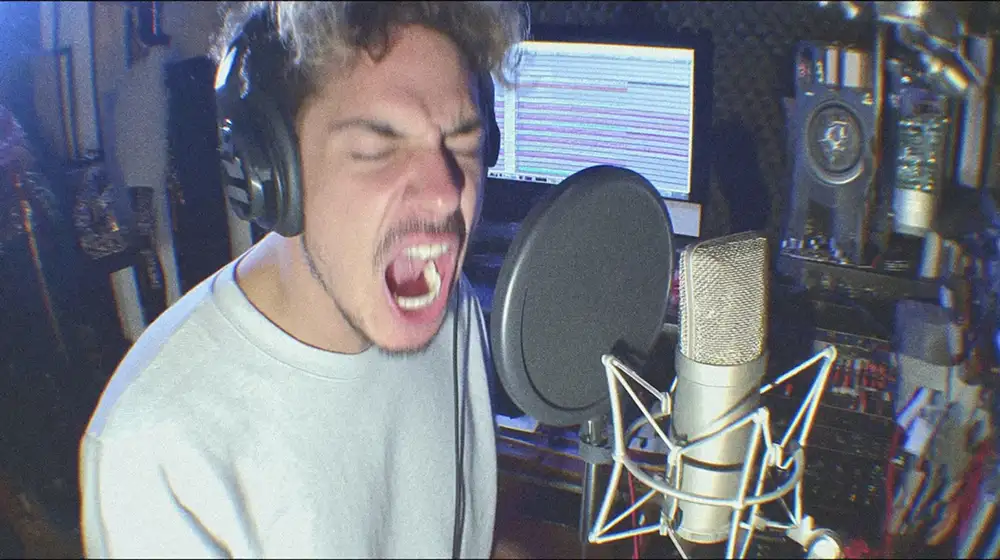
How To Use Clipping on Your Mix Bus w/ Submission Audio Flatline 2
Nail The Mix Staff
The solution to a loud but CLEAR mix isn’t just better limiting: it’s strategic clipping. Specifically, knowing exactly what you are clipping before it ever hits your final limiter. The secret weapon here is the Delta feature.
If you aren’t using Delta monitoring to dial in your mix bus clipper, you’re flying blind. Here is how to use it to get massive volume without sacrificing impact.
Why Clip the Mix Bus?
Before we get into the “how,” let’s briefly touch on the “why.”
Limiters are great, but they are reactive. When a massive snare transient hits a limiter, the limiter ducks the entire volume of the track to accommodate that spike. This causes pumping and sucks the life out of your mix.
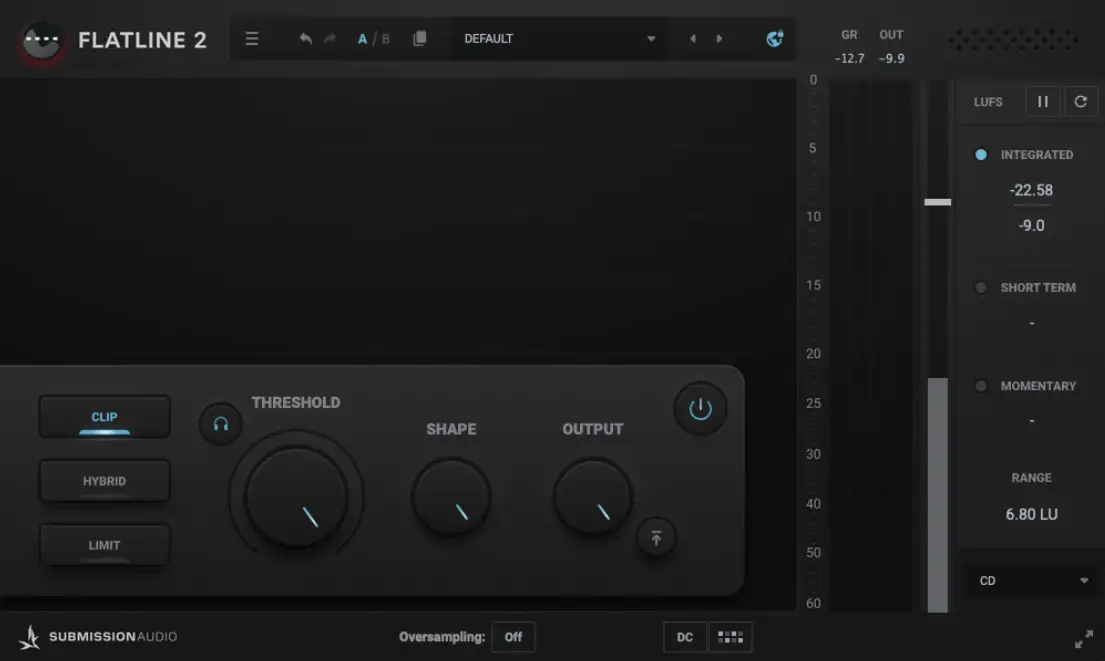
A clipper (like the Submission Audio Flatline 2 shown above) doesn’t duck. It simply shaves off the top of the waveform. It trades a tiny bit of distortion for a massive amount of headroom.
But here is the danger zone: if you clip too much, you introduce audible distortion that ruins the fidelity of your guitars and vocals. You need to find the sweet spot where you are only chopping off the jagged peaks of the drums, leaving the rest of the mix untouched.
That is where the Delta features comes in.
The Delta Trick: Listening to the Artifacts
“Delta” essentially means the difference between the input signal and the output signal. When you engage the delta listen mode on a clipper, you aren’t hearing the mix; you are hearing only what is being removed.
This removes all the guesswork. Instead of wondering, “Is this too much distortion?”, you can actually hear exactly what information you are losing.
Step-by-Step: Dialing it in with Flatline 2
Let’s look at this workflow using Submission Audio Flatline 2, which is a favorite for this because of its transparent sound and intuitive UI.
- Insert Flatline 2 on your Mix Bus: Place this at the end of your chain, usually right before your final limiter.
- Engage the “Headphone” Button: On Flatline 2, this is the small headphone icon next to the Threshold knob. This activates the Delta monitoring.
- Lower the Threshold: Start turning the big Threshold knob counter-clockwise. At first, you’ll hear silence. As you lower it, you’ll start to hear clicks and pops.
- Listen for the Transients: The goal is to hear only the drums. You want to hear the sharp crack of the snare and the thud of the kick. These are short, fast transients that can be clipped transparently because the human ear is forgiving of short bursts of distortion.
- The “Stop” Sign: Keep lowering the threshold until you start to hear tonal information. If you can hear the vocal melody, the guitar riff, or the sustain of the bass, you have gone too far.
What to Listen For
- Good Delta: Click, pop, smack. (Just the drum hits).
- Bad Delta: Click, pop, “heyyyy,” “vrrrrr.” (Vocals and Guitars).
If you hear tone in the Delta signal, you are literally chopping off the body of your instruments. This will make the mix sound flat and two-dimensional. Back off the threshold until those tonal elements disappear and you’re left with just the rhythmic transients.
Fine-Tuning the Shape
Once you’ve found your threshold sweet spot, you can adjust the Shape knob on Flatline 2. This controls the knee of the clipper (soft clip vs. hard clip).
- Hard Clip (0%): extremely transparent for pure transient removal, but can sound harsh if pushed too hard.
- Soft Clip (Higher %): smooths out the saturation. It might sound more “musical,” but it affects more of the signal.
Use the Delta listen mode while adjusting the Shape. You’ll notice how the character of the distortion changes. Pick the setting that sounds the cleanest for your specific track.
Tools of the Trade
While we used Flatline 2 for this example (it’s arguably the easiest to use for this specific workflow), other pro-tier clippers offer this functionality as well:
- StandardCLIP: A powerhouse utility plugin that also offers a difference/delta listen mode.
- KClip: Another industry standard that allows you to monitor the distortion artifacts.
The tool matters less than the technique. The goal is to ensure you are gaining headroom by managing peaks, not by destroying the dynamic range of your actual song.
The Result: Competitive Loudness
By shaving 2-3dB of pure drum transients off your mix bus using this method, you make life incredibly easy for your final limiter. Your limiter doesn’t have to work as hard, which means less pumping and more clarity.
You end up with a mix that feels open and dynamic, but hits -9 or -8 LUFS (or louder) with ease.
If you want to dive deeper into mix bus architecture and see exactly how the world’s best producers dial in their low-end and loudness chains, check out the sessions at Nail The Mix. Seeing a pro do this live on a track you know and love is the fastest way to make it click.
Next Step: Open up your current session, throw a clipper on the master, hit that delta button, and see how much headroom you’re currently wasting—or how much tone you’re accidentally destroying.