How to add depth to amp sim guitars with room impulse responses from GetGood Drums libraries
Nail The Mix Staff
Let’s be real: amp sims have gotten terrifyingly good. We’re well past the days of fizz-boxes that sound like a swarm of angry bees. Whether you’re running a Neural DSP archetype or a hardware modeler, the core tone is usually there.
But there’s one dead giveaway that still haunts a lot of in-the-box metal mixes: the lack of physical space.
When you stand in front of a 4×12 cabinet cranking out high-gain chugs, you aren’t just hearing the speaker cone. You’re feeling the air move. You’re hearing the cabinet resonate and the way those sound waves bounce off the floor and walls before they hit your ears.
The standard move to fix “dry” amp sim guitars is to throw a Room Reverb on an aux track and send the guitar bus to it. It works, but it’s rarely perfect. There is a much better, phase-coherent way to get that 3D glue in your mix, and it involves rethinking how you use Impulse Responses (IRs).
The Problem With Sending Guitars to Reverb
To understand why your reverb send might be failing you, you have to look at the signal chain.
In a standard metal production workflow, your main guitar tone is likely built on an IR of a dynamic microphone (usually an SM57) shoved right up against the grill cloth. That captures the “fizz” and the immediate transient attack, which is exactly what we need for tight rhythm guitars.
However, when you send that signal to a reverb plugin, you are reverberating a signal that has already been heavily colored by the proximity effect and frequency response of a close mic. You aren’t simulating a “cab in a room.” You are simulating a “recording of a mic’d cab playing back through speakers in a room.”
It sounds detached. It lacks the visceral “push” of a loud amp because the physics are wrong.
The Solution: Blending Room Mic IRs
The secret to getting that natural depth isn’t artificial reverb, it’s using an Impulse Response captured specifically from a room microphone.
Unlike a reverb plugin, a Room IR captures the sound of the cabinet actually projecting into the space. It picks up the interaction between the speakers, the wood of the cab, and the room reflections simultaneously, without the artificial filtering of a close mic acting as the middleman.
How to Execute This in Your Mix
You can do this with any multi-loader, but it’s baked right into the workflow of plugins like GetGood Drums Goldstack or GGD Zilla. These cab packs were captured with this exact technique in mind.
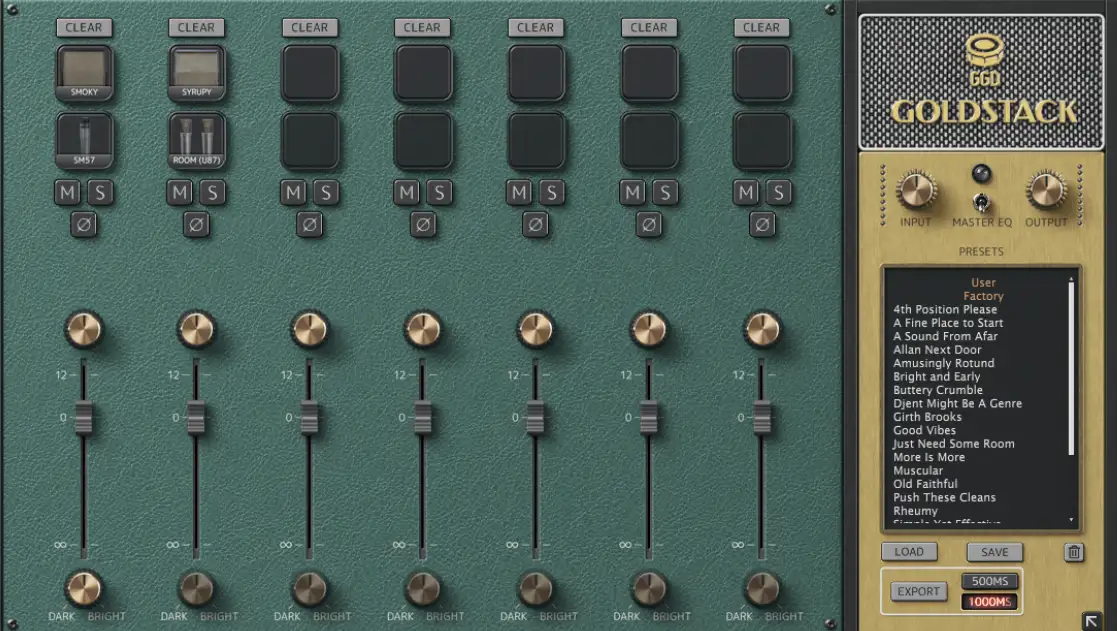
Take a look at the GGD Goldstack interface below. This is where the magic happens.
Instead of running a single IR slot, you want to utilize the mixer to blend sources.
- Slot 1 (The Foundation): Load your primary tone. In Goldstack, you might grab the SM57 or the Smoky IR. This gives you that focused, aggressive midrange bite you need for the guitars to cut through dense drums and bass.
- Slot 2 (The Space): This is the key. Enable a second slot and load up the Room (U87) IR.
The Blending Process
Once you have both IRs loaded, don’t just crank them both to 0dB. Treat this like you are the engineer standing in the live room.
- Start with the Room fader all the way down. Get your close mic sounding right.
- Slowly raise the Room fader. You aren’t looking for a “wet” sound. You are listening for the moment the guitar stops sounding like it’s coming from a microchip and starts sounding like it’s pushing air.
- Check the Phase: A massive benefit of using a dedicated loader like Goldstack is that the IRs are generally phase-aligned from the capture session. If you were trying to do this with random IR files from different manufacturers, you’d likely run into comb filtering that would hollow out your low-mids.
Fine-Tuning the Depth
In the Goldstack interface, you’ll notice the Dark / Bright knobs at the bottom of each channel strip. This is crucial for managing the room sound.
Room mics can sometimes introduce too much low-end buildup (mud) or too much high-end splash (cymbals bleeding in a real room, though not an issue here).
- Darken the Room: If the room IR is competing with your cymbals or making the pick attack sound washy, turn the knob toward Dark. This simulates the natural high-frequency roll-off of air absorption over distance.
- Filter the Lows: While the interface simplifies this, don’t be afraid to follow up your IR loader with a high-pass filter on the room mic signal if it’s eating up headroom. You usually want the sense of space, not the sub-bass rumble of the room modes.
Why This Beats Reverb
By using a Room IR, you are reintroducing the non-linear complexities of the physical cabinet. You get the thump, the resonance, and the air, but it stays tight to the performance. Because it’s an IR, it decays exactly as the real room did when the test tone was fired, making it sit in the mix with a realism that algorithmic reverbs struggle to replicate.
Next time you’re dialing in a rhythm tone, stop reaching for the reverb aux. Load up a Room IR, blend it in low, and watch your guitars suddenly turn 3D.
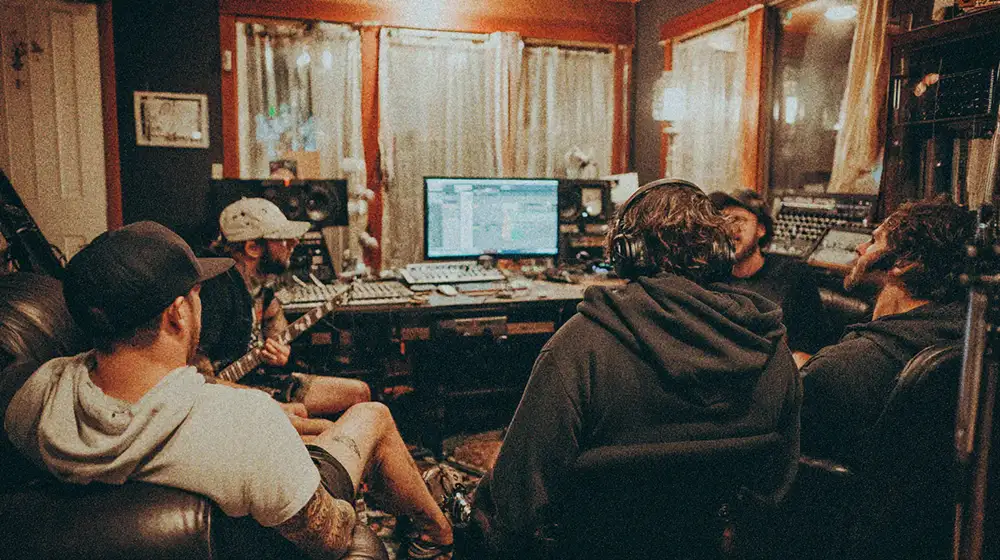
Want to see exactly how top-tier producers blend mics to get massive guitar walls? At Nail The Mix, you can watch the world’s best engineers mix hit songs from scratch on live streams, and then download the actual multi-tracks to practice the techniques yourself. Join the community and start getting the pro sound you’ve been chasing.