How To Gate Cymbal Bleed With Slate Trigger 2
Nail The Mix Staff
If you mix rock or metal, you know the battle: You want a punchy, explosive snare, but every time you boost the high-end, you get a wash of cymbals that ruins the clarity.
The standard solution is a noise gate. But let’s be honest—standard gates are “dumb.” They operate on simple volume thresholds. They chop off ghost notes, chatter when the drummer plays a fill, or worse, let the hi-hat through while killing the snare sustain.

There’s another way, and you probably already have the plugin in your session. Here is why Steven Slate Trigger 2 is actually the best noise gate you aren’t using, and how to use the built in gate to tighten up your tracks.
Why use Trigger instead of a gate?
The answer lies in the detection engine. Standard gates look at volume. Trigger 2 looks at transients.
Because Trigger 2 is designed to fire samples accurately even during complex rolls, its detection algorithm (controlled by Sensitivity, Retrigger, and Detail) is lightyears ahead of a standard gate. It knows the difference between a loud crash cymbal and a sharp snare hit.
If you are already using Trigger to reinforce your drums, you have already done the hard work. You have dialed in the settings to catch every ghost note and ignore the bleed. Why waste that effort?
The Quick Gate Technique
This technique allows you to use Trigger 2’s superior brain to control the volume of your original, live drum track. The goal here isn’t to hear the samples; it’s to force your live track to follow the clean, precise open/close pattern of the sample engine.
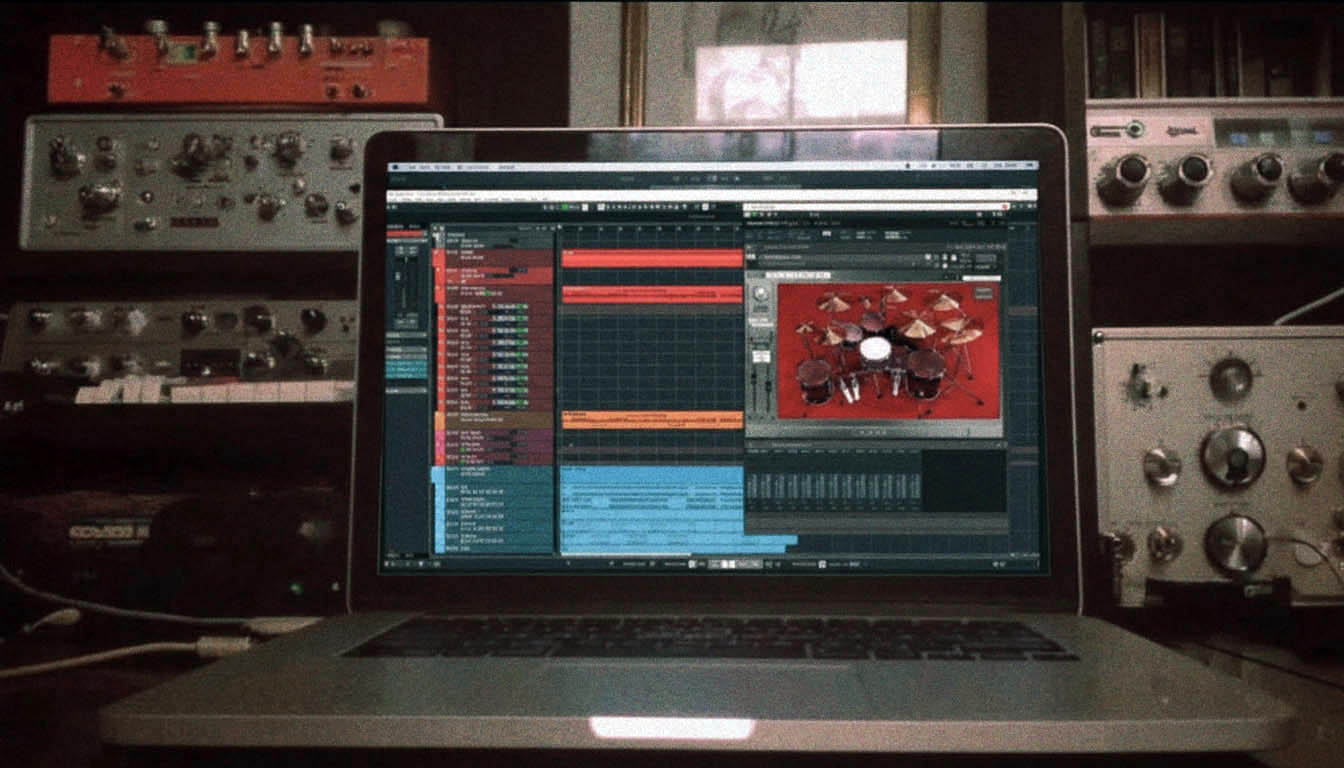
Refer to the screenshot above. Notice how the MIX knob is all the way down, but the GATE is active. Here is how to set it up:
1. Perfect Your Detection
First, set up Trigger 2 as if you were going to add a sample.
- Use the Sensitivity knob (top right) to ensure every snare hit is crossing the threshold.
- Adjust Retrigger to prevent double-triggering on flams.
- Use Detail to ensure ghost notes are caught.
- Tip: If you have already set this up on a sample track, just copy and paste the plugin instance to your original snare track!
2. Turn the Mix to 0%
This is the secret sauce. Go to the MIX knob (bottom right of the interface) and turn it all the way down to 0%.
- At this point, you are hearing only your original, dry recorded audio. The samples are silenced.
3. Engage the Gate Module
On the left side of the interface, locate the GATE section. Click the ON button (it will light up blue).
- Now, Trigger 2 is applying a gate to your dry input signal.
- However, unlike a standard gate, it is opening and closing based on that sophisticated detection filter you set up in Step 1.
4. Sculpt the Envelope
Use the Gate controls to shape the sound of the bleed:
- Attack: Keep this fast (e.g., 0.0 ms) to preserve the crack of the stick.
- Release: This is critical. Adjust this to time the gate closing. Too fast, and the snare sounds choked; too slow, and the cymbals rush back in. (In the image above, 131 ms is a great starting point for a tight snare).
The Result
By using this method, your gate opens and closes in perfect sync with the samples you are likely blending in anyway.
- No more chatter: The Retrigger function prevents the gate from opening for random cymbal spikes.
- Perfect Phase: Because the gate opens exactly when the sample would have fired, your dry track and sample track remain tight.
- Ghost Notes Saved: Trigger’s Detail knob allows the gate to open for quiet hits that a standard threshold gate would mercilessly cut out.
Next time you are struggling to separate a snare from a wall of hi-hats, stop fighting the threshold knob on your channel strip. Load up Trigger 2, turn the mix to zero, and let the transient detector do the heavy lifting.