Humanity’s Last Breath guitar tone: building amp sim chains with Neural DSP Nameless, TSE X50 & FabFilter
Nail The Mix Staff
Let’s be honest, the guitar tone from Humanity’s Last Breath is a force of nature. It’s punishingly heavy, packed with sub-frequency weight, and has a disgusting level of gain that somehow remains clear. If you’ve ever tried to replicate that sound, you know it’s more than just cranking a high-gain amp sim.
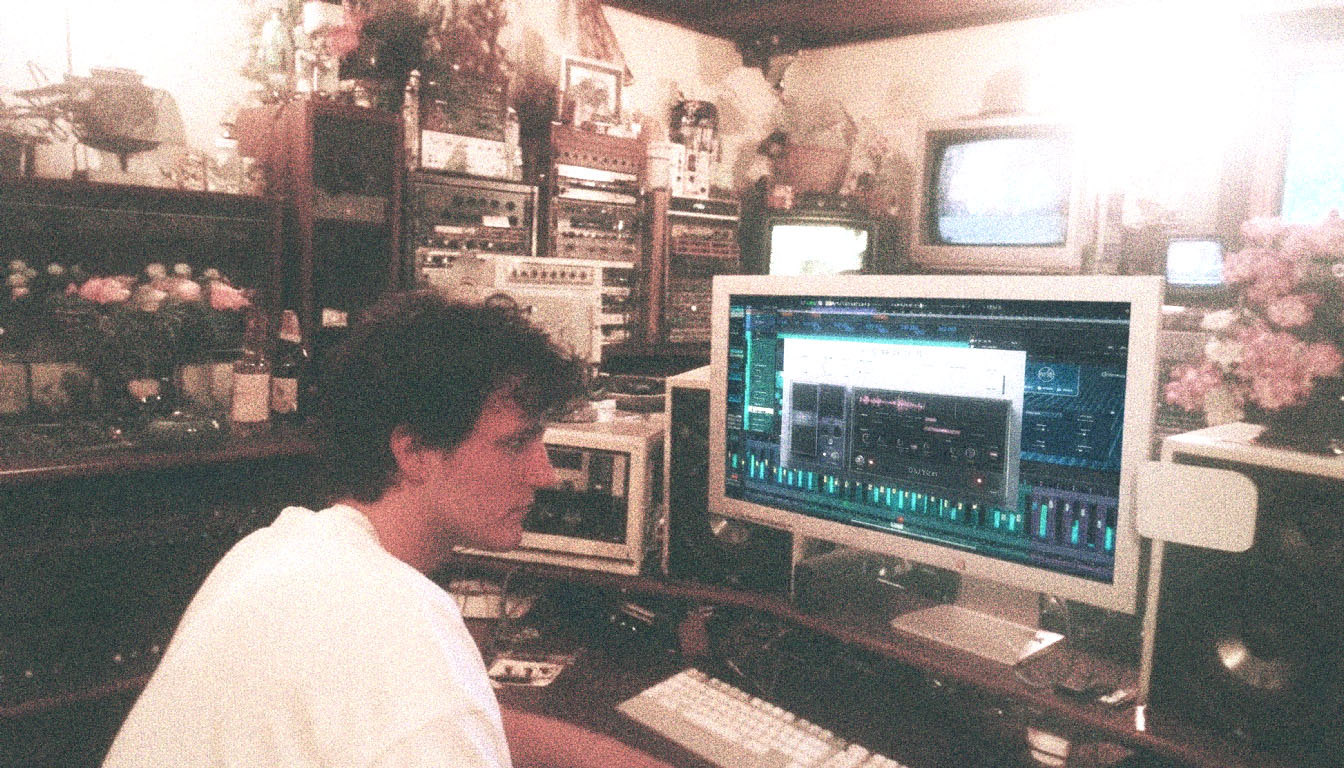
We got a look inside the process with the band’s own Buster Odeholm as he built one of these monstrous tones from scratch using nothing but a DI and plugins. Forget everything you thought you knew about just finding a preset; this is about surgical control over every single stage of the signal chain. Let’s break down his unique approach.
The Core Tone: A Hybrid Plugin Approach
Right off the bat, Buster bypasses the all-in-one suite mentality. Instead of using a single plugin for everything, he cherry-picks his favorite components and chains them together for maximum control. It’s a pro move that gives you way more flexibility.
The Amp and Cab Selection
For the amp head, he reaches for a classic in the modern metal world: the Neural DSP Nameless Suite. But here’s the key—he only uses the amp block. The pedal and cab sections are completely bypassed. This allows him to substitute his own preferred speaker simulation.
His choice for the cabinet is the TSE X50 plugin, specifically loaded with Ryan Harvey’s IRs. He describes them as “super subby,” which is the secret to getting that foundational, earth-shaking low-end that HLB is known for. In fact, he confirms it’s the same cab setup he used on the album.
The Parallel Boost Trick
This is where things get interesting. Most producers just slap a Tube Screamer-style pedal in front of the amp and call it a day. Buster wanted more control. He didn’t want the boost pedal—in this case, the TSE 808—affecting the signal 100%.
To achieve this, he uses a utility plugin, Blue Cat Audio’s PatchWork, to host the boost pedal. Why? Because PatchWork has a mix knob. This allows him to dial in the perfect amount of the boost pedal, blending its tightened character with the raw DI signal going into the amp. It’s a subtle but powerful way to shape the amp’s response without completely changing the core tone.
Pre-Amp Sculpting: The Secret to Controlled Chaos
Here’s the biggest takeaway from Buster’s workflow: the magic happens before the signal ever touches the amp. He puts it simply: the amp will react differently depending on the frequencies you feed it. So, why not control those frequencies?
Why You Need to EQ Your DI Signal
A lot of people just hope for the best when plugging a DI into an amp sim. Buster shows that actively shaping the DI is critical. He inserts an EQ plugin, like the FabFilter Pro-Q, right after the parallel boost but before the amp. This is where he meticulously carves the tone.
He uses the EQ to do two main things:
- Taming the Fizz: He identifies the harsh, “scratchy” high-mid frequencies that create unpleasant, noisy distortion. By using a narrow EQ band to pull those frequencies down, the resulting gain from the amp becomes significantly smoother and more professional-sounding without losing aggression.
- Controlling Low-End Bloom: On the other end, chugs and palm mutes can create a “bloom” of low-end that muddies up the mix. He uses a dynamic EQ to clamp down on these frequencies only when they get too loud, keeping the low-end tight and focused without making the tone thin.
Mastering these kinds of pre-amp adjustments is fundamental to getting a pro metal sound. If you want to dive deeper into how frequency decisions impact your mix, these metal guitar EQ techniques are essential reading.
Even Out the Performance with Compression
To further control the signal hitting the amp, Buster adds a compressor early in the chain. He notes that with heavily down-tuned and pitched riffs, certain notes can jump out in volume. The compressor’s job is simply to even out these dynamics, ensuring the amp gets a consistent level. This results in a more stable and predictable distortion character, where every note has the same power and intensity. A bit of smart dynamics control goes a long way.
For more on how to use compressors to create powerful and consistent metal tracks, check out this guide to the audio compressor.
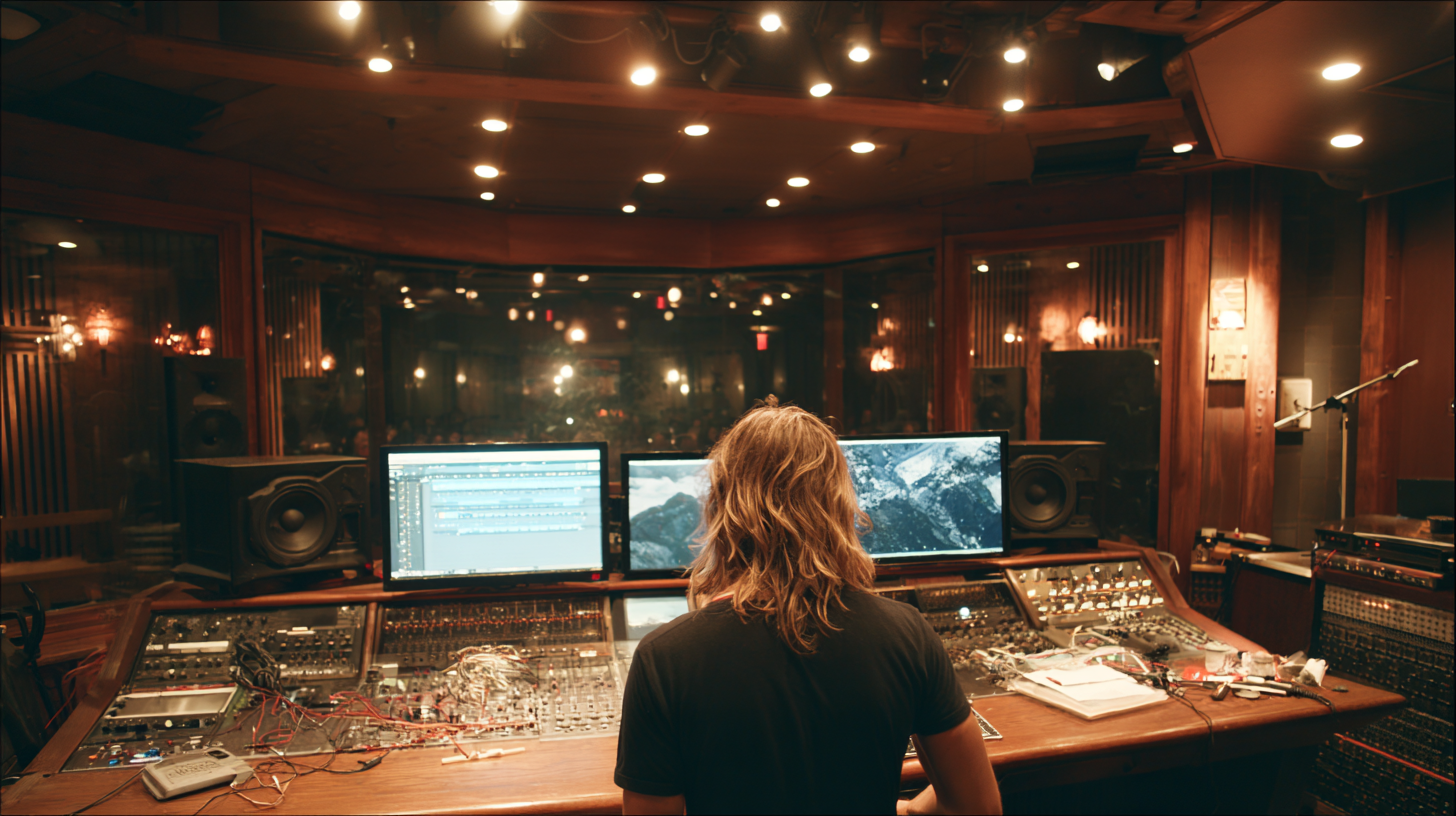
Post-Processing and Adding the Vibe
With the core tone dialed, Buster adds a final layer of polish to make it sit perfectly in a mix.
He mentions that while he might cut some mids with his pre-amp EQ, he often adds them back in later using a saturation plugin. His go-to is FabFilter Saturn. By adding some subtle saturation, he not only brings back some of that mid-range body but also glues the entire sound together, giving it that “makes everything better” enhancement.
Build Your Own Brutal Tones
Crafting a tone like this is an exercise in detail. It’s not about finding one magic plugin, but about understanding how each part of the signal chain influences the next. To recap Buster’s method:
- Start with a Great DI: It’s the foundation for everything.
- Mix-and-Match Plugins: Use your favorite amp sim, a separate cab loader, and a parallel boost for ultimate control.
- Sculpt the DI Signal: Use aggressive pre-amp EQ and compression to control how the amp distorts. This is where the real shaping happens.
- Add Character with Saturation: Use plugins like Saturn to add vibe and body after the amp.
These are the exact kinds of techniques that separate amateur mixes from pro-level productions. Watching a master like Buster Odeholm build a tone is one thing, but imagine having the chance to do it yourself with his original multi-tracks.
Humanity's Last Breath on Nail The Mix
Buster Odeholm mixes "Labyrinthian"
Get the Session
At Nail The Mix, you get to do just that. Every month, you gain access to the raw session files from massive metal bands and watch the original producer mix the song from scratch, explaining every single plugin, setting, and decision. It’s time to move past presets and unlock your own signature sound.