Spiritbox Plugin: How Mike Stringer Gets His Guitar Tone
Nail The Mix Staff
Spiritbox has a sound that’s instantly recognizable. It’s a perfect storm of ethereal beauty and crushing, technical heaviness. Between Courtney LaPlante’s iconic vocals and the deep, atmospheric synths, the guitar work of Mike Stringer is the undeniable backbone: dense, precise, and absolutely massive.
That sound is the gold standard for modern metal production. It’s ridiculously polished, technically demanding, and blends influences from djent to pop and industrial. If you’ve ever tried to replicate it, you know it’s about more than just finding a high-gain preset.
So, how do you get that slick Spiritbox guitar tone in your own DAW? Let’s break down the tools and techniques, starting with the obvious centerpiece: the signature Spiritbox plugin.
The Core: The Mixwave Mike Stringer Plugin
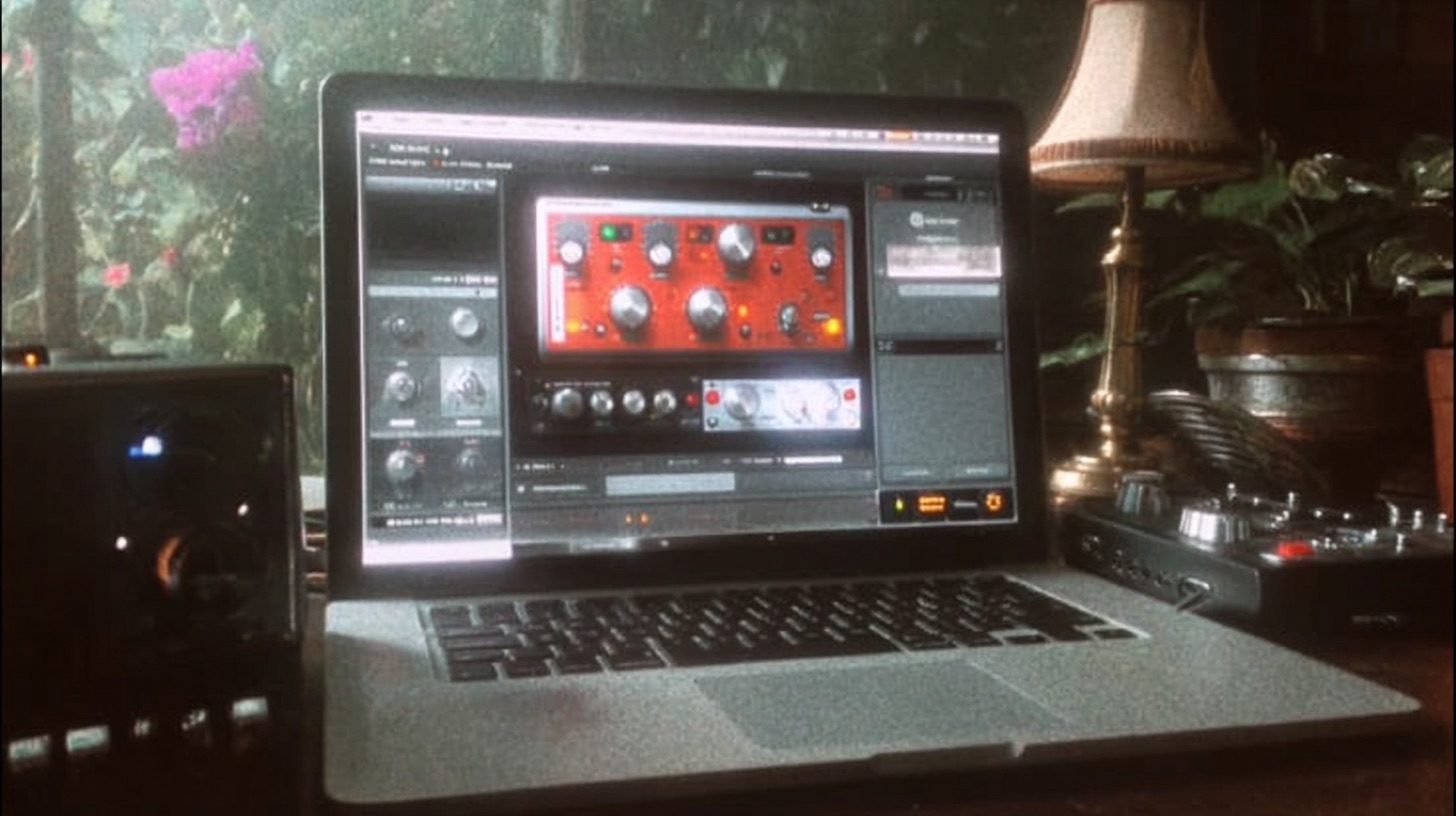
When you want an artist’s exact tone, the best place to start is with the gear they designed themselves. Mike Stringer teamed up with Mixwave to create the Mixwave: Spiritbox – Mike Stringer suite, an all-in-one plugin that’s basically his entire guitar signal chain in a box. This isn’t just another amp sim; it’s a meticulously crafted production tool.
Let’s look at what’s under the hood and why it works.
The Amps: Precision and Aggression
The plugin features a virtual recreation of Mike’s go-to amplifier, a modded 5150/6505+ style head. This amp is a legend in metal for a reason: it has a signature mid-range aggression and a tight low end that’s perfect for down-tuned, high-speed riffing. The plugin gives you two channels:
- Rhythm Channel (Red): This is where the magic happens for those tight, percussive chugs. It’s voiced for clarity and punch, ensuring that even with eight-string guitars in Drop F#, every note articulates instead of turning into a muddy mess.
- Lead Channel (Blue): This channel is smoother and more saturated, perfect for soaring leads and liquid-fast legato runs. It has that singing quality you need for melodies to cut through the wall of sound.
The Pedals: Essential Tone Shaping
Before the signal even hits the amp, the plugin includes a virtual pedalboard with the essentials for modern metal:
- HORIZON DRIVE: This is your classic overdrive pedal (think Tube Screamer). The key here isn’t to add a ton of distortion, but to tighten the low end and focus the mids before the amp. Pro Tip: Keep the Drive knob low (around 1-2) and the Level knob high (around 8-9). This tightens the bass response and gives your palm mutes that signature percussive “djent” attack.
- GATE: An aggressive noise gate is non-negotiable for this style. When you’re playing syncopated, staccato riffs, you need the silence between notes to be completely clean. This built-in gate is tuned to clamp down instantly, cleaning up any string noise or hum.
Cabs & IRs: The Final Polish
The sound of the speaker cabinet and microphone is arguably as important as the amp itself. The Mixwave plugin comes loaded with a massive library of Impulse Responses (IRs) captured by Mike Stringer and producer Will Putney. This saves you the endless headache of sifting through all the best impulse responses for metal guitars to find one that works. You get a curated selection of tones that are already proven to work, letting you quickly blend different mics and cabs to find the perfect texture for your mix.
Beyond the Amp Sim: Building the Full Sound
Dropping the Spiritbox plugin on your DI track will get you 90% of the way there, but that final 10% comes from understanding how to build the entire production around it. The plugin is a powerful tool, but it works best when you feed it the right stuff and process it correctly in the mix.
The Foundation: A Flawless DI in a Low Tuning
Garbage in, garbage out. The clarity of the Spiritbox sound starts with an absolutely pristine DI signal. This means using a good interface (like a Focusrite Scarlett or Universal Audio Apollo) and making sure your levels aren’t clipping.
More importantly, let’s talk tunings. Spiritbox often uses Drop F# and other low tunings on eight-string guitars. This creates a huge challenge: how do you keep that low end from clashing with the bass and kick drum? The key is control.
Pre-Processing Your DI
Before your signal even touches the Mixwave plugin, a little cleanup can make a huge difference. Use a parametric EQ to gently high-pass the DI signal around 60-80Hz. You won’t hear this, but it removes useless sub-bass rumble that just eats up headroom and creates mud later on. Some producers even use a multi-band compressor on the DI to tame the low-end “thump” of palm mutes before they hit the amp.
Post-Processing and EQ
Once you have your core tone from the plugin, you need to make it sit in a dense mix. This is where surgical EQ comes in, and it’s one of the most important steps.
- High-Pass and Low-Pass: This is standard practice for modern metal. Use a high-pass filter to cut everything below 100-150Hz. This carves out a dedicated space for your kick and bass to live. Then, use a low-pass filter to cut the harsh, “fizzy” highs somewhere between 8kHz and 12kHz. This cleans up the tone and makes room for the cymbals.
- Surgical Mid-Cuts: Find the “honky” or “boxy” frequencies in the low-mids (usually 300-500Hz) and make a narrow cut. This cleans up the tone and makes space for the snare’s body.
- Presence Boost: If your guitars need to cut through more, a gentle, wide boost somewhere in the 2-5kHz range can add aggression and clarity without making them harsh.
Learning to master these EQ moves is what separates an amateur mix from a professional one. For a deeper dive into these techniques, check out our guide on how to EQ metal guitar.
Guitar Bus Compression
You’ll typically have at least two rhythm guitar tracks (and often four). Route them all to a single stereo bus or group. On this bus, subtle compression can work wonders to “glue” them together, making them sound like a single, cohesive wall of sound.
You don’t need to smash them. Use an SSL-style bus compressor, a type of VCA compressor, with a slow attack (around 30ms) and a fast release. Aim for just 1-3dB of gain reduction. The goal isn’t to kill the dynamics, but to gently tame the peaks and add a bit of punch.
See How The Pros Do It
Having a killer tool like the Mixwave Spiritbox plugin is a massive advantage. It gives you direct access to the core components of Mike Stringer’s sound. But as you can see, the tone is also shaped by how it’s placed and processed within the larger mix.
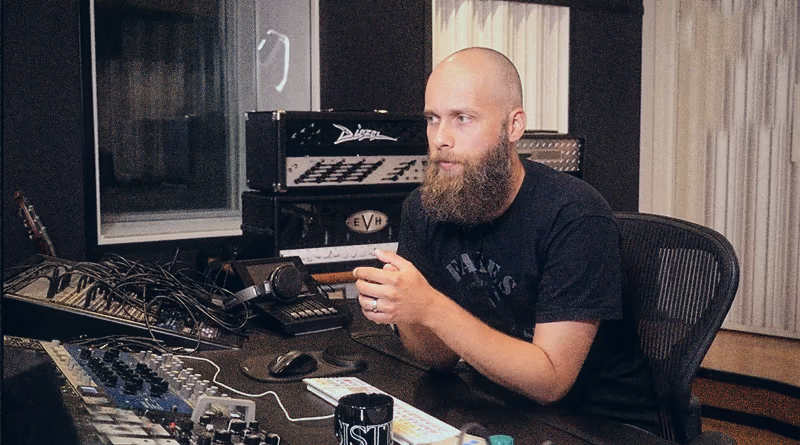
This is where you can take your skills to the next level. Knowing which EQs to use is one thing, but watching a pro like Will Putney (who’s mixed Spiritbox) or Dan Braunstein actually dial them in on a real session is a game-changer. You see why they make certain cuts, how they blend the bass with low-tuned guitars, and what subtle tricks they use to achieve that final polished sound.
Spiritbox on Nail The Mix
Daniel Braunstein mixes "Holy Roller" Get the SessionIf you’re ready to move beyond presets and learn how to craft these tones from the ground up, Nail The Mix is for you. Every month, you get the raw multitracks from a major metal band and watch the original producer mix the song from scratch, explaining every plugin, setting, and decision along the way.