How to hear compression on a rock snare drum
Nail The Mix Staff
Alright, let’s talk about compression. We all use it, but how many of us can truly hear what it’s doing, especially when it comes to shaping the feel of something as critical as a rock snare drum? It’s way more than just an automatic volume fader. Think of it as an art form, a tool to inject life and movement into your tracks. Our buddy Joel Ek from URM Academy recently dropped some serious knowledge on this, and we’re here to break down how you can train your ears to pick up on these crucial details.
Beyond Volume: Understanding Compression "Movement"
When you first start mixing, compression often feels like this mystical effect that just makes things louder or tames peaks. But seasoned pros know its real power lies in its ability to shape the envelope of a sound – how it attacks, sustains, and releases. This shaping is what we mean by "movement." Get it right, and your snare drum won’t just sit in the mix; it’ll dance, it’ll groove, it’ll add a specific feel that can make or break a song. Getting a handle on how attack and release times influence this movement is a fundamental skill for compressing metal snares and vocals.
Training Your Ears: A Snare Compression Workout
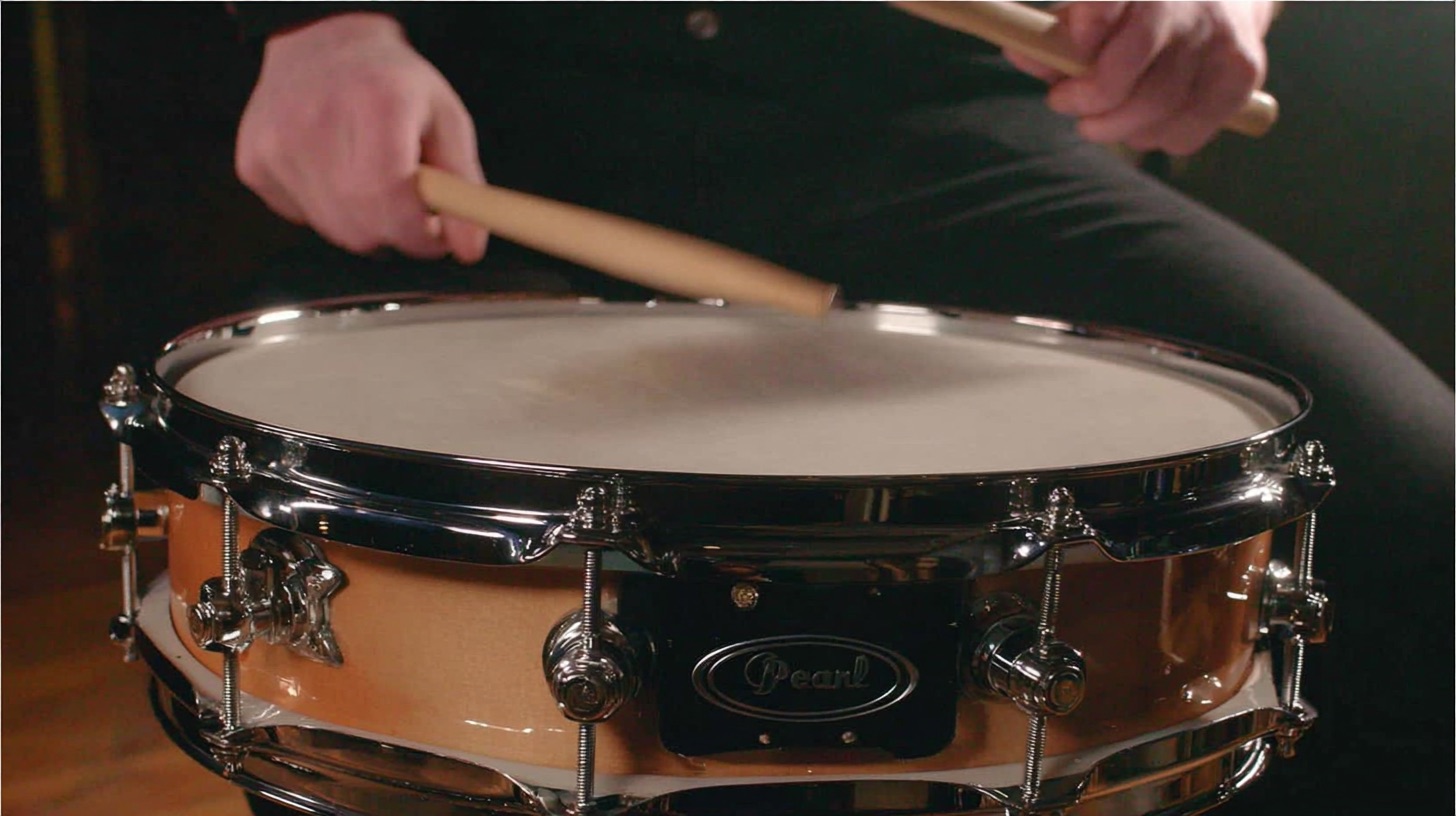
The best way to learn to hear compression is to exaggerate it, then dial it back. We’ll walk through a method, much like Joel demonstrates, using a dynamic rock snare as our guinea pig. Grab your favorite versatile compressor plugin – something you can really push – and let’s get started.
H3: Step 1: Extreme Settings for Maximum Audibility
First things first, we need to make the compression super obvious. Solo up your snare track.
- Ratio: Crank it to the highest setting. We want to absolutely crush the snare.
- Attack: Set it to a medium value, say around 50% or a moderate millisecond setting (e.g., 10-20ms, depending on your plugin). This lets some initial transient poke through before the clampdown.
- Release: Start with the absolute fastest release time your compressor offers.
- Threshold/Input: Pull the threshold down (or push the input up, depending on your compressor) until you’re seeing a ton of gain reduction. Don’t be shy here; we’re in learning mode.
Now, listen to your snare. It’s probably going to sound pretty mangled, but that’s the point!
H3: Step 2: Finding the Groove with Release Time
The release time is crucial for dictating the "breath" and "pump" of the compressor, which directly translates to movement. Let’s A/B some settings.
H4: Fastest Release vs. Slower Settings
With a really fast track and a hard-hitting snare, the fastest release can often sound choked, splatty, and almost make it harder to hear any distinct movement. It’s just too quick, and the compressor is constantly trying to recover before the next hit.
-
Experiment 1: Fastest vs. 75% of Max Release:
Now, slow that release down. If your compressor dial goes from 0 to 100, try setting it around 75% towards the slowest setting (or if it's in milliseconds, try a significantly longer time than your fastest, e.g., if fastest is 5ms, try 150-200ms). Listen to the difference. Does the snare have more body? Does it feel less frantic? -
Experiment 2: Fastest vs. 50% of Max Release:
Bring the release to about 50% (medium release time). You’ll likely start to hear the snare breathe a bit more. It might have a bit more sustain and a more noticeable "groove" compared to the super-fast setting. The "choked" feeling should be lessening, and a sense of push-and-pull might start to emerge. -
Experiment 3: Fastest vs. 25% of Max Release:
Now, try a release that’s about 25% of the way from fastest to slowest (so, still relatively fast, but slower than the initial super-fast setting). For many rock snares, this is where magic can happen. You might hear the snare gain a really nice sustain, a clear "movement," and that desirable push-and-pull quality that enhances the groove. It’s less "splatty" than the fastest setting and has more life.
The goal is to time the release so it complements the tempo and feel of the song. Too fast, and it can sound unnatural and thin. Too slow, and it might squash the next hit or fail to recover, making the snare sound lifeless. Once you’ve controlled the envelope, you might also want to learn how to gate a snare drum to clean up any remaining bleed between hits.
H3: Step 3: Fine-Tuning Release – The "Jump" Method
When you’re zeroing in on the perfect release, instead of slowly sweeping the knob (which can make it hard to perceive changes), try "jumping" between settings. For example, if your dial has numbers, jump from 3 to 4, then 3 to 5. Listen intently to which setting makes you feel the groove more, which one gets you more excited. Your ears will tell you when it’s right. For a faster song, a moderately fast release (like that 25% mark) often works wonders.
H3: Step 4: Dialing in the Attack – Shaping the Hit
Once you’ve got a release setting that feels good and groovy, it’s time to play with the attack. The attack time determines how much of the initial transient of the snare gets through before the compressor kicks in.
- A fast attack will clamp down on the transient quickly, resulting in a less punchy, perhaps "fatter" or more controlled sound.
- A slower attack will let more of that initial "crack" or "thwack" of the snare through before the compression engages, making it sound punchier and more aggressive. This focus on shaping the performance is essential when you decide to mix drums without using samples, as you rely entirely on the original recording’s dynamics.
If your initial 50% attack setting felt a bit too "splatty" or was squashing too much initial impact, try slowing it down a touch. Let a little more of that transient pop, but not so much that it loses the controlled character you’re starting to build. Find the balance that gives you the impact you want without sounding overly aggressive or losing the body. Of course, sometimes you want that aggression, and there are other ways to get it, like using Kris Crummett’s automation trick for aggressive drums.
H3: Step 5: Bringing It Back to Musicality
Okay, you’ve used extreme settings to clearly hear what attack and release do. Now, it’s time to make it musical.
- Ratio: Pull the ratio back to something more sensible for a snare drum, maybe 3:1, 4:1, or 6:1, depending on the sound you’re after.
- Threshold/Input: Adjust your threshold (or input) so you’re getting a more moderate amount of gain reduction. You don’t need to obliterate it anymore. Aim for gain reduction that controls dynamics and adds character without sounding obviously squashed—a concept that extends to the way you use limiting for density and punch.
- Makeup Gain: Bring up the makeup gain so the compressed snare is at a similar perceived loudness to the uncompressed snare. This allows for a fair A/B comparison.
Now, A/B your compressed snare (with its newfound movement) against the raw, uncompressed snare in the context of the mix. If you’re still hearing unwanted ringing after compression, it’s a good time to learn how to surgically remove ring from a snare drum.
The Impact: How Snare Movement Elevates Your Mix
When you nail the compression and introduce that intentional "movement," you’ll hear the snare gain an extra bit of swing, a bounce, and a spunk that can really energize the entire track. A great way to enhance this further is with parallel compression on your drum bus, which can add even more size and excitement.
Imagine this kind of detailed dynamic shaping extrapolated across all your tracks – drums, bass, guitars, vocals. You can create an incredible sense of depth and groove by having elements move with and against each other. This is where understanding metal compression secrets beyond just making it loud really pays off. Once your dynamics are grooving, you can then further sculpt your snare with precision using EQ strategies for mixing modern metal to make it cut through perfectly.
Hear It, Master It, Understand It
Learning to truly hear compression, especially subtle attack and release characteristics, takes time and dedicated practice. It’s one of the toughest, most mystifying aspects of mixing for many engineers. But once you can hear it, you can master it. The techniques Joel Ek shares are a fantastic starting point for demystifying this process.
If you’re serious about taking your rock and metal mixes to a professional level, understanding these nuances is non-negotiable. At Nail The Mix, we dive deep into concepts like this every single month. You get to watch world-class producers mix real songs from massive bands, explaining every decision, including how they dial in their compressors for maximum impact and groove.
Ready to go beyond presets and truly understand the tools of the trade? Check out Nail The Mix and see how you can fast-track your journey to pro-level mixes. For an even deeper dive into foundational mixing skills, explore our Unlock Your Sound: Mixing Modern Metal Beyond Presets course. Stop guessing and start hearing!