Guitar Tone Hacking w/ Buster Odeholm (with NO plugins)
Nail The Mix Staff
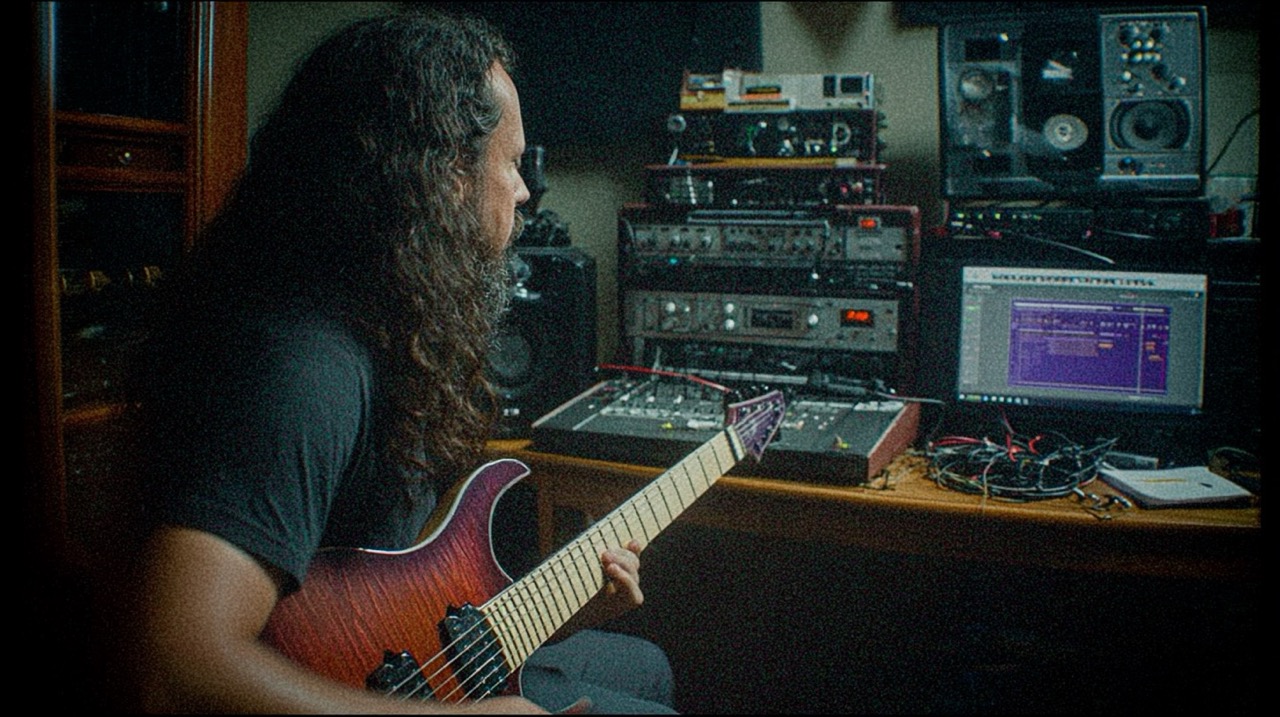
What’s up, fellow tone-chasers? If you’re constantly battling guitar tones that sound a bit thin, overly shrill, or just plain meh despite stacking plugins, you’re in the right place. Today, we’re diving into a killer technique, showcased by Buster Odeholm in a recent Mix Lab session, that can massively boost your guitar tone using something you already have: your DAW’s editing tools and the power of phase.
Forget adding another EQ or saturator for a moment; this is about manipulating the fundamental relationship between your guitar tracks.
The Foundation: Blending Your Guitar Sources
Many modern metal productions, including Buster’s own workflow, involve blending different guitar signals to achieve a full and controllable sound. A common setup, and the one he uses as a launching pad for this technique, involves two main components:
- Direct Amp Signal + IR: Taking the direct signal from a guitar amp (often via a load box like a Two Notes Torpedo or a Universal Audio Ox Box) into an interface, and then using an Impulse Response (IR) in the DAW to simulate the speaker cabinet. This gives you a consistent, easily tweakable sound.
- Mic’d Physical Cabinet: Simultaneously recording an actual speaker cabinet miked up in a room. This captures the air, the specific speaker character, and the room’s ambience, adding a layer of realism and depth.
You now have two distinct audio signals of the same performance. This is crucial, as the magic happens when we play these two sources back together and start messing with their alignment. While Buster uses a DI/IR and a mic’d cab, this technique can work with any two correlated guitar sources, like two different mics on the same speaker (think the classic Shure SM57 and Royer R-121 combo) or even two different IRs on the same DI.
The “No Plugin” EQ Trick: Phase for Tone
So, how does this become an EQ without plugins? It all comes down to phase interaction.
How Phase Interaction Shapes Your Sound
When you combine two audio signals that are playing the same part, the way their waveforms line up (their phase relationship) has a dramatic effect on the resulting sound.
- If the peaks and troughs of the waveforms align perfectly (in phase), certain frequencies will reinforce each other, making them louder.
- If a peak in one waveform aligns with a trough in the other (out of phase), certain frequencies will cancel each other out, making them quieter or even disappear.
By making tiny adjustments to the timing of one track relative to the other, you’re changing this phase relationship across the entire frequency spectrum. Some frequencies will get a boost, others will get a cut. Essentially, you’re performing a complex EQ move without ever touching an EQ plugin!
Why This Can Be Better (Or a Great Complement) to Your Usual EQ
This isn’t about ditching your favorite EQs entirely. Instead, think of phase alignment as a foundational tone-shaping tool. It can sound incredibly natural because it’s similar to what happens when you physically move a microphone even a tiny bit in front of a speaker cabinet. You’re altering how the sound waves from the speaker combine in the air before they even hit the mic. This technique replicates that interactive process right within your DAW.
Dialing It In: A Practical Guide to Phase Nudging
Alright, let’s get to the nitty-gritty. Buster demonstrates this in Pro Tools, but the principles apply to any DAW like Logic Pro X, Cubase, Reaper, or Studio One.
Setting the Stage in your DAW
First, get your two guitar tracks onto separate channels in your DAW. Make sure they are time-aligned as closely as possible to start – most DAWs handle latency compensation pretty well, but a quick visual check doesn’t hurt. Create a short loop of a chunky riff or a sustained chord section so you can focus on the tonal changes.
Slip Mode: Your Key to Micro-Adjustments
This is critical. You need to be able to move one of your audio regions by incredibly small increments, independent of your DAW’s grid.
- In Pro Tools, this is called Slip Mode.
- Other DAWs will have similar functions (e.g., holding a modifier key while dragging, or disabling “snap to grid”).
Engaging slip mode allows you to nudge an audio clip by samples or sub-samples, which is the level of precision we’re after.
The Art of the Nudge: Zoom, Listen, Repeat
Now for the fun part. As Buster shows, you need to zoom in like crazy on the waveforms of your two tracks. We’re talking about seeing the individual cycles of the sound waves.
- Start Nudging: Select one of the tracks (e.g., the mic’d cab track) and begin to move it slightly forward or backward in time, literally by tiny, tiny amounts.
- Listen Intently: With your loop playing, pay close attention to how the sound changes with each micro-adjustment. You’ll hear the tone shift, sometimes subtly, sometimes drastically. Buster emphasizes that “all those tiny, tiny moves change the sound drastically.”
Visual Cues: A Starting Point
Initially, you can use your eyes. Try to line up the very beginning of a prominent transient on both waveforms. Get them as visually aligned as possible. This is often a good neutral starting point. But don’t rely solely on your eyes! Buster notes that just because they look aligned doesn’t mean they sound best that way.
Ear Training: Finding “The Spot”
This is where your ears become the ultimate guide. As you nudge the track:
- Listen for thinness or shrillness: This often indicates that key frequencies are being cancelled out undesirably. If it sounds “hollow” or “phasey” in a bad way, you’re probably not in the sweet spot.
- Listen for fullness and body: The right alignment can make the guitars sound much bigger and more powerful.
- Listen for high-end clarity: You might find a spot where the pick attack becomes clearer, or conversely, a spot that tames excessive fizz. Buster noticed that moving the track to the left (earlier) in his example tended to bring out more high-end, while moving it to the right (later) could create a darker tone.
- Listen for low-mid impact: The punch and chug of your guitars can be significantly affected.
Experiment by moving the track both slightly ahead and slightly behind the other. You’re looking for that magic point where the two signals “complement each other a lot,” as Buster puts it.
Beyond “In” or “Out”: The Spectrum of Phase
A crucial takeaway from Buster’s demonstration is that it’s not just a question of “in phase” or “out of phase” (like hitting a phase invert button). There’s an entire spectrum of tonal possibilities between those extremes. You’re searching for the “right phase” or the “right sound of the relationship” that serves your song and your vision for the guitar tone. There are no hard rules here; it’s all about what sounds good to you.
The Payoff: Crafting Your Ideal Guitar Tone
By meticulously adjusting the phase relationship between your DI/IR track and your mic’d cab track (or any two correlated sources), you can:
- Add or reduce high-end sizzle.
- Thicken up the low-mids for more punch.
- Scoop out or enhance specific mid-range frequencies.
- Generally make your guitars sound fuller, clearer, and more impactful.
Buster demonstrates how he moves the track until he feels “it’s right.” Sometimes he aims for maximum high-end availability, knowing he can EQ it out later if needed. Other times, a slightly darker, smoother alignment might be perfect. The beauty is in the flexibility and the organic nature of the tonal shaping.
This approach of using fundamental physics and DAW editing to sculpt your sound is key to avoiding generic tones and can help you solve the problem with modern metal guitar tone. It’s about leveraging the fundamental physics of sound to your advantage.
Taking Your Mixes Further
Mastering techniques like phase alignment is a cornerstone of professional audio engineering. It’s about understanding why things sound the way they do and how to manipulate them at a foundational level. If you enjoy this kind of “no-plugin” trick, you can apply similar principles to convert a track from mono to stereo.
So, to recap, radically shaping your guitar tone without a single plugin involves:
- Setting up two distinct but related guitar signals (like a DI/IR and a mic’d cab).
- Using your DAW’s slip mode (or equivalent) to make micro-adjustments to the timing of one track.
- Listening intently for how these tiny nudges affect the phase relationship, sculpting frequencies.
- Trusting your ears to find the ‘sweet spot’ that makes your guitars punch, sing, or sit perfectly.
These techniques are awesome starting points you can try in your own productions right now. But imagine seeing guys like Buster actually dial this stuff in, blend sources, and make it sit perfectly with pounding drums and a killer bassline… Nail The Mix lets you be a fly on the wall for all of it. Every month, you get access to real multitracks from massive metal songs and watch the actual producers mix them from scratch, explaining every decision.
While phase alignment sculpts your guitar’s frequency content, remember that a killer metal mix also relies on controlling dynamics and punch. For insights into that aspect, exploring how to re-amp metal guitars without losing tone can be your next step.

And if you want to know EVERYTHING, check out Buster’s course “How It’s Done.”