Your Top Cubase FAQs Answered for Metal Mixes
Nail The Mix Staff
So you’re firing up Steinberg Cubase, ready to craft a face-melting metal track. It’s a beast of a DAW, packed with tools that are perfect for handling the dense, loud, and low-tuned chaos of modern metal production. But with great power comes a whole lot of questions.
Whether you're battling CPU spikes from a dozen amp sims or trying to make an 8-string guitar and a bass coexist peacefully, we’ve got you covered. Here are the answers to some of the most common Cubase FAQs, specifically for metal producers.
Is Cubase good for producing modern metal?
Short answer: Hell yes.
Long answer: Cubase is a monster for metal. Its audio engine is solid, the MIDI editing is top-tier (which is crucial for programmed drums), and its stock plugins have gotten seriously good. Features like the Control Room, VariAudio for pitch correction, and its rock-solid handling of complex routing make it a favorite for many pros.
Producers like Joey Sturgis, who’s mixed bands like Asking Alexandria and Of Mice & Men, have relied on it for years. It has everything you need to go from a blank session to a polished, release-ready master that can compete with today's incredibly high production standards. While other DAWs like Pro Tools and Reaper have their strengths, Cubase is a powerful, all-in-one environment that absolutely slays for heavy music.
My Cubase project keeps crashing. How do I handle huge metal sessions?
A modern metal mix can easily top 100 tracks, with CPU-hungry plugins on every channel. Your computer is going to scream for mercy. Here’s how to tame the beast in Cubase.
Tweak Your Buffer Size
This is your first line of defense.
- For tracking: You need low latency. Set your buffer size as low as your system can handle without clicks and pops, usually 64 or 128 samples.
- For mixing: Latency doesn't matter anymore. Crank that buffer size way up to 1024 or even 2048 samples. This gives your CPU more time to process everything, preventing crashes and glitches when you have 50 instances of the Neural DSP Archetype: Gojira running.
Use Freeze and Render-in-Place
These are your secret weapons for saving CPU.
- Freeze Track: Right-click a track (like a software instrument) and select "Freeze Instrument Channel." Cubase renders a temporary audio file and disables the plugin. This is great for MIDI tracks running Superior Drummer 3 or a complex synth patch. You can easily "unfreeze" it to make changes.
- Render-in-Place: This is more permanent. It creates a brand-new audio track from your processed track. It's perfect for guitar DIs that have been run through an amp sim. Once you’re 100% happy with your guitar tone, select the DI track, go to Edit > Render in Place, and disable the original track. You’ve now locked in that tone and reclaimed a huge chunk of CPU.
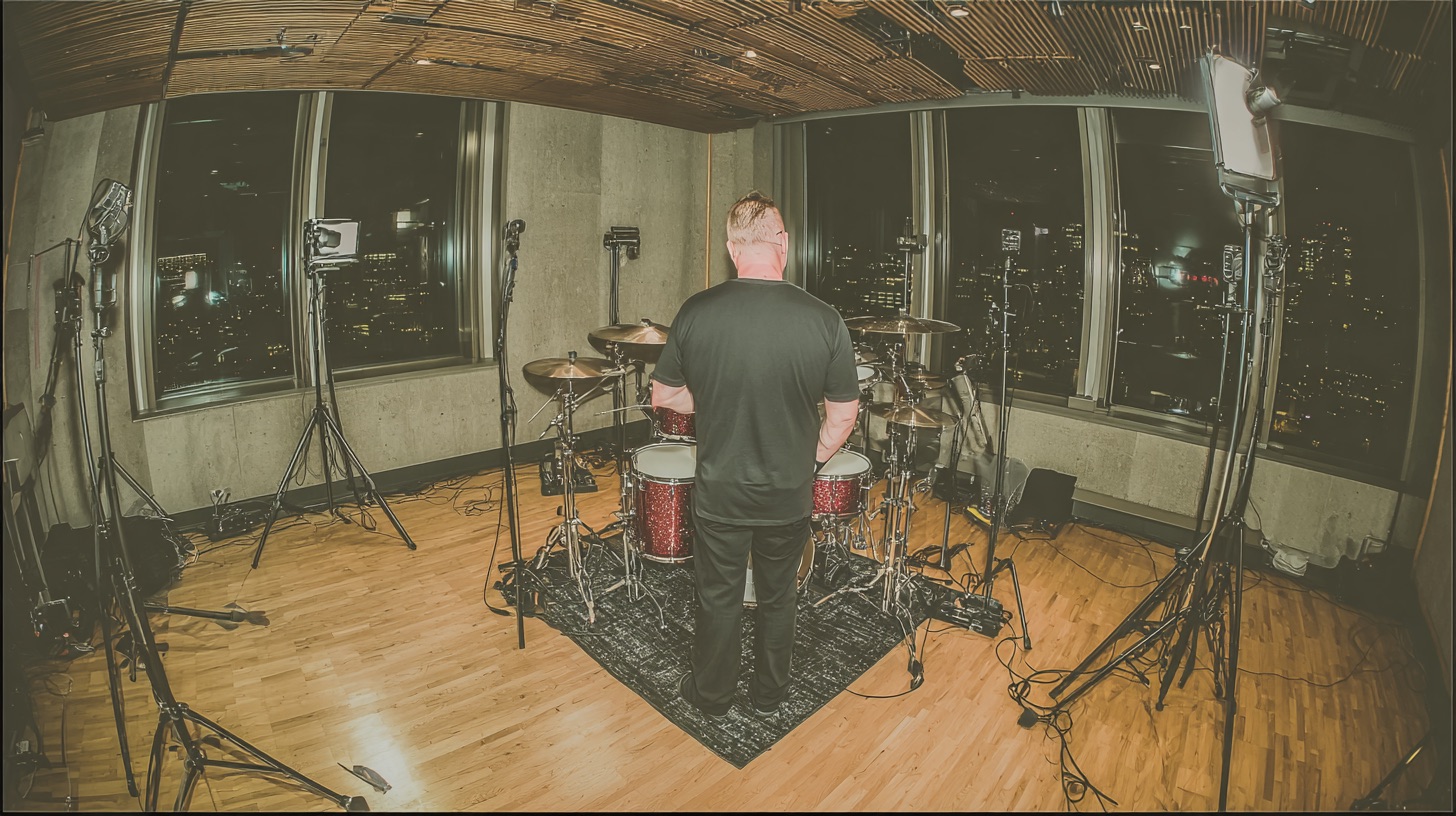
What's the best way to program realistic metal drums in Cubase?
Modern metal drums are often a combination of tight playing, surgical editing, and sample replacement. If you're programming, the goal is to make it sound inhumanly tight but not robotic.
The Drum Editor is Your Friend
Forget drawing MIDI notes in the main project window. Open the MIDI part and use the Drum Editor. The vertical layout is way more intuitive for drums. Pay close attention to the velocity lanes at the bottom. Great metal drumming is all about dynamics—the ghost notes on the snare, the difference between a regular hi-hat hit and an accented one. Don't just pencil everything in at 127 velocity. Varying velocities is the key to making programmed kits from libraries like GetGood Drums or Superior Drummer sound alive.
Multi-Outs for Maximum Control
Don't mix your drums inside the plugin. Route each kit piece to a separate channel in Cubase. In the VST Instruments panel (F11), find your drum VST and click the little "Activate Outputs" icon. This lets you send the kick, snare, toms, and cymbals to their own audio channels in the MixConsole. Now you can apply dedicated EQ, compression, and effects to each piece, just like you would with a real recording. This is non-negotiable for a pro-sounding mix.
How do I manage quad-tracked, low-tuned guitars in Cubase?
Getting four (or more) tracks of crushing, low-tuned guitar to sound clear and massive instead of like a muddy mess is all about organization and processing.
Folders and Group Channels are Essential
Here’s a bulletproof workflow:
- Create a Folder Track: Put all your DI guitar tracks (e.g., Rhythm L1, Rhythm L2, Rhythm R1, Rhythm R2) inside a Folder Track to keep your project tidy.
- Create a Group Channel: This will be your amp sim bus. Let’s call it "Rhythm GTR Amp." Route the output of all your DI tracks to this Group Channel.
- Add Your Tone: Put your amp sim (like a Neural DSP plugin) and any initial EQ or cab sim on this "Rhythm GTR Amp" group. Now all your guitars are running through the exact same tone for perfect consistency.
- Create a Main Guitar Bus: Route the output of your "Rhythm GTR Amp" group (and any lead or clean guitar groups) to another Group Channel called "ALL GTR." This is where you’ll do your bus compression and final EQ to glue all the guitars together.
This setup keeps your session organized and saves a ton of CPU since you’re only running one instance of your amp sim for all rhythm tracks.
Use VariAudio for Quick Tuning Fixes
Even the tightest players can have a note drift slightly sharp or flat, especially on low-tuned chugs. Instead of re-recording, double-click the audio event, go to the "VariAudio" tab in the editor, and enable it. You can quickly drag a wonky note back into perfect pitch. It’s a lifesaver for tightening up performances. For more tips on this, check out our guide on EQing modern metal guitars.
How do I get my bass to cut through 8-string guitars?
When your guitars are tuned to Drop F, the bass guitar can easily get lost. The key is to make them occupy different spaces without fighting.
Sidechain Compression is Key
You need the kick drum and bass to work together to create a thunderous low-end punch. The easiest way to do this in Cubase is with sidechain compression.
- Put a compressor on your bass track (Cubase’s stock Compressor is fine for this).
- Activate the Side-Chain input on the compressor.
- Go to your kick drum track, go to the "Sends" tab, and send it to the sidechain input of the bass compressor.
- Set the compressor with a fast attack and release. Now, every time the kick hits, the bass will duck in volume ever so slightly, creating space for the kick's transient to cut through.
This simple trick instantly cleans up low-end mud. For a deeper dive into this technique, read up on our metal compression secrets.
Use Frequency 2 for Surgical EQ
Cubase's stock EQ plugin, Frequency 2, is incredible. It has dynamic EQ, which is amazing for taming problem frequencies only when they pop up. Use a regular EQ band to carve out a "pocket" in the bass tone where the fundamental of the guitars sits, and vice-versa. A small cut on the bass around 100-200 Hz can make room for the guitar chugs, while a corresponding cut on the guitars can let the bass's harmonic grit shine through.
See How The Pros Do It
Answering these FAQs will get you on the right track, but nothing beats watching a world-class producer put these concepts into practice on a real song.
At Nail The Mix, you can do just that. Every month, you get the raw multitracks from a massive song and watch the original producer mix it from scratch, explaining every plugin, setting, and decision along the way. Imagine seeing how guys like Will Putney, Dan Lancaster, or Jens Bogren tackle these exact Cubase challenges.
You can browse our entire catalog of past sessions and see the incredible lineup of Nail The Mix instructors. It’s your chance to stop guessing and start learning the techniques that power today’s best-sounding metal.