How To Mix Crushing Metal Bass Guitar w/ Buster Odeholm
Nail The Mix Staff
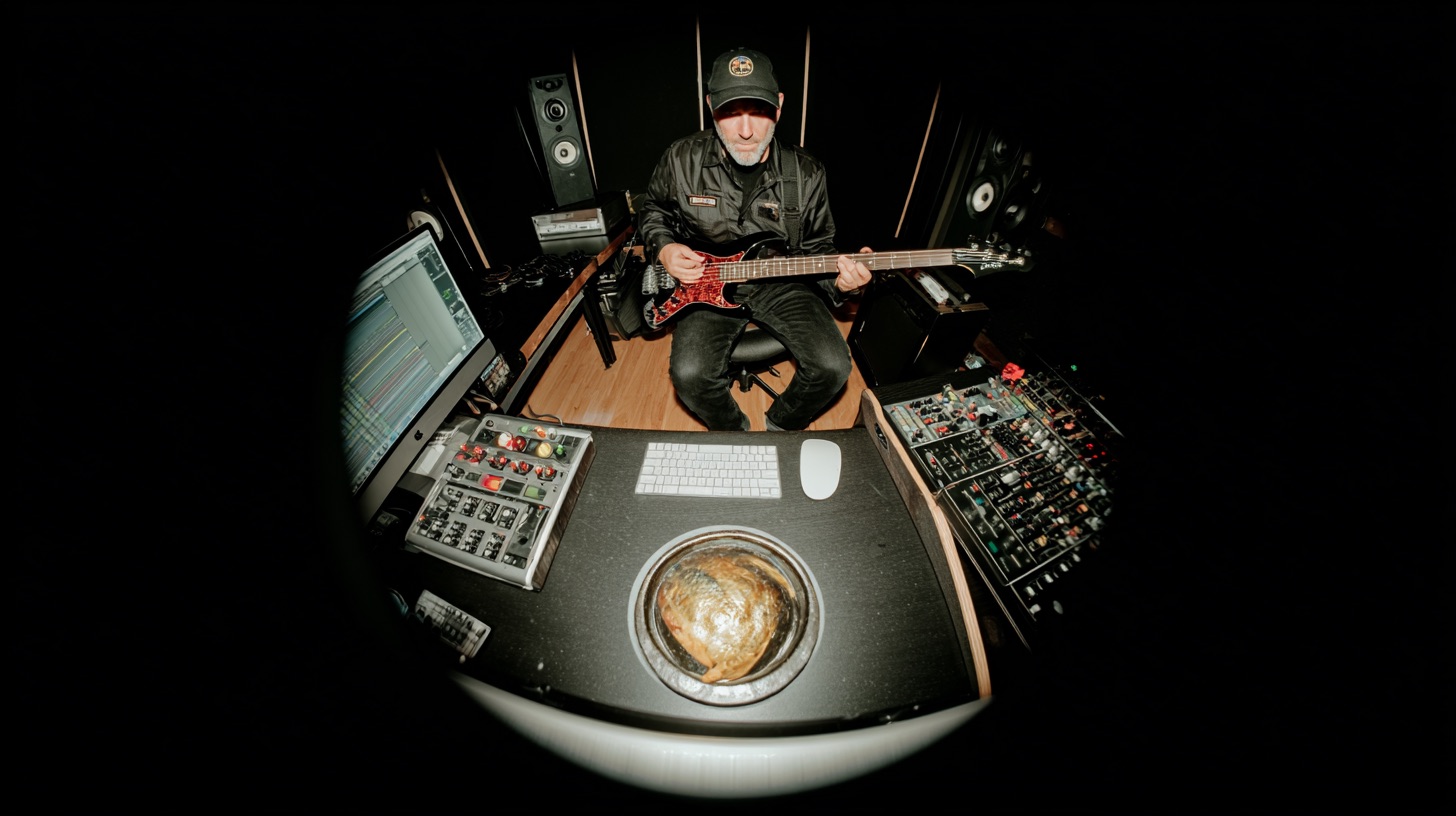
Let’s be honest, a killer bass tone is the secret weapon of modern metal. It’s what glues the relentless kick drums to the crushing guitars and provides the massive weight a mix needs to hit you in the chest. In a recent Nail The Mix session, producer Buster Odeholm (Vildhjarta, Humanity’s Last Breath) peeled back the curtain on how he crafts the absolutely monstrous bass tones for the band Allt.
Forget just plugging a DI into a single amp sim and calling it a day. Buster’s technique is a masterclass in modern layering, using parallel processing to create a bass sound that is aggressive, clear, and huge all at once. Let’s break down his multi-layered approach to grit, sub, and width.
The Core Grit: Shaping Distortion for Maximum Impact
The heart of the tone is a heavily distorted layer that provides all the character, aggression, and midrange cut. But the real magic is in how Buster prepares the signal before it even hits the distortion.
Pre-Distortion Processing: Setting the Stage
Before any heavy saturation, the DI signal gets some crucial prep work. First, a compressor is used to even out the performance, making the signal more consistent. A more even signal means the distortion will react more predictably, preventing notes from either disappearing or jumping out too aggressively. This is a fundamental step for pro-sounding dynamics.
Next comes the most critical move: pre-distortion EQ. This isn’t about making the bass sound good on its own; it’s about shaping the signal to get the best possible reaction from the distortion plugin. By cutting or boosting specific frequencies going into the saturation, you can control the character of the distortion itself, preventing it from sounding too muddy, fizzy, or thin. This is one of the most powerful EQ strategies for mixing modern metal.
The Distortion Stage: Dialing in the Aggression
With the signal prepped, Buster pushes it into a “heavy saturation” mode, likely using a multi-band saturator like FabFilter Saturn. After the distortion, a cab sim is added to give the raw, saturated signal the familiar sound and feel of a real-world amp and speaker cabinet. This combination of saturation and cabinet emulation is what builds the main distorted character of the bass.
Post-Distortion EQ: Final Tonal Sculpting
After the distortion and cab sim, another EQ is applied. This is where the final tone is sculpted. It’s important to understand this is a completely different job than the pre-distortion EQ. The pre-EQ controls how the distortion behaves, while the post-EQ shapes the resulting sound to fit perfectly in the mix, carving out space for other instruments and enhancing the frequencies that matter most.
A Different Flavor of Dirt: The Tape Saturation Alternative
To show another way to get great results, Buster also demonstrated a different tool for the job: a tape distortion plugin, similar to the Softube Tape plugin. This offers a different, often warmer and rounder, type of saturation compared to typical amp-style distortion.
He showed how cranking the input on the tape plugin can sound awesome, but also pointed out a common pitfall: the huge amount of low-end these plugins can add. The key is to manually turn down the specific low-frequency enhancement knobs on the plugin to keep the tone aggressive without it becoming a boomy mess. It’s a great reminder to always listen and adjust, not just crank everything.
Building the Foundation: The Sub-Bass Layer
A distorted bass tone can sometimes lack consistent low-end weight. To solve this, Buster creates a separate, dedicated sub-bass track. This track’s only job is to provide a clean, powerful, and stable foundation below 100Hz.
The Sub-Bass Chain
The processing for the sub channel is simple and effective:
- Filter: A low-pass filter is used to remove all the midrange and high-frequency information, isolating just the deep sub frequencies.
- Volume Leveling: A plugin is used to even out the volume of the sub-bass notes, ensuring a rock-solid, unwavering low end.
- Distortion: Yes, even the sub gets a touch of distortion! This adds subtle harmonics that help the sub translate better on smaller speakers, without making it sound overtly gritty. He notes that a Pultec-style EQ is often his go-to for this task.
The Crucial Phase Check
After setting up the sub channel, the most important step is to check its phase relationship with the main distorted bass track. If the two tracks are out of phase, their low frequencies can cancel each other out, making the bass sound thin and weak. Always flip the phase polarity on one track to see which position sounds fuller and punchier.
Adding Dimension: The Stereo Width Layer
To make the bass feel even bigger, Buster adds a final layer for stereo width. The goal here is to create a sense of space without sacrificing the punch and focus of the central bass tone.
His method is straightforward: he duplicates one of the existing tracks, runs it through a stereo doubler plugin, and carefully blends it underneath the main bass. He emphasizes that this is just a subtle effect. The mono grit and sub layers should remain dominant and powerful in the center, with the stereo layer just adding a bit of ear candy on the sides.
Bringing It All Together
Buster Odeholm’s approach to bass shows that a truly crushing tone is built in layers. By separating the grit, the sub, and the width into distinct channels, you gain complete control over every aspect of your sound.
- Layer 1 (Grit): Use pre- and post-compression and EQ to shape a focused, aggressive midrange tone.
- Layer 2 (Sub): Create a filtered, consistent sub-bass channel for foundational weight and check the phase.
- Layer 3 (Width): Add a subtle stereo doubler to create dimension without losing the core punch.
These techniques are a powerful blueprint you can apply to your own mixes right now. But imagine watching a world-class producer like Buster Odeholm build this entire bass tone from scratch, explaining every plugin choice and automation move, and then fitting it perfectly into the full Allt mix.
Allt on Nail The Mix
Buster Odeholm mixes "Rupture"
Get the Session
At Nail The Mix, that’s exactly what you get. We give you the real multi-tracks from massive bands and let you watch the original producers mix the song from start to finish. If you want to see exactly how this Allt bass tone was dialed in and placed in the final track, you need to check out the Born of Osiris, Allt & Oceano session.
Stop guessing and start learning the techniques that the pros use every day. Join the community and see how guys like Buster Odeholm craft these incredible sounds firsthand in the full Nail The Mix session. And if you’re ready to drastically improve your skills, find out how our program helps you mix modern metal beyond presets.
And for those who want to dive really deep, get Buster’s course “How It’s Done.”
Get a new set of multi-tracks every month from a world-class artist, a livestream with the producer who mixed it, 100+ tutorials, our exclusive plugins and more
Get Started for $1


