Spiritbox vocal chain: LA-2A compression, Decapitator saturation & layered delay sends
Nail The Mix Staff
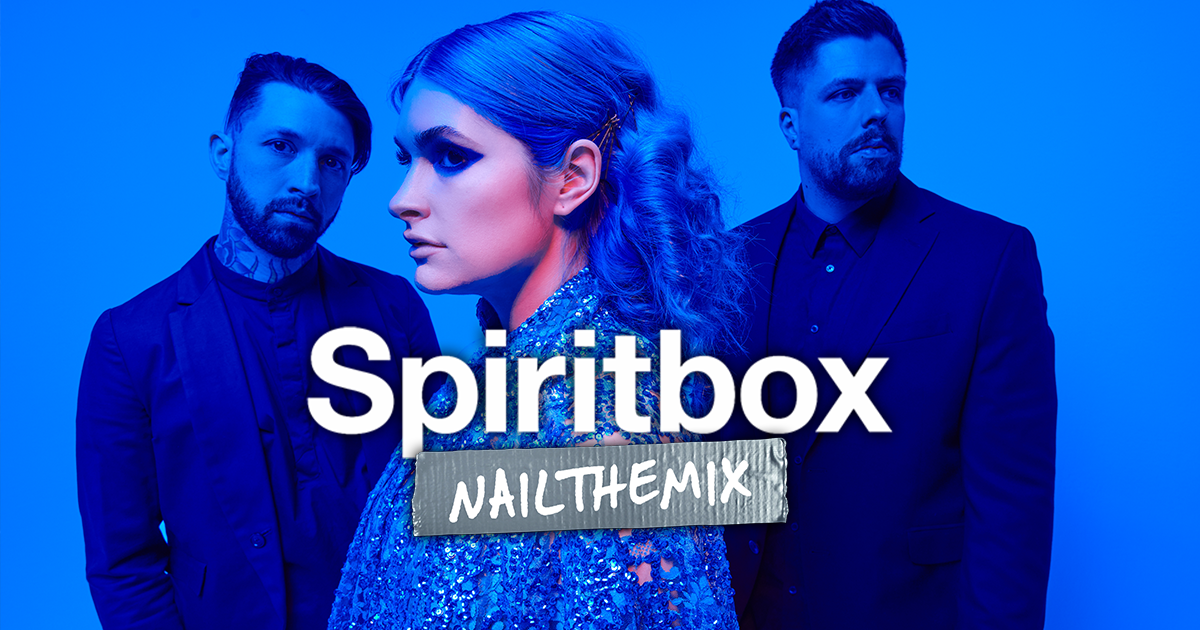
Courtney LaPlante’s vocals are a modern metal staple. They can shift from ethereal and delicate to absolutely monstrous in a split second. Mixing a performance that dynamic, like on Spiritbox’s massive track “Circle With Me,” is a masterclass in balance. You need to let the clean parts breathe while making sure they have presence and character, all without sacrificing the raw emotion.
We dove into a mix session with producer Daniel Braunstein to see exactly how he crafted the iconic clean vocal sound for this song. It’s a killer blend of smart foundational moves, unconventional processing, and a ton of creative effects that you can try in your own sessions.
The Foundation: Prep, Routing, and Gain Riding
Before a single EQ or compressor was touched, Daniel set the stage. The vocals were pre-processed with Antares Auto-Tune for pitch correction and a Waves NS1 Noise Suppressor to clean up any subtle room noise or hum. The NS1 is a go-to for him, often living at the very start of a vocal chain to ensure the source is as clean as possible.
A huge part of his philosophy on this track was preserving the delicateness of Courtney’s softer passages. Instead of slamming the vocal with heavy compression, he relied on volume automation and a light touch of the Waves Vocal Rider. This plugin gently rides the fader for you, evening out the performance without crushing the dynamics. It’s a perfect move for letting a nuanced vocal feel open and natural in a dense mix.
He also organized the session for maximum control. Rather than using one vocal track for the entire song, he split the performance into different tracks for each section (verse, chorus, etc.). This allowed him to tailor the processing for each part’s specific needs—a little less low-mid in the second verse, a bit more high-end in the chorus—a crucial technique for such a dynamic song.
The Individual Vocal Chain
Each lead vocal track had its own dedicated chain of inserts designed to shape and control the sound before it ever hit the main vocal bus.
EQ and Saturation
The chain starts with a Waves REQ 6 for some basic cleanup. The first move is a high-pass filter, cutting out everything below around 100Hz to eliminate low-end rumble that doesn’t contribute to the vocal.
Next up is a trick for adding warmth and body, especially for vocals that are sung in a higher register. He used Soundtoys Decapitator not for aggressive distortion, but for subtle tube-like saturation. The technique is simple but effective: turn the mix knob to 100% wet to dial in a warm, preamp-style tone, then blend it back in very lightly. This adds a subtle harmonic lift in the low-mids that gives the vocal weight without making it muddy.
De-essing and Final Compression
Here’s where the workflow gets interesting. Many engineers de-ess before they compress, but Daniel Braunstein prefers to do it after. He hits the vocal with a de-esser to tame sibilance before the final plugin in the chain: the UAD LA-2A (Legacy version). This classic optical compressor provides a final, smooth layer of gain reduction, gluing the performance together. The legacy version is a favorite of his and a great reminder that sometimes the stock plugins are all you need.
Crafting Space: The Vocal Effects Sends
This is where the magic really happens. Instead of just slapping on a single reverb and delay, Daniel built a complex web of effects on sends to create a unique space and character around the vocal. By bussing them out, he could blend multiple textures together for a sound you can’t get from a single plugin.
The “Chino Vocal” & “Telephone Slap”
To get some vibe and movement, he cooked up two distinct character delays.
- Telephone Slap: Using McDSP FutzBox, he created a gritty, telephone-filtered delay with a reverse quality. By turning the “direct” signal off, only the weird, effected signal is sent back, providing a cool rhythmic texture that sits behind the main vocal.
- Chino Vocal: As the name implies, this is a Deftones-inspired effect. It’s a chorusy, phasey sound with more filtering and slap delay, creating a washy, atmospheric layer that works in tandem with the other effects.
The “Wide Guy” & The “Monster”
For width and weight, he used two more subtle layers.
- Wide Guy: Using iZotope VocalSynth, he created a super-subtle stereo widener. It’s not an obvious effect, but it adds a layer of “breathiness” that boosts the vocal’s presence and helps it occupy a wider space in the mix.
- Monster Vox: This is a low octave effect, mixed in almost inaudibly. It’s just a pitch-shifted layer an octave down, with the lows carved out to prevent boominess. Its only job is to provide a touch of sub-harmonic reinforcement under the main vocal, adding weight without being noticed.
Classic Reverb and Delay
Of course, the essentials are there too. A classic Waves H-Delay provides a standard slap/throw delay. For reverb, he built a small chain: a De-esser (to prevent sibilant sounds from splashing around), ValhallaRoom for the core reverb sound, and a Waves PS22 Stereo Maker to spread the reverb out even wider.
The Lead Vocal Bus: The Final Glue
All the lead vocal tracks and their effect sends are routed to a final bus for a last layer of processing to make them sit perfectly in the track.
First, remember how he de-essed heavily on the individual tracks? This was so he could get aggressive with high-end on the bus. He adds a healthy boost at 8kHz to bring back air and presence without harshness.
Next, an API-style EQ adds some broad, sweetening strokes. He boosted 1.5kHz for bite and a touch of 20kHz for that top-end “air” to help the vocal cut through. Finally, a touch of the Waves CLA Vocals plugin adds one last bit of brightness and polish. This bus processing is what takes a great vocal track and makes it sound like a finished record.
Take These Techniques Further
Mixing vocals like this is all about making dozens of small, smart decisions that add up to a massive sound. It starts with a clean source, moves to gentle dynamic control, and is brought to life with creative EQ strategies and effects.
Spiritbox on Nail The Mix
Daniel Braunstein mixes "Circle With Me"
Get the Session
Learning these tricks is one thing, but watching a pro apply them in real-time is the ultimate way to level up your skills. With Nail The Mix, you get to be a fly on the wall for mix sessions with the producers behind bands like Spiritbox, Gojira, and Periphery. You get the real multi-tracks every month and watch the entire mix come together from scratch, with every plugin choice and automation move explained. If you’re ready to move beyond presets and truly unlock your sound, this is how you do it.
“`


