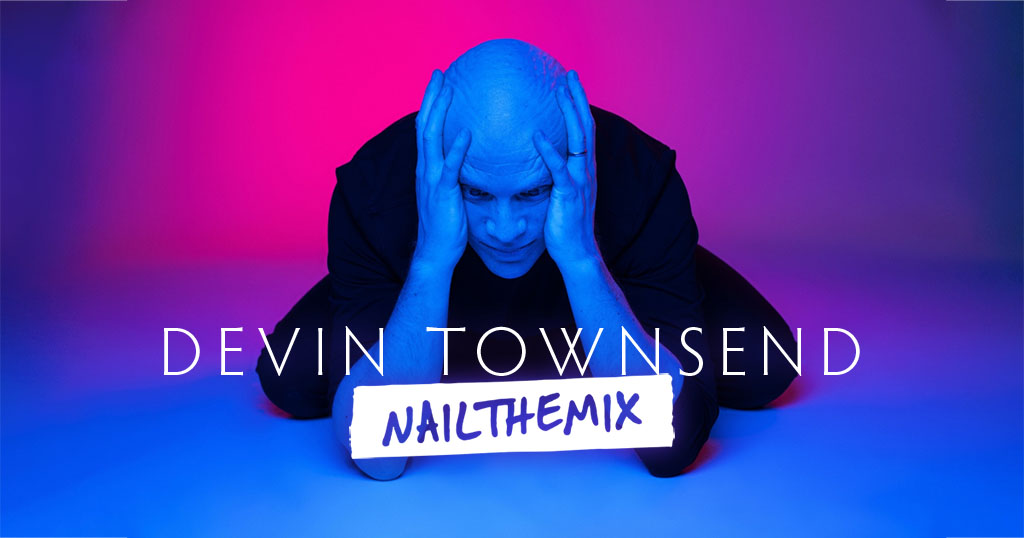
Balancing Bass and Stereo Width in Heavy Mixes (ft. Lamb Of God)
Nail The Mix Staff
Getting a band like Lamb Of God to sound massive is a given. That wall of guitar, the punishing rhythm section, Randy’s iconic vocals—it’s a sonic assault. But how do you get all that power and aggression to translate into a mix that’s not just loud, but also wide, clear, and impactful?
We got a look inside the Pro Tools session for a Lamb Of God track with legendary producer/mixer Machine, and he dropped some serious knowledge on how he builds that foundation. A lot of it comes down to one core concept he kept repeating: Don’t fuck your stereo image. It’s a simple rule, but it governs some of his most critical mixing decisions, especially when it comes to the relationship between guitars and bass.
Let’s dive into a few key techniques Machine uses to build a mix that’s both huge and wide.
Building the Foundation: The Guitar and Bass Lock-in
Machine’s approach to a dense metal mix starts with a “wall of sound” philosophy. He’s laser-focused on the power of the core rhythm section from the very beginning, working into his mix bus and mastering chain almost immediately. This allows him to make thousands of small decisions in the context of how the final record will sound, rather than applying heavy-handed compression at the end and having to go back and fix things.
Hard-Panned Guitars and a Committed Mono Bass
The starting point is simple but effective. The two main rhythm guitars are panned hard left and hard right. No surprises there—that’s classic metal mixing for creating maximum width.
The bass, however, is where things get interesting. In this session, it’s just one track. Machine mentioned they worked hard to get a killer sound on the way in and committed to it. No complex multi-track bass setup with DI, amp, and grit tracks. This “old school” approach streamlines the process and forces you to make the sound work from the source. This single bass track is fundamentally mono.
This creates the classic metal mixing battlefield: wide stereo guitars vs. a powerful mono center.
The Art of Bass Level: Don’t Squash Your Stereo Image
Here’s the main event. You have your wide guitars. You bring up the mono bass to add weight and power. But as you push the bass fader up, you might notice your mix starting to feel… smaller. Narrower. That’s the mono bass signal overpowering the stereo information and collapsing your stereo image.
Machine warns that this is likely why many metal mixers instinctively under-mix the bass; they’re so focused on “guitars, guitars, guitars” and “wide, wide, wide” that they sacrifice low-end punch to preserve that width.
The solution is to find the perfect balance. Push the bass up to the point where its midrange character is cutting through and supporting the guitars, especially on smaller speakers, but pull back right before it starts to audibly narrow the mix. You want to hear the bass’s aggressive character and fundamental weight without it sabotaging the panoramic feel of the rhythm guitars. Mastering this balance is crucial for a powerful-yet-spacious metal mix.
Placing Your Melodies: Vocals and Leads
With the foundation set, the melodic elements need to find their space without disrupting the core power.
Ghosting Vocals from the Start
A lot of mixers will build the entire instrumental track before even touching the vocals. Machine does the opposite. He ghosts the vocals in early on, keeping them low in the mix. Why? Because vocals “answer questions” about the music. Having them present, even subtly, provides musical context and helps guide decisions for the surrounding instruments, ensuring everything works to support the song’s focal point from the beginning.
A Unique Approach to Panning Leads
When it comes to guitar leads that weave around the vocals, Machine often avoids placing them dead center. In this track, the main lead performance is doubled.
- The Main Lead: Panned slightly to the right. His reasoning is surprisingly practical: when you’re driving, your leg often blocks the car’s left speaker, leaving the right audio channel more open and clear. Panning a key melodic event to the right can help it cut through in one of the most common listening environments.
- The Double: The second lead track is then panned slightly to the left, creating a unique, wide stereo effect that still feels anchored to one side.
To give this lead a “stony and wet” vibe, he uses a classic effects chain: a stereo delay feeding directly into a reverb on an auxiliary track. This smothers the delay repeats in reverb, creating a lush, atmospheric texture.
Win the Volume War with Automation, Not Just Compression
In a particularly heavy and percussive section, Machine pointed out how the drums—especially the toms and cymbals—were dominating the mix and almost swallowing the rhythm guitars. The brute-force solution would be to slam the mix bus compressor harder or turn the guitars up, which could throw off the entire balance.
Instead, he uses a clever automation trick.
The “Total Outsides” Bus Trick
- Route the Guitar Bus: He takes the main rhythm guitar bus and routes its output to a new auxiliary bus (which he calls “total outsides”).
- Automate the New Bus: During the section where the guitars are getting lost, he automates the volume of this new bus to rise up.
This allows him to push the level of the guitars into the final mix after they have been processed and without sending more signal into the main mix bus compressor. The result? The guitars jump forward with clarity and aggression right when they need to, and the powerful, slamming impact of the drums remains completely intact. It’s a surgical move that adds excitement without creating a squashed, over-compressed mess.
Get the Full Lamb Of God Mix
These techniques from Machine—balancing bass against the stereo field, creatively panning leads, and using smart automation—are the kinds of pro-level strategies that separate a good mix from a great one. They go beyond basic EQ moves and preset settings.
Lamb Of God on Nail The Mix
Machine mixes "Redneck"
Get the Session
This is exactly the kind of in-depth knowledge you get at Nail The Mix. If you want to see exactly how Machine applied these concepts and built this entire Lamb Of God mix from the ground up, you need to check out his full session.
With Nail The Mix, you can download the actual multi-tracks from this Lamb Of God song and watch Machine mix it from scratch, explaining every plugin, fader move, and decision along the way.
Stop guessing and start learning the techniques that the pros use to craft world-class metal records. It’s time to move beyond presets and see how it’s really done. Join Nail The Mix and get access to the full Lamb Of God session today!