What is Convolution Reverb? A Guide for Metal Producers
Nail The Mix Staff
You’ve probably got a dozen reverb plugins. You know the usual suspects: the halls, the rooms, the plates, the springs. Most of these are algorithmic reverbs, meaning they use complex math to simulate a space. They’re great, they’re flexible, but sometimes they can feel a little… artificial.
If you’re chasing that next level of realism and depth in your mixes—that feeling of a band actually playing in a massive, epic space—then you need to understand convolution reverb. It’s a different beast entirely, and it’s a powerful tool for making your metal productions sound huge.
So, What Is Convolution Reverb, Really?
Unlike algorithmic reverbs that generate a space from scratch, a convolution reverb uses a sonic snapshot of a real physical space. This snapshot is called an Impulse Response, or IR.
Think of it this way: an algorithmic reverb is like a CGI rendering of a cathedral, while a convolution reverb is like a high-resolution photograph of that same cathedral.
The Magic Behind the Impulse Response (IR)
So how do you take a "sonic photograph"?
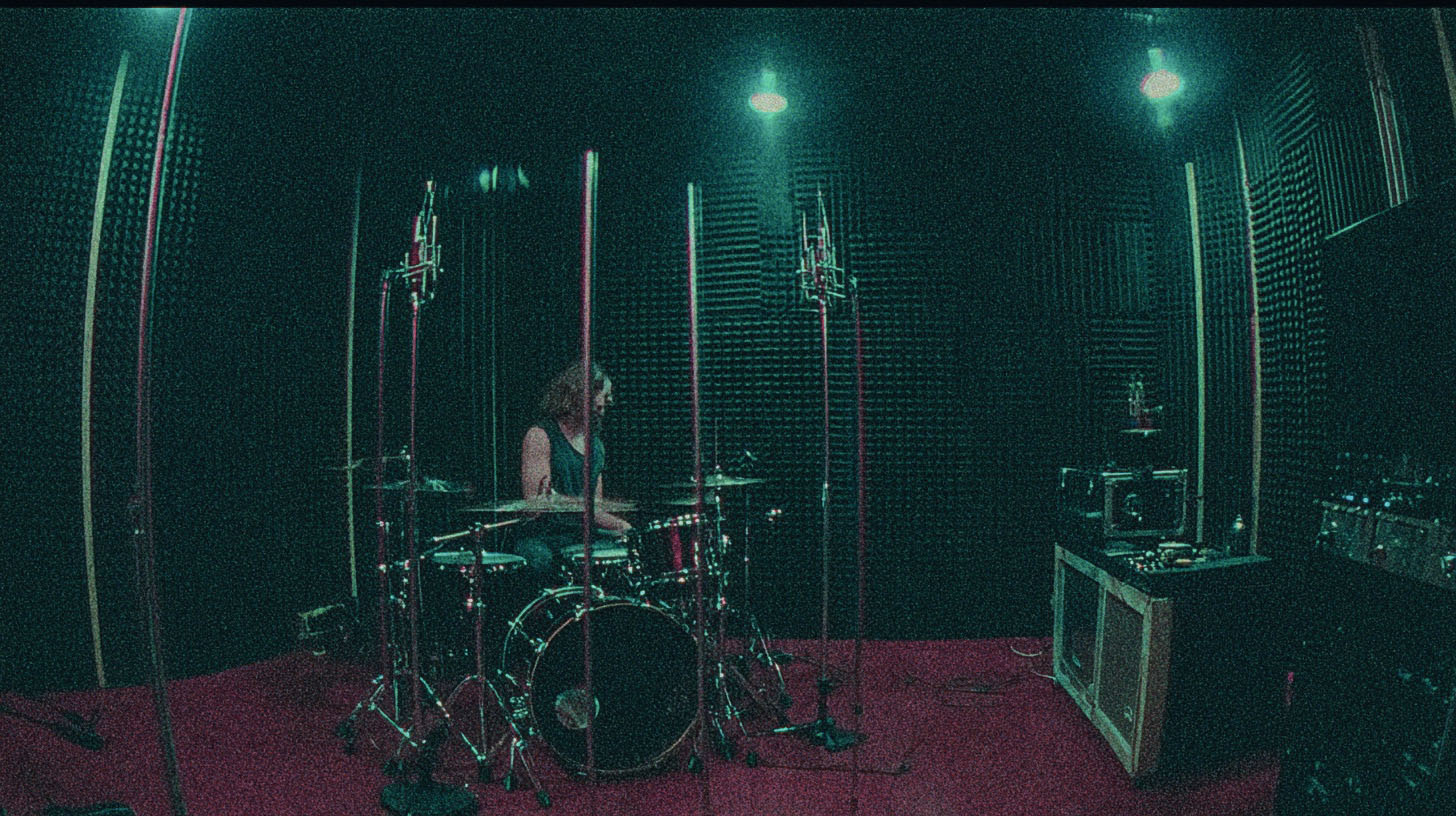
You go into a space you want to capture—a live room, a church, a concrete stairwell, whatever—and you generate a short, full-frequency sound. This is often done with a sine wave sweep that covers the entire audible spectrum, or sometimes even a loud, sharp pop like a starter pistol.
Then, you use high-quality microphones to record how that sound reacts to the room: the initial reflections, the long decay, the unique tonal character. That recording is the Impulse Response.
When you load that IR into a convolution reverb plugin, the plugin uses a process called (you guessed it) convolution to apply that room’s exact sonic characteristics to any audio you run through it. Your dry guitar track is essentially "played back" in that captured space, inheriting its authentic reverb tail.
This is exactly how you can capture the vibe of a specific room from a studio you tracked at years ago and use it in your mix today.
Convolution vs. Algorithmic Reverb: Why Should You Care?
Okay, cool. One is a recording, one is math. What’s the practical difference in a metal mix?
- Algorithmic Reverb: These are your workhorses. Think plugins like Valhalla VintageVerb or FabFilter Pro-R. They are incredibly versatile. You can tweak decay time, diffusion, and modulation to design almost any space you can imagine, even ones that couldn't exist in reality. They’re fantastic for creating stylized effects and general ambience.
- Convolution Reverb: These plugins excel at one thing: realism. When you pull up an IR of "Amsterdam Concertgebouw" in a plugin like Audio Ease Altiverb, you are hearing the genuine sound of that legendary hall. This makes them unbeatable for placing your instruments in a believable, cohesive environment. Want your drum room mics and guitars to sound like they're in the same massive space? A convolution reverb is the most direct way to achieve that.
Having a good library of IRs helps you develop a better ear for what different types of natural spaces sound like, from a huge stadium to the inside of a car. Listening through presets in a solid convolution reverb plugin is ear training in itself.
How to Use Convolution Reverb in a Metal Mix
Alright, let's get practical. How do we apply this to making chugs and blast beats sound even better?
Finding the Right Space
The first step is choosing your weapon. Altiverb is a long-standing industry standard, famous for its massive and beautifully recorded library of IRs (it even shows you a picture of the space). Other excellent options include Waves IR-1, Slate Digital Verbsuite Classics (which focuses on IRs of classic hardware reverb units), and the stock convolution reverbs in most DAWs, like Logic’s Space Designer or Reaper’s ReaVerb.
Don’t just slap the "Large Hall" preset on everything. Send your guitars to a bus and audition different room IRs. Try a "Medium Wood Room" or a "Concrete Warehouse." Notice how each IR has a distinct tonal character and decay that can dramatically change the feel of the track.
Creating a Cohesive Soundstage
This is where convolution reverb really shines. A common mistake is using a bunch of different reverbs that have no relation to one another. Your mix can end up sounding washed out and disconnected.
Instead, try this:
- Create a single reverb bus with your chosen convolution reverb plugin.
- Pick an IR for a space that fits the vibe of the song (e.g., a nice studio live room).
- Send a little bit of multiple instruments to this one reverb—the snare, the toms, the guitars, maybe even the lead vocals.
By placing different elements in the same virtual room, your mix will instantly feel more glued together and professional, as if the band was recorded playing together in that space.
Pro-Level Reverb Processing
Just like any other track in your mix, your reverb return needs to be processed. Don't just set it and forget it.
- EQ Your Reverb: This is non-negotiable. The reverb from your guitars doesn't need all that low-end mud clashing with the bass and kick. Use an EQ after the reverb plugin on the bus. A steep high-pass filter (up to 200-500Hz) will clean up the mud, and a gentle low-pass filter (around 6-8kHz) can tame any harsh digital fizz, letting the reverb add depth without getting in the way. For more on this, check out our tips on EQing metal guitars, as many principles apply.
- Compress Your Reverb: Want that washy, sustaining ambience to fill the gaps in a song? Try putting a compressor after the EQ on your reverb bus. A slow attack and fast release can bring up the tail of the reverb, making it breathe and swell with the music. Dig into our metal compression guide for more on how to dial in a compressor effectively.
Final Thoughts: Reading vs. Doing
Understanding what convolution reverb is and how it works is a game-changer for adding realistic depth to your mixes. It’s the secret sauce for moving beyond generic digital spaces and creating powerful, believable ambience that makes your productions stand out. From epic drum rooms to subtle guitar spaces, it’s an essential tool.
But reading about techniques is one thing. Seeing them put into practice by the best in the business is another.
Imagine watching world-class producers like Will Putney, Jens Bogren, and Dan Lancaster build a mix from scratch, choosing the perfect IRs, and dialing in the EQ and compression on their reverbs in real-time. The Nail The Mix catalog of sessions lets you do exactly that. You get the raw multitracks from bands like Gojira, Lamb of God, and Knocked Loose and watch the original producer explain every single move they make.
Plus, with over 1,500 additional tutorials included in URM Enhanced, you can learn every technique from the ground up, straight from the pros who are shaping the sound of modern metal. See how the top Nail The Mix instructors use these tools and take your mixes to the next level.
Get a new set of multi-tracks every month from a world-class artist, a livestream with the producer who mixed it, 100+ tutorials, our exclusive plugins and more
Get Started for $1


