Stereo vs Mono: Critical Choices for Metal Mix Clarity
Nail The Mix Staff
Ever wrestle with a metal mix that sounds like a dense, muddy blob? You’ve got killer riffs, pounding drums, and aggressive vocals, but everything’s fighting for space, and nothing quite hits like it should. Chances are, a big part of the problem lies in how you're handling stereo vs mono information. In the ultra-dense world of modern metal, understanding and strategically using the stereo field isn't just a fancy trick—it's absolutely fundamental to getting a powerful, clear, and impactful mix.
Let's dive into why this matters so much, and how you can make smarter mono and stereo decisions in your next metal production.
What's the Deal? Mono vs. Stereo Fundamentals
Before we get into the nitty-gritty of metal, let's nail down the basics. It might seem elementary, but a solid grasp here is key.
Mono: The Core, The Punch, The Center
Think of a mono signal as a single stream of audio. It’s one channel, and when you listen to it on a stereo system, it comes out equally from both speakers, sounding like it's right in the middle.
In metal, your core elements often live here:
- Kick Drum: You want that smack dead center. Think of a classic like a heavily processed Tama Starclassic kick sample from a Toontrack Superior Drummer 3 library – mono and punchy.
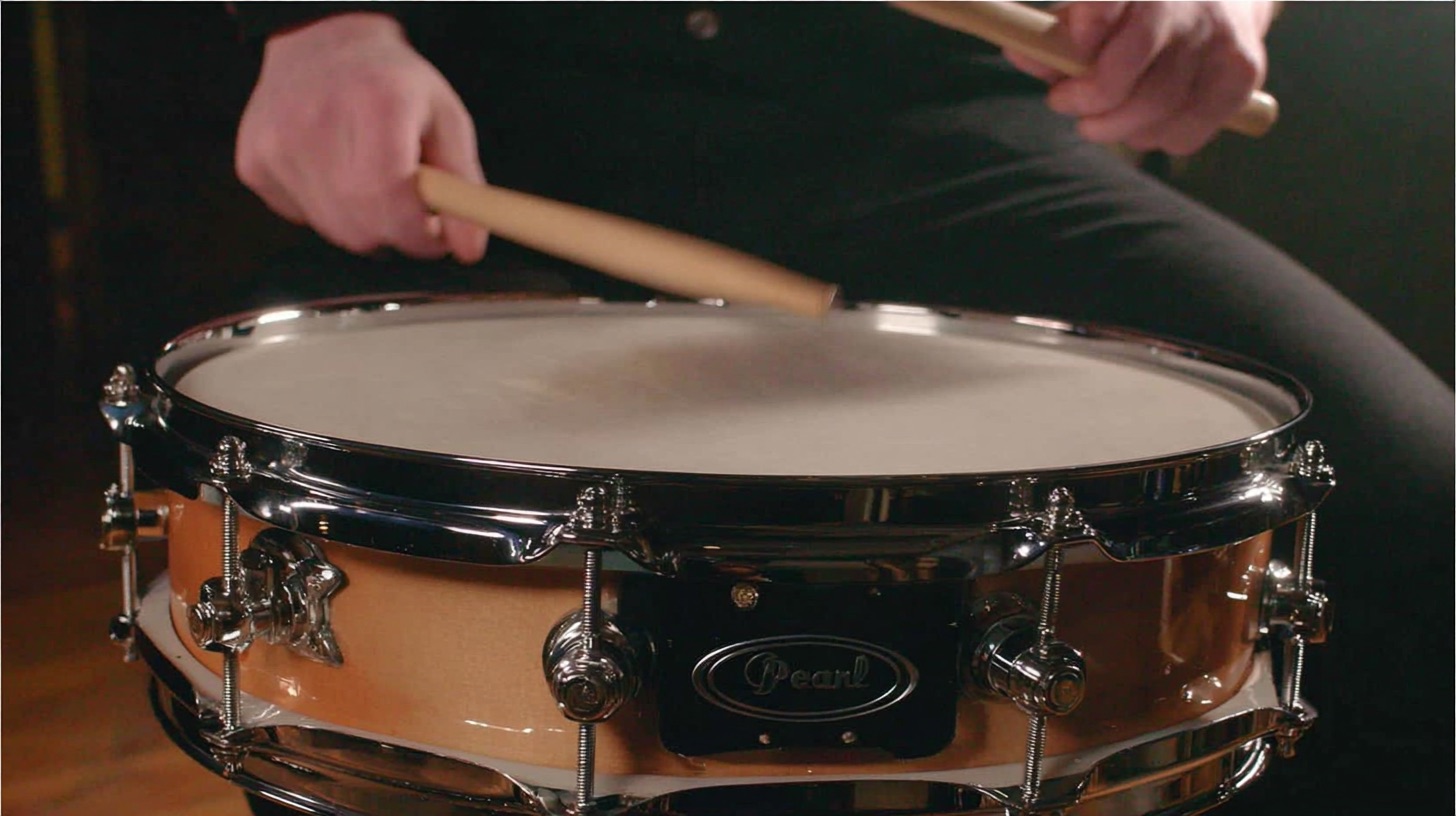
- Snare Drum: Again, for impact, the main body of the snare (like a Ludwig Black Beauty captured with an SM57) is usually mono and centered.
- Bass Guitar: For the most part, especially the low-end frequencies, bass (say, a Dingwall through a Darkglass Microtubes X Ultra) sits in mono. This keeps the low-end tight and focused.
- Lead Vocals: The main vocal performance? Ninety-nine percent of the time, it's mono and right up the gut.
Why mono for these? Power, focus, and clarity. When these critical elements are anchored in the center, they hit harder and are easier for the listener to lock onto. Your DAW (be it Pro Tools, Reaper, Cubase, or Logic Pro X) clearly shows mono tracks, and your pan knob on these tracks is usually parked at C (center).
Stereo: Width, Depth, and Immersion
Stereo, on the other hand, uses two channels (left and right) to create a soundscape. It allows you to place sounds not just in the center, but anywhere between your speakers, giving your mix width, depth, and a sense of realism or hugeness.
Common stereo elements in metal include:
- Drum Overheads & Room Mics: These are your main tools for capturing the stereo image of the kit. A well-placed pair of Neumann KM184s as overheads or some Royer R-121s as room mics will give you that natural spread.
- Rhythm Guitars: This is HUGE in metal. Those wide, crushing guitars are almost always stereo, achieved by double or quad-tracking.
- Synths & Soundscapes: Pads, atmospheric effects, and many synth leads are often stereo to add texture and width.
- FX Returns: Reverbs (like a Valhalla VintageVerb) and delays (think Soundtoys EchoBoy) are typically stereo to create space without cluttering the direct sound.
Stereo is what makes a mix feel big and immersive, allowing individual parts to have their own space.
Why Stereo Width is Your Secret Weapon in Metal
Metal mixes are notoriously dense. You’ve got layers of high-gain guitars, blast beats, double bass onslaughts, and vocals that need to cut through it all. This is where strategic use of the stereo field becomes paramount.
Battling the Wall of Sound: Density in Metal
If you try to cram everything into the center of your mix, you’ll end up with a sonic traffic jam. Frequencies will clash, instruments will mask each other, and you'll lose definition. It’s like trying to fit a symphony orchestra onto a tiny stage – a recipe for mud. The "wall of sound" becomes a "wall of mush."
Creating Separation and Clarity with Stereo Placement
This is where panning comes into play. By strategically placing elements across the stereo spectrum, you give each instrument its own zone.
- Guitars: The classic move. Pan your main rhythm guitars hard left and hard right. If you’re quad-tracking, you might have one pair (e.g., using a Peavey 6505 tone captured via an IR like a Celestion Vintage 30 from OwnHammer) hard L/R, and a second, slightly different sounding pair (maybe an ENGL Powerball with a different cab IR) panned 80-90% L/R. This creates that massive, enveloping guitar sound that’s a hallmark of modern metal.
- Drum Overheads: These naturally capture the stereo image of your kit. The cymbals will spread out, and even the toms will have some stereo placement.
- Backing Vocals & Harmonies: Spread these out. A stack of three harmonies on the left and three on the right can sound immense without fighting the lead vocal.
- Stereo FX: Use stereo reverbs and delays to add space. A ping-pong delay on a guitar solo, where echoes bounce from left to right, can sound epic.
You can also use stereo imager plugins like the iZotope Ozone Imager or Waves S1 Stereo Imager, but be very careful with these. They can introduce phase issues if pushed too hard. More on that later.
Enhancing Impact and Groove
Stereo isn't just about separation; it's also about impact.
- Tom Fills: Panning toms across the stereo field (e.g., high tom slightly left, mid tom center-ish, floor tom slightly right, mimicking a drummer’s setup) can make fills explode out of the speakers and feel much more dynamic.
- Stereo Delays/Reverbs: A short stereo slap delay on a snare or a wide reverb on a guitar chord can add a sense of drama and excitement.
Mono Compatibility: The Unsung Hero
Okay, so stereo is awesome for metal. But here’s the kicker: your mix still needs to sound good in mono.
Why You Still Need to Care About Mono
Not everyone listens on a perfect stereo system. Think about:
- Club PAs: Often run in mono.
- Phone Speakers: Almost always mono.
- Bluetooth Speakers: Many sum to mono.
- Radio Broadcast: Can sometimes be mono or have mono-ish characteristics.
If your mix relies too heavily on stereo trickery that disappears or causes problems in mono, it’s going to sound weak or broken on these systems. Phase issues are the main culprit here. When stereo signals with out-of-phase information are summed to mono, frequencies can cancel each other out, leading to a thin, hollow, or comb-filtered sound.
Most DAWs have a mono sum button on the master fader (check the Control Room in Cubase/Nuendo, or the master bus in Pro Tools, Logic, Reaper). Use it. Frequently.
Common Culprits for Mono Problems
- Overly Wide Stereo Synths: Some synth patches sound huge in stereo but vanish in mono due to phase cancellation.
- Aggressive Stereo Wideners: Plugins like the popular free Polyverse Wider can sound impressive but are notorious for causing mono compatibility issues if you’re not careful.
- Misaligned Mics: If you recorded a stereo source (like acoustic guitar with two mics) and one mic is significantly out of phase with the other.
- Haas Effect Abuse: Creating artificial stereo by delaying one side of a duplicated mono signal (more on this later).
How to spot and fix? Use a correlation meter (plugins like Waves PAZ Analyzer, Voxengo SPAN, or iZotope Insight have them). If the meter dips heavily into the negative, you've got phase problems. The fix might involve adjusting panning, using EQ to carve out problematic frequencies on one side, choosing a different sound source, or gently narrowing the stereo width of the offending track with a utility plugin.
Actionable Stereo and Mono Techniques for Your Next Metal Mix
Let's get practical. Here’s how to apply these concepts to specific instruments.
Guitars: The Foundation of Width
This is where metal mixes often get their signature hugeness.
- Tracking: Always double-track your main rhythm guitars. Record the same part twice on separate tracks. Pan one performance (e.g., Guitar 1 through a Neural DSP Archetype: Nolly) 100% Left and the other (Guitar 2, maybe through an STL ToneHub with a Will Putney preset) 100% Right. For even more mass, quad-track (four performances). You could pan the second pair to 80% L/R or even layer them with slightly different tones.
- EQ for Separation: Even when panned wide, guitars can fight. Use precise EQ cuts to give each side its own space. For instance, if both guitars are a bit fierce around 2.5kHz, try a slight dip on the left guitar there, and a slight dip at 3kHz on the right. For more on this, check out our deep dive on EQ strategies for mixing modern metal.
- Leads: Guitar solos are often mono and centered for focus, but you can use stereo delays (like a FabFilter Timeless 3) and reverbs (try LiquidSonics Seventh Heaven) to give them epic space.
Drums: Balancing Punch and Space
- Kick & Snare: As mentioned, usually mono and centered. You might layer a mono kick sample (like a punchy one from the GetGood Drums library) under your acoustic kick for consistency and power.
- Overheads & Rooms: These are your main stereo image for the kit. The mic technique used during recording (e.g., spaced pair, ORTF, Glyn Johns) will heavily influence the width. Don’t be afraid to use a stereo imager subtly on overheads if they feel too narrow, but always check mono.
- Toms: Pan these to follow the kit’s layout. If the drummer’s high tom is to their left, pan it slightly left in the mix. This makes fills much more engaging.
Bass: To Mono or Not To Mono?
This one’s a classic debate.
- Low-End Mono: General best practice is to keep frequencies below ~100-150Hz mono. This ensures a solid, consistent low-end, especially important for vinyl mastering and club playback. You can use a utility plugin or an EQ with mid/side capabilities (like FabFilter Pro-Q 3) to mono the low frequencies of your bass track.
- Stereo Upper Bass: A popular technique for adding grit and width is to split the bass signal, adding stereo effects (like a subtle chorus or a distortion plugin like FabFilter Saturn 2) to the mids and highs while keeping the fundamental low-end anchored in mono.
- Check Mono! If your bass sounds thin, weak, or disappears when you switch to mono, you’ve got phase issues in those wider bass frequencies.
Vocals: Center Stage with Stereo Spice
- Lead Vocal: Almost always mono and centered. This is non-negotiable for clarity and impact.
- Backing Vocals/Doubles: Pan these out. Hard panned doubles, or stacks of harmonies spread across the stereo field, can create a huge vocal sound that supports the lead.
- Stereo Effects: Use stereo reverbs and delays to give the lead vocal space without actually moving the dry vocal from the center. A classic trick is a stereo quarter-note delay with slightly different EQ/filtering on the left and right repeats.
Synths, Samples, and FX: The Icing on the Cake
- Synth Pads & Layers: Many synth patches (e.g., from Spectrasonics Omnisphere) are inherently stereo. Use this to create wide, atmospheric textures.
- FX Returns: When you send a centered vocal to a stereo reverb, the reverb return itself is stereo, adding width. Don’t be afraid to pan FX returns themselves – a delay return panned opposite to a short guitar stab can create cool movement.
Beyond Panning: Advanced Stereo Manipulation
Once you've got your basic panning down, there are more advanced tools you can use.
Mid/Side EQ and Processing
Mid/Side (M/S) processing separates a stereo signal into two components:
- Mid: Everything that's common to both left and right channels (effectively, the mono part, or what's in the center).
- Side: Everything that's different between the left and right channels (the stereo width information).
Plugins like FabFilter Pro-Q 3, iZotope Ozone, or Brainworx bx_digital V3 allow you to EQ the Mid and Side signals independently.
- Example: You could add some air (high-shelf boost) only to the Side signal of your guitars to make them feel wider and more "hi-fi" without making the center harsh. Or cut some muddy low-mids from the Side signal of your drum overheads to clean up the width.
- M/S Compression: You can also compress the Mid and Side signals differently. This can be powerful for controlling dynamics while shaping width. Learn more about how compression impacts metal mixes on our Metal Compression Secrets page.
Haas Effect / Precedence Effect
This is a psychoacoustic trick. If you take a mono signal, duplicate it, pan one hard left and the other hard right, and then delay one side by a very small amount (typically 5-30 milliseconds), the listener will perceive the sound as coming from the side of the un-delayed signal, and it will sound wider.
- Application: Can be used on mono guitars to create artificial width.
- Warning: The Haas effect is notorious for causing phase cancellation when summed to mono. If you use it, use it sparingly, keep delays short, and always check your mix in mono. A slight volume difference between the two signals can sometimes help.
Stereo Imagers and Wideners: Use With Extreme Caution
Plugins like Waves S1 Imager, iZotope Ozone Imager, or even some built-in DAW tools can manipulate the stereo width of a track or an entire mix. They often work by manipulating phase relationships, filtering, or level differences between the Mid and Side signals.
- When to Use: Can be useful for subtly enhancing the width of stereo sources that feel a bit narrow (like drum overheads or a synth pad).
- Risks: Easy to overdo. Pushing them too hard can quickly lead to a phasey, unnatural sound that falls apart in mono. The "wider is better" mentality is a trap here.
- Best Practice: Use them subtly. Apply them to individual tracks or buses rather than the master bus (unless you really know what you're doing). And – you guessed it – constantly check in mono.
Bringing It All Together: The Nail The Mix Approach
Mastering the interplay between mono and stereo is crucial for powerful, clear metal mixes. It's about making deliberate choices:
- Mono for punch and focus: Kick, snare, lead vocal, low-end of the bass.
- Stereo for width, separation, and immersion: Rhythm guitars, overheads, synths, FX.
- Mono compatibility is king: Always check how your stereo decisions translate to a mono listening environment.
Understanding these concepts is one thing, but seeing how seasoned pros like Joey Sturgis, Joel Wanasek, or Eyal Levi actually apply them to real-world metal tracks from bands like Meshuggah, Gojira, or Periphery is where the real learning happens. In Nail The Mix sessions, you get to watch these world-class producers build mixes from scratch, explaining every panning decision, every EQ move on a wide guitar bus, and every check for mono compatibility. They show you how to carve space in dense arrangements and make every element hit with maximum impact.
If you're ready to see exactly how these stereo vs. mono decisions, precise EQ moves, and dynamic choices come together to create pro-level metal mixes, Nail The Mix offers you a front-row seat. We break down how to Unlock Your Sound: Mixing Modern Metal Beyond Presets with actual sessions from the producers who crafted the albums you love. Stop guessing and start learning the techniques that truly make a difference.