What Does EQ Stand For? What metal musicians need to know
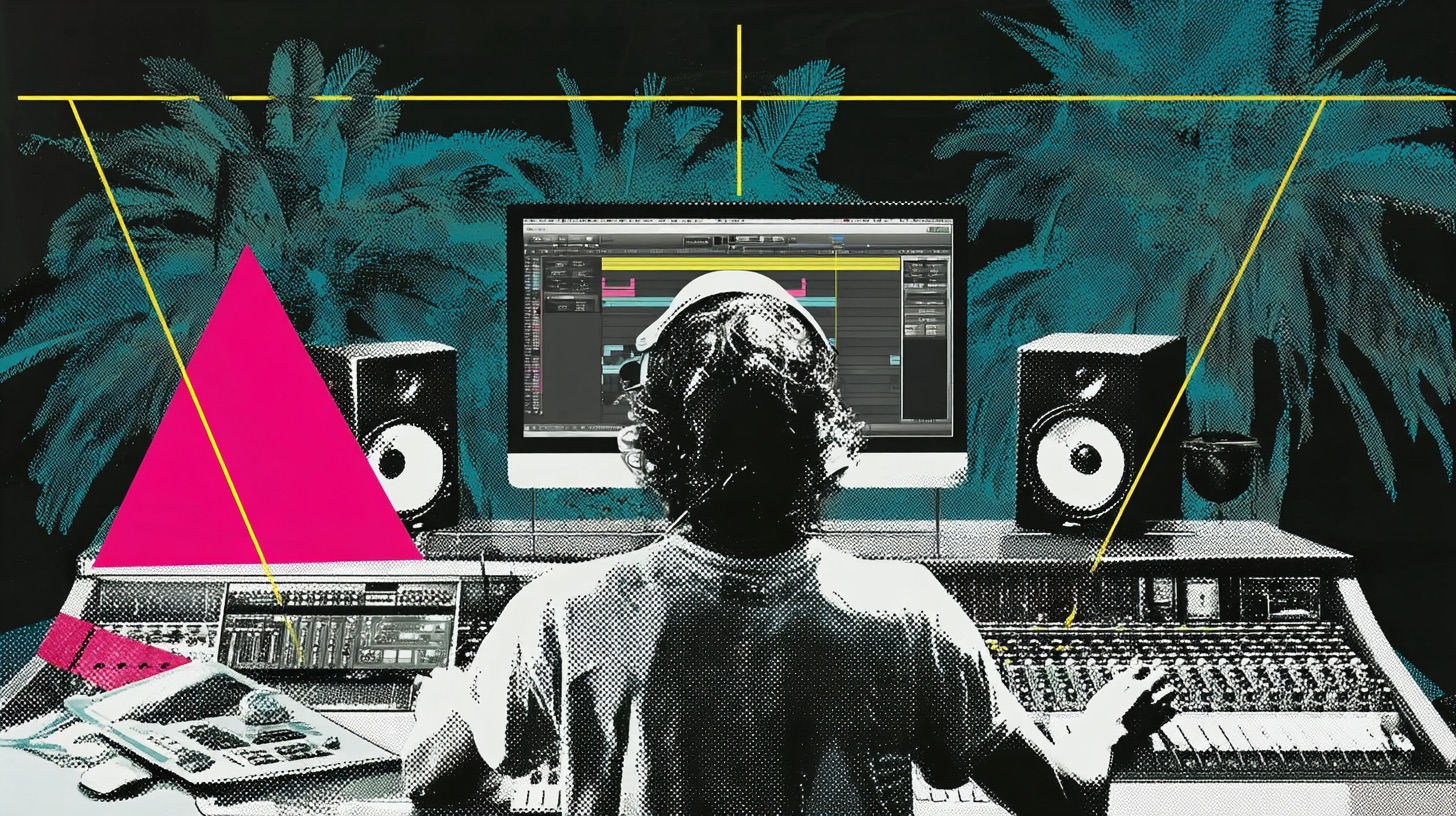
Nail The Mix Staff
Alright, let's cut the crap. You've seen "EQ" slapped on everything from your practice amp to that shiny new plugin emulation of some unobtanium analog gear. You probably even twist those knobs and drag those bands around in your DAW. But what does EQ actually stand for, and more importantly, how can you wield it to make your metal mixes sound absolutely colossal instead of a muddy, fizzy mess?
If you're aiming for those face-melting, chest-thumping metal tones that define records from bands like Periphery, Gojira, or Meshuggah, then understanding EQ isn't just a good idea—it's non-negotiable.
So, What Does EQ Stand For, Anyway?
Technically, EQ stands for Equalization (or Equalizer, referring to the tool itself). Think of it as a volume control, but for specific frequencies. Your stereo might have simple "bass" and "treble" knobs – that's basic EQ. In music production, we get way more surgical.
An equalizer allows you to boost (turn up) or cut (turn down) specific frequency ranges within an audio signal. This means you can shape the tonal balance of individual tracks, busses, or even your entire mix. It’s about carving out space, adding punch, removing ugliness, and generally making things sound better.
Why EQ is Your Secret Weapon in Metal Production
In the dense, aggressive landscape of modern metal, EQ is arguably one of your most powerful tools. A well-EQ'd metal mix is the difference between an amateur demo and a pro-sounding track. Here’s why it’s so critical:
- Clarity & Separation: Metal mixes are CROWDED. You’ve got down-tuned guitars, pounding double bass, a thwacking snare, guttural vocals, and maybe even synths. EQ is how you give each element its own sonic space so they don't turn into an undefined wall of noise. Think about getting your kick drum to punch through without fighting the bass guitar, or making sure those intricate guitar riffs are audible alongside screaming vocals.
- Punch & Impact: Want your kick to hit like a sledgehammer? Your snare to crack like a whip? EQ helps you emphasize the frequencies that give drums their attack and weight. Same goes for guitars – accentuating the pick attack or the body of a riff.
- Tone Shaping: Beyond just "fixing" things, EQ is a creative tool. You can make a snare sound fat or tight, give guitars that modern scooped sound or a more vintage mid-range bark, or even create cool effects like "telephone" vocals.
- Taming the Nasties: Distorted guitars can have annoying fizz. Drums can have ugly resonant frequencies that ring out. Vocals can sound boomy or nasal. EQ is your scalpel for surgically removing these problem frequencies.
Essential EQ Types You'll Encounter (And Actually Use)
You'll come across a few main types of EQs. Knowing what they are and what they do best will seriously level up your game.
Parametric EQ: Your Workhorse
This is the king. A parametric EQ, like the FabFilter Pro-Q 3, Logic Pro X's Channel EQ, or Reaper's ReaEQ, gives you precise control over three main parameters for each band:
- Frequency: Which specific frequency you want to affect.
- Gain: How much you want to boost or cut that frequency.
- Q (Bandwidth): How wide or narrow the range of frequencies around your chosen center frequency will be affected. A narrow Q is for surgical cuts (like removing a snare ring at 287Hz), while a wide Q is for broader tonal shaping (like a gentle mid-scoop on guitars).
Actionable Tip: Load up FabFilter Pro-Q 3 on a rhythm guitar track. Create a band, crank the gain to +10dB, set a narrow Q (around 5-10), and slowly sweep it across the frequency spectrum. Listen for those nasty, harsh, or "whistling" frequencies. When you find one, flip the gain to cut it by 3-6dB. Instant cleanup!
Shelving EQ: Broad Strokes
Shelving EQs boost or cut all frequencies above (high-shelf) or below (low-shelf) a set point. They're great for general brightening or warming.
- High-Shelf: Adds "air" or "sheen" to cymbals, vocals, or even the whole mix.
- Low-Shelf: Can add weight or reduce low-end rumble.
Actionable Tip: Try a gentle high-shelf boost (1-2dB) starting around 8-10kHz on your drum overheads with something like the Waves PuigTec EQP-1A to add some sparkle without making individual cymbals harsh.
Filters (High-Pass/Low-Pass): The Unsung Heroes of Clarity
These are CRUCIAL in metal.
- High-Pass Filter (HPF): Cuts all frequencies below a set point. Essential for removing low-end mud and rumble from things that don't need it (guitars, vocals, cymbals). This makes room for your bass and kick.
- Actionable Tip: On your rhythm guitars, slap on an HPF and start around 80Hz. Slowly sweep it up. For modern chuggy guitars, you might go as high as 120Hz or even 150Hz. Listen to how it tightens up the low-end and lets the bass guitar shine. Be aggressive! For vocals, an HPF around 100-120Hz is a good starting point.
- Low-Pass Filter (LPF): Cuts all frequencies above a set point. Great for taming harsh high-end fizz on distorted guitars or creating darker, more focused tones.
- Actionable Tip: Heavily distorted guitars often have a load of useless high-frequency noise ("fizz") above 10-12kHz. Try an LPF around this point. You might be surprised how much smoother the guitars sound without losing perceived aggression. You can even automate this to change for different sections.
Dynamic EQ: The Smart EQ
Think of a dynamic EQ (like in FabFilter Pro-Q 3 or Waves F6) as an EQ that only kicks in when a certain frequency range gets too loud. It’s incredibly powerful for taming intermittent harshness or boominess without affecting the tone constantly.
Actionable Tip: Got a screaming vocal where certain frequencies around 3-5kHz get painfully shrill only on the loudest notes? A dynamic EQ can dip those frequencies just when they poke out, leaving the rest of the vocal untouched.
Metal EQ Moves: Carving Your Sonic Assault
Okay, theory's cool, but let's talk about actually EQing your metal tracks. These are common starting points, but always use your ears! For an even more comprehensive look at these techniques, make sure to check out our EQ Strategies for Mixing Modern Metal hub page.
H3: Guitars: The Wall of Sound (Without the Mud)
Metal guitars are all about power and aggression, but they can easily turn into a muddy mess.
- The Mid-Scoop: A classic for a reason. Cutting frequencies in the low-mids/midrange (typically 300Hz – 1kHz) on rhythm guitars helps them sit better and makes room for vocals and snare.
- Actionable Tip: For that modern metal chonk, try a fairly wide Q cut centered anywhere from 400Hz to 800Hz. The exact spot depends on the tuning and amp. Use a plugin like the SSL Channel Strip emulation (from Waves or Plugin Alliance) and carve out 3-6dB.
- Cutting Fizz & Harshness: That nasty high-end static? Kill it. Usually lives between 5kHz and 10kHz, sometimes even higher.
- Actionable Tip: Like the earlier tip, boost with a narrow Q in your parametric EQ (Pro-Q 3 is great for this as you can solo the band), sweep through the 4kHz-12kHz range. When you find that ear-piercing frequency that sounds like an angry bee trapped in a tin can, cut it.
- High-Pass Everything (Almost): Seriously, HPF your guitars. It’s one of the biggest keys to a tight low end.
- Actionable Tip: For standard E-tuned guitars, 80-100Hz is a good start. For drop C, maybe 100-120Hz. For 7 or 8-string guitars in Drop G or lower, you might go up to 140-160Hz. Let the bass handle the actual low end.
- Presence & Bite: Small boosts in the upper mids (2kHz – 5kHz) can help guitars cut through and add aggression. Be careful, as this area can also get harsh quickly.
- Actionable Tip: Try a 1-3dB boost with a medium Q around 2.5kHz or 4kHz if your guitars are feeling a bit buried or lack aggression.
H3: Drums: Punch, Snap, and Thunder
EQ is vital for getting drums to hit hard and sit right.
- Kick Drum:
- Click/Beater Attack: Boost 3-8kHz. A Pultec-style EQ like the Warm Audio EQP-WA or Waves PuigTec EQP-1A can add a nice top-end character here.
- Body/Weight: Boost 60-100Hz.
- Boxiness Removal: Cut 300-600Hz.
- Actionable Tip: The "Pultec trick" on kick: Boost AND attenuate the same low frequency (e.g., 60Hz or 100Hz). This creates a resonant bump that sounds tight and punchy.
- Snare Drum:
- Crack/Snap: Boost 1-5kHz (often a sweet spot around 3-5kHz for the crack, 8-10kHz for sizzle from the snare wires).
- Body/Fatness: Boost 150-250Hz.
- Removing Ring: Use a parametric EQ with a very narrow Q to find and notch out annoying ringing frequencies.
- Actionable Tip: Use a transient designer plugin like the SPL Transient Designer or Native Instruments Transient Master before your EQ to shape the initial hit. Then, use EQ to sculpt the tone of that shaped transient and the body of the snare.
- Toms: Similar to kicks, but higher. Scoop mids (300-800Hz) for power, add attack (3-6kHz). HPF to remove sympathetic bleed from kick and snare.
- Cymbals/Overheads: HPF aggressively (sometimes up to 300-500Hz) to remove kick/snare bleed and low-end mush. Add "air" with a high-shelf boost around 10kHz+.
- Actionable Tip: If specific cymbals (like a china or crash) are too harsh, find the offending frequency (often 2-6kHz) with a parametric EQ and make a targeted cut.
H3: Bass Guitar: The Solid Foundation
The bass needs to lock in with the kick and provide a solid low-end foundation, but also cut through on smaller speakers.
- Low-End Power: Ensure it has weight around 60-120Hz, but be careful it doesn't fight the kick. Use an HPF below 30-40Hz to remove useless sub-rumble.
- Midrange Definition/Grit: This is where bass cuts through in a metal mix, especially on distorted tones. Boosts between 700Hz – 2kHz can bring out pick attack and string noise.
- Actionable Tip: Often, the "clank" or "grind" of a metal bass lives in the 1kHz-2.5kHz region. Use a DI signal blended with an amp sim like the Darkglass Ultra plugin or even a distorted guitar amp sim (low-passed heavily) and then EQ these signals to fit. SansAmp PSA-1 emulations are also killer for this.
- Scoop for Kick: If your kick and bass are fighting, try a small cut on the bass at the kick's fundamental frequency.
H3: Vocals: Cutting Through the Mayhem
Metal vocals need to be aggressive and intelligible over a wall of sound.
- HPF is Your Friend: Always. Start around 100-150Hz for screams/growls, maybe a bit lower for clean vocals, and sweep up until it sounds thin, then back off.
- Presence/Intelligibility: Boosts in the 2-5kHz range help vocals cut.
- Air/Clarity: A gentle high-shelf boost from 10kHz upwards can add clarity.
- De-essing/Harshness Control: Sibilance ("sss" sounds) and harshness can be brutal with distorted vocals. A de-esser plugin is good, but sometimes a targeted EQ cut or dynamic EQ in the 4-8kHz range is needed.
- Actionable Tip: For those really aggressive high screams that get ice-picky, don't be afraid to use a dynamic EQ band to clamp down on frequencies around 3kHz-6kHz only when the vocalist really pushes it.
EQ and Compression: The Dynamic Duo
EQ and compression go hand-in-hand. The order matters:
- EQ before Compression (Subtractive EQ): Clean up mud, remove resonances before hitting the compressor. This way, the compressor isn't reacting to unwanted frequencies, leading to a cleaner, more controlled compression.
- EQ after Compression (Additive/Tonal EQ): Compression can change the tonal balance. Use EQ after to restore highs that might have been lost or to further shape the now-compressed sound.
Actionable Tip: For aggressive metal vocals, a common chain is:
- Subtractive EQ (HPF, cut mud/resonances).
- Aggressive compression (e.g., Waves CLA-76 "All Buttons In" mode or an Arturia FET-76).
- Additive EQ (boost presence, air).
For a masterclass on how these tools work together in metal, you should definitely explore our Metal Compression Secrets Beyond Just Making It Loud hub page.
Beyond Presets: Developing Your Ear for EQ
Presets can be okay starting points, but to truly master EQ, you need to train your ears. Listen critically. A/B your EQ moves constantly (bypass the plugin to hear the before/after). Compare your mix to pro reference tracks in the same genre.
Learning the theory of "what does EQ stand for" is step one. Step two is applying it. But step three – and this is the big one – is understanding why specific EQ moves work in the context of a full metal mix. It's about hearing how top-tier producers like Joey Sturgis, Eyal Levi, Joel Wanasek, or NTM guests like Jens Bogren and Adam 'Nolly' Getgood make these decisions on actual hit songs.
If you're dead serious about leveling up your metal mixes from sounding like they were recorded in a garage to sounding like they belong on a major label release, then getting a deep, intuitive grasp of EQ is absolutely essential. At Nail The Mix, you get a front-row seat, watching these decisions unfold in real-time, on real multitracks from bands you actually listen to. See how the pros use EQ not just as a corrective tool, but as a creative force to sculpt those massive, modern metal sounds. If you're ready to go beyond just knowing what the knobs do, check out how you can Unlock Your Sound: Mixing Modern Metal Beyond Presets and witness firsthand how industry-leading producers wield EQ to forge powerful, polished metal mixes.
So, EQ stands for Equalization, but in metal, it really stands for power, clarity, and punch. Get in your DAW, load up your favorite EQ plugin (even the stock ones are powerful!), and start experimenting. Your mixes will thank you for it.