Toontrack Metal Foundry SDX: How to Program Human-Sounding Drums
Nail The Mix Staff
We’ve all heard it. That sterile, robotic, machine-gun sound of programmed drums that screams FAKE. It’s that perfectly-on-the-grid, max-velocity blast beat that sounds more like a typewriter than a human drummer unleashing hell. It’s the reason programmed drums sometimes get a bad rap in metal.
And when you fire up a beast of a library like the Toontrack Metal Foundry SDX, it’s easy to fall into that trap. You have access to legendary kits, recorded by Tomas Haake of Meshuggah, with thousands of pristine samples. The power is there, but without the right approach, you can easily end up with those “plastic drums in space” everyone complains about.
Here’s the thing, though: The VST isn’t the problem. The samples aren’t the problem. The problem is how they’re used.
Let’s dig into how you can take the raw power of Metal Foundry and program drums that feel real, breathe, and punch you in the face like a real performance.
What is Toontrack Metal Foundry SDX? An Overview for Producers
Before we get into the techniques, let’s appreciate the tool. Metal Foundry isn’t just another drum library; it’s a piece of metal history. It’s an SDX (Superior Drummer Expansion) packed with seven unique kits recorded at Atlantis Studios in Stockholm.
You get meticulously sampled drums inspired by kits from legends like Neil Peart, John Bonham, and of course, Tomas Haake himself. The key feature for us is the sheer depth of the sampling. We’re talking multiple velocity layers for every single articulation, on every single piece of the kit. This isn’t a one-shot library; it’s a living, breathing instrument captured in extreme detail.
That detail is the secret weapon. It’s what allows you to move beyond sterile programming and into realistic performance creation.
The Core Problem: Over-Perfection and the "Machine Gun" Effect
The number one mistake that makes MIDI drums sound fake is perfection. No human drummer—not even the tightest, most technical player—hits a drum with the exact same velocity, in the exact same spot, at the exact same time, every single time. It’s impossible. Those tiny, human inconsistencies are what make a performance feel alive.
When you program a blast beat and set every snare hit to the max velocity of 127, you’re triggering the same hard-hit sample over and over. This creates that dreaded "machine gun" sound. Your brain quickly picks up on the unnatural repetition and tunes out.
The goal isn’t to be sloppy. The goal is to introduce controlled, realistic imperfections.
Taming the Robot: Humanization Techniques for Metal Foundry
Let’s get practical. Here’s how you can program your Metal Foundry drums in your DAW (Pro Tools, Reaper, Cubase, Logic, you name it) to sound like a real drummer.
Velocity Is Your Best Friend (Seriously)
In a multi-sampled library like Metal Foundry, MIDI velocity isn’t just a volume knob. A low velocity might trigger a sample of a gentle tap near the center of the snare, while a high velocity triggers an aggressive rimshot. They are fundamentally different sounds.
Actionable Tip: Sculpt Your Velocities
Stop programming with a flat line of anemic velocity bars. Get into your MIDI editor and start sculpting.
- Accents: For a standard rock or metal beat, the snare on beats 2 and 4 should have the highest velocity. Make them stand out.
- Ghost Notes: Any intricate snare work or "filler" notes between the main hits should have drastically lower velocities. This adds groove and complexity.
- Fills: No drummer hits every drum in a fill with the same force. Vary the velocities throughout your tom fills to mimic the natural movement of a player’s arms.
- Variation: Even on your main snare hits, don’t make every single one 127. Try alternating between 120 and 127. It’s a subtle difference, but it prevents that machine-gun repetition.
Editing Blast Beats That Don't Suck
Blast beats are a notorious source of fake-sounding drums. Why? Because in real life, a drummer has to play lighter to achieve that speed. They can’t possibly hit the snare as hard during a 280 BPM blast as they can on a 120 BPM breakdown. Your programming should reflect this.
Actionable Tip: Dial Back Blasts
When a blast beat kicks in, instead of cranking the velocity to the max, pull it back. Find a powerful-sounding range that isn’t at the absolute peak (maybe 100-115). This alone will make it sound more realistic. Then, apply subtle variations to those hits. This mimics the natural stamina and energy fluctuations of a real performance.
Often, samples are best used to reinforce a real performance. If you have a live drummer whose snare gets a little weak during the blasts, you can use Metal Foundry to layer in a consistent, punchy sample to add power without completely replacing the human feel.
Getting Off The Grid (But Not Too Far)
Quantizing 100% to the grid is the fastest way to make your drums sound robotic. While you want a tight performance, you don’t want it to be surgically perfect.
Actionable Tip: Quantize with Feel
Every major DAW has quantization settings that go beyond a simple "100% snap." Use them.
- Quantize Strength/Percentage: Try quantizing your MIDI drums at around 90-95%. This is a trick used by top-tier mixers like Dave Otero. It tightens up the performance significantly but leaves just enough of the original timing variation to feel human.
- Swing/Groove Quantize: For grooves that need more of a push-and-pull feel, apply a small amount of swing. Even 5-10% can make a huge difference.
- Manual Nudging: Listen critically. If a snare hit feels like it’s dragging, manually nudge it slightly forward. If a fill feels rushed, pull it back a hair. Trust your ears over the grid lines. Your job as an editor and programmer is to interpret the intent of the performance and enhance it.
Processing Your Metal Foundry Kit for Maximum Impact
Great programming is half the battle. The other half is processing. Those raw Metal Foundry samples are a fantastic starting point, but they need some shaping to sit in a dense modern metal mix.
Bus Compression for Glue and Punch
Sending all your individual drum channels (kick, snare, toms, overheads, etc.) to a single stereo drum bus is standard practice. Applying compression here helps "glue" the individual pieces together into a cohesive instrument.
Actionable Tip: Go for Glue, Not Squash
Use a VCA-style bus compressor plugin like the Waves SSL G-Comp or Slate Digital VBC.
- Attack: Set a relatively slow attack (20-30ms). This allows the initial crack of the snare and the thump of the kick to pass through before the compressor kicks in.
- Release: Use a fast release, often timed to the tempo of the song, so the compressor "breathes" with the groove.
- Ratio: Keep it low, around 2:1 or 4:1.
- Gain Reduction: Aim for just 2-4dB of gain reduction on the loudest parts. You’re just trying to gently tame the peaks and bring everything together.
This is where a deep understanding of how to apply processing makes all the difference. Mastering these subtle but powerful moves is key, which is why learning the advanced ins and outs of metal compression secrets is a total game-changer.
Parallel Processing for Aggression
Want your drums to sound absolutely massive without turning them into a squashed mess? Use parallel compression.
Actionable Tip: The "Nuke" Bus
- Create a new stereo aux track (your "nuke" bus).
- Send a copy of your main drum bus signal to this new track.
- On the nuke bus, insert an aggressive compressor like a digital model of a UAD 1176 in "all buttons in" mode, or a heavy saturation plugin like Soundtoys Decapitator.
- Crush the signal. Don’t be shy. You want it to be pumping, distorted, and full of energy.
- Now, bring the fader for this nuke bus all the way down. Slowly blend it in underneath your main, clean drum bus until the drums gain the weight and aggression you’re looking for.
This technique adds power and sustain without sacrificing the dynamic punch of your primary drum sound.
Programming realistic, powerful drums with Toontrack Metal Foundry SDX isn’t about finding a magic preset. It’s about thinking like a drummer and a producer—embracing imperfection and using your tools to enhance the performance.
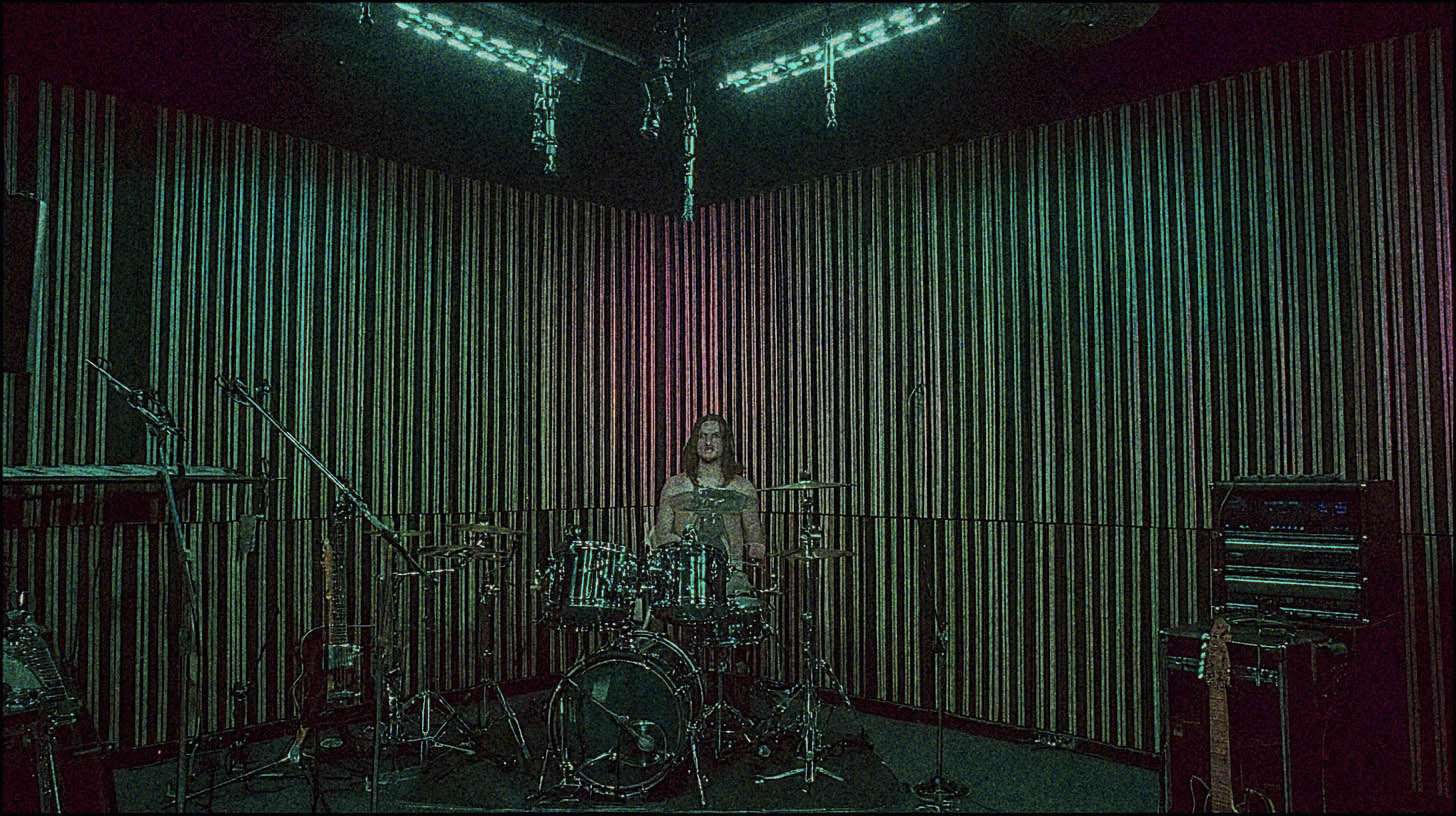
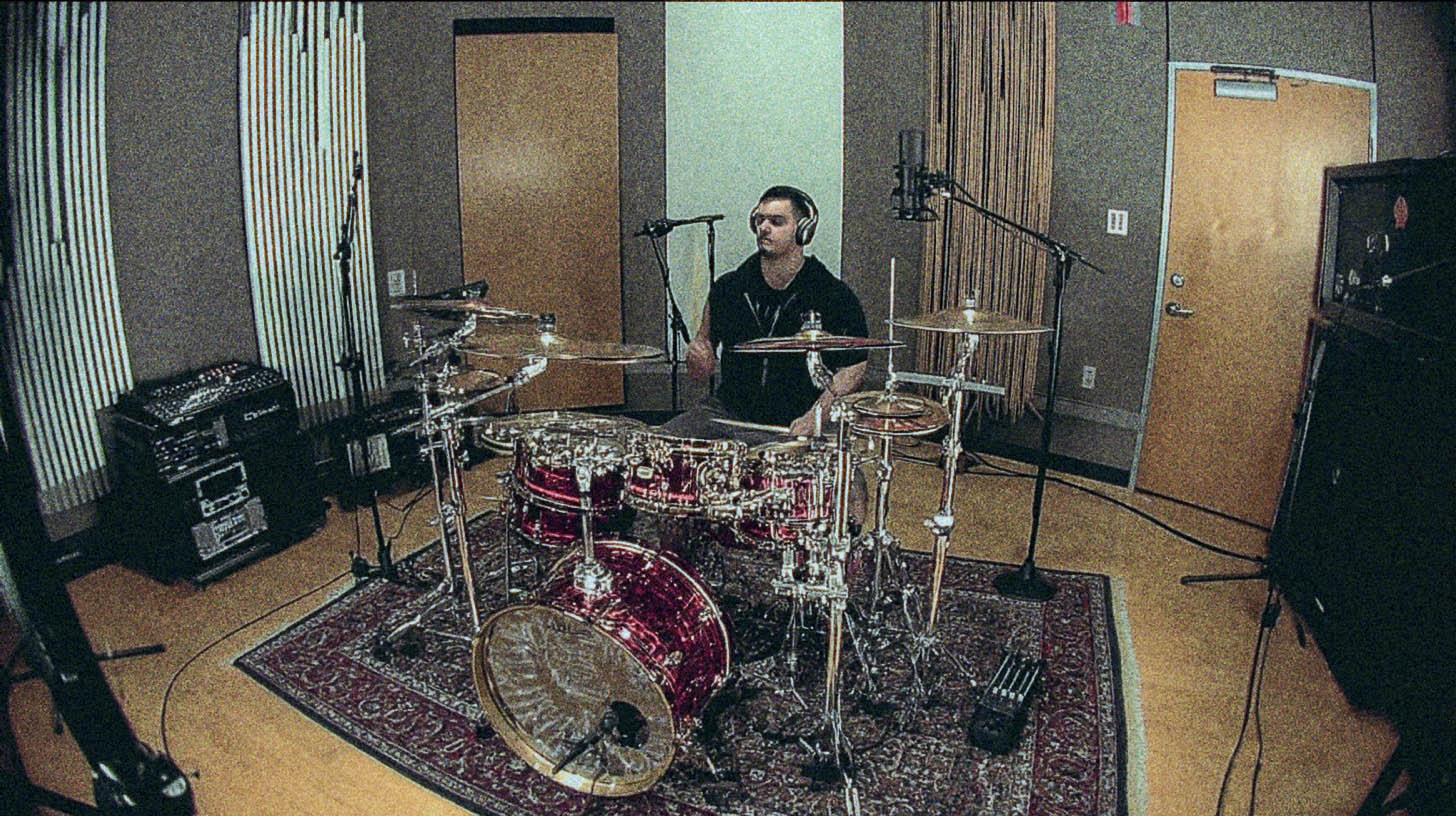
Of course, programming and processing drums like this is one thing, but seeing how a pro does it in a real-world mix is a whole other level. Imagine watching world-class producers like Will Putney, Adam "Nolly" Getgood, or Jens Bogren take on a massive drum session, dialing in samples, and making every single hit count.
That’s exactly what happens on Nail The Mix. You get the full multitracks from huge metal bands and get to watch the original producer mix the song from scratch, explaining every single move they make.
Check out the full catalog of Nail The Mix sessions and see for yourself how the pros build these monster drum sounds from the ground up.