Mario Duplantier: Gojira’s not-so-secret weapon
Nail The Mix Staff
Mario Duplantier. The name alone conjures images of raw power, intricate grooves, and a drumming style that's both earth-shatteringly heavy and incredibly nuanced. As the rhythmic backbone of Gojira, Mario has carved out a legendary status among metal drummers and producers alike. His ability to blend technical precision with a deeply human feel is something many of us aspire to capture in our own productions.
But how do you translate that kind of visceral energy into your DAW? Especially when modern metal drum production often walks a tightrope between "real" and "robotic"? Let's dive into some concepts and techniques that can help you get closer to that Duplantier-esque impact, focusing on how to make modern tools work for you, not against you.
The Foundation: It All Starts With The Drummer (Duh!)
Before we even touch a plugin or a sample, let's acknowledge the obvious: Mario Duplantier is a phenomenal drummer. His choice of gear, like his Tama drums and Zildjian cymbals, certainly contributes to his sound, but it's his performance – the dynamics, the stick placement, the sheer intent behind every hit – that truly defines it.
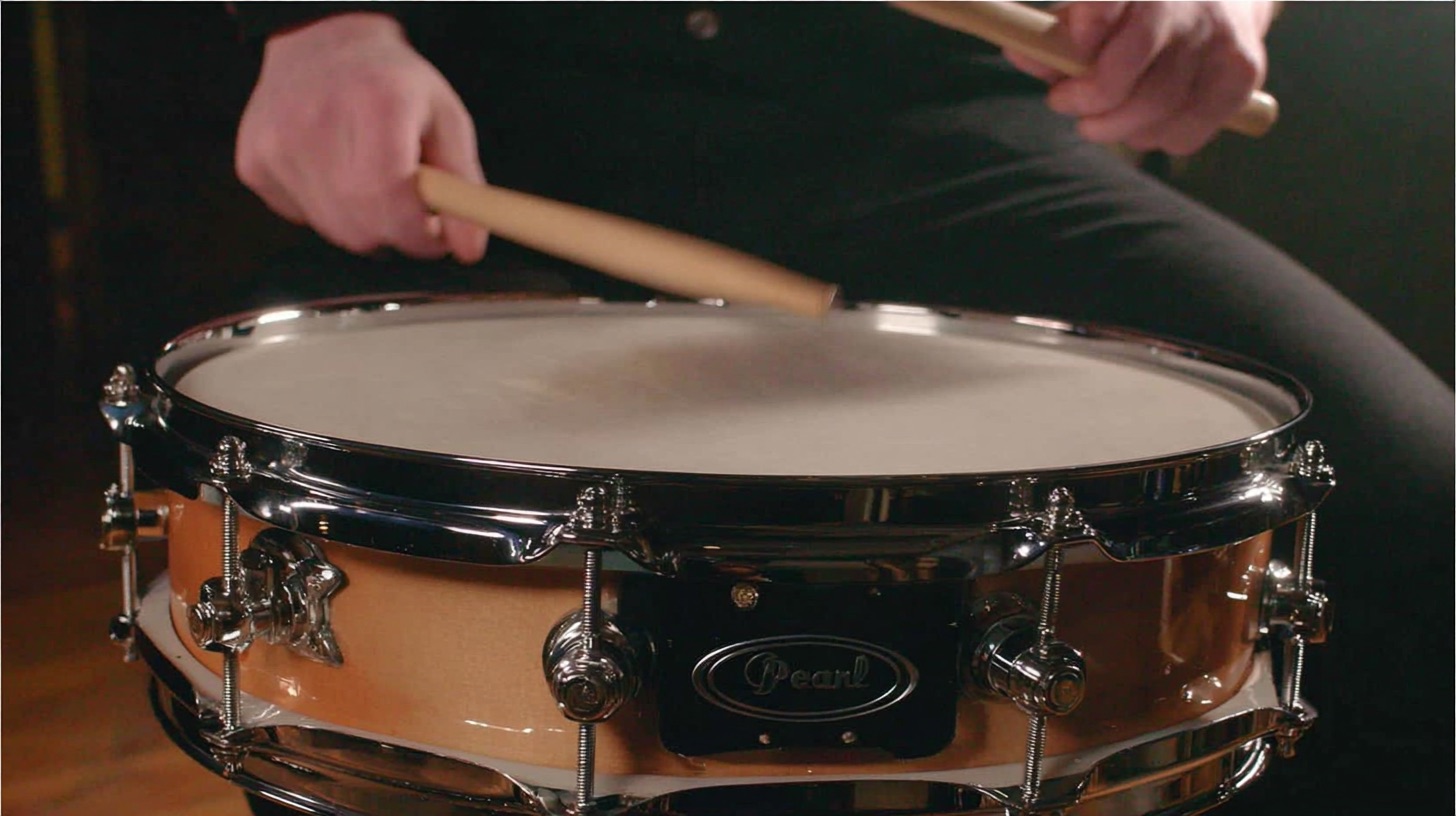
Capturing a great drum performance at the source is paramount. Think about solid micing techniques. For a powerful kick, something like an Audix D6 or AKG D112 inside, maybe paired with a subkick or a large-diaphragm condenser like a Neumann U47 FET clone outside, can give you that blend of attack and low-end whomp. Snares often benefit from the classic Shure SM57 top and bottom, but don’t be afraid to experiment with brighter condensers or even dynamic mics with different characters.
The point is, a killer source recording of a great performance gives you the best possible foundation. Mario’s power isn’t just about hitting hard; it’s about control, consistency, and a deep sense of groove.
Translating Duplantier's Power to Your DAW: The Modern Metal Drum Conundrum
We’ve all heard it: modern metal drums can sound "fake," "programmed," or like "plastic drums in space." This is often most apparent in super-fast passages like blast beats. You might hear a wall of sound, but it lacks life, feeling sterile and mechanical.
But here’s the kicker: even the most organic, huge-sounding modern metal drums you admire probably have a healthy dose of samples and editing. Gojira themselves have had their incredible albums mixed by pros who understand this balance. In fact, Gojira’s "Magma" was featured on Nail The Mix, with none other than Logan Mader breaking down his mix!
The "Fake Drums" Problem – And Why It's Not Just About Samples
So, if both "bad" and "good" modern drums often use samples and editing, what's the deal? The problem isn't the tools themselves; it's how they're used. Your DAW, your sample libraries (like Superior Drummer 3, GetGood Drums, or Slate Drums), your editing functions – these are all neutral tools. It’s the engineer’s touch that makes them sound awesome or like a poorly programmed robot.
What makes samples sound bad? Often, it's excessive perfection. Human drummers, even titans like Mario, are imperfect. That subtle variation in timing, velocity, and stick placement is what our brains find interesting. If your brain hears the exact same snare sample, at the exact same velocity, perfectly on the grid, over and over, it tunes out. It's like scratching an itch – feels good at first, then you don't even notice it.
Making Samples Work FOR You, Not Against You
The goal is to use modern tech to enhance a performance, not to suck the life out of it.
Velocity: The Key to Human Feel
This is non-negotiable. Velocity controls how "hard" a MIDI note is struck. In multi-layered sample libraries, higher velocities don't just mean louder; they often trigger entirely different samples of a harder hit, capturing different timbres and resonances.
If you're programming MIDI drums or augmenting acoustic ones, meticulously programming or adjusting velocities is crucial. Avoid flat-lining velocities at 127 (the maximum). Instead, introduce subtle variations to mimic how a real drummer would play. For instance, ghost notes on a snare should have significantly lower velocities than backbeats. Even within backbeats, not every hit is identical. In Pro Tools, these are the little diamond shapes under MIDI notes; in Cubase, they might look like vertical lines. Every DAW has them, and mastering their use is fundamental.
Reinforcing, Not Replacing: When to Bring in Samples
Samples are at their best when they're reinforcing great-sounding acoustic drums, not trying to completely mask terrible ones. Think of them as a way to add consistency, punch, or a specific tonal character that might be hard to capture solely with mics.
A common scenario: blast beats. Even the best drummers tend to play lighter during intense, fast sections. It’s just physics. This means the natural snare hits during a blast might lack the power of a standard backbeat and get lost in a dense mix. Your first instinct might be to just turn up the snare track during those sections. Bad idea. You'll likely bring up a ton of cymbal bleed and other "crusty stuff," making the snare sound washy and noisy, not punchier.
This is where targeted sample reinforcement shines. Instead of globally turning up the acoustic snare, you can use a well-chosen snare sample, triggered by the original hits, and carefully blend it in. You can then adjust the velocity of these MIDI-triggered samples specifically for the blast sections to give them the necessary power and cut, without making the rest of the snare performance sound unnatural or bringing up excessive bleed. For example, you might have your main snare sample hitting at a velocity of, say, 110 for backbeats, but for those fast blast sections, you might push the sample velocities up to 120-125 just for those specific hits to make them pop.
Taming the Beast: Editing Drums for Power and Groove
Editing is another area where "too much of a good thing" can be detrimental. You want tightness, but not robotic sterility.
The Editor as a Musician: Finding the Sweet Spot
A good drum editor needs to be a good musician. You need to understand feel, interpret the drummer's intention, and know when something is "too sloppy" versus "too tight." The goal is a perfect blend of precision and feel that enhances the performance. Go too far, and you're back to robot territory. Don't go far enough, and it can sound weak or amateurish.
Practical Editing: A Leaf from Dave Rowa's Book
When looking at pros like Dave Rowa (known for his work with bands like Archspire and Cattle Decapitation), he often aims for tight, but not 100% quantized, drums. For instance, when editing blast beats, he might quantize to the grid but set the "strength" or "tightness" to around 90%. This pulls the hits closer to the grid, cleaning up inconsistencies, but crucially, it retains some of the original human variation. That 10% of "slop" (if you can even call it that) is where the feel lives.
You can do this in any DAW. In Pro Tools, it’s the "Strength" parameter in the Quantize window. In Logic Pro X, it’s the Q-Strength. This approach ensures the drums are impactful and precise but still breathe.
Understanding the Performance: Genre-Specific Editing
You also need to know the material. For example, a "bomb blast" (or downbeat blast) typically has snares on the downbeat (e.g., eighth notes) with double bass filling in the 16th notes in between. If you’re editing a passage and you see the drummer is clearly going for this, but maybe one kick is slightly off or missing, you know the intent. This allows you to make informed editing decisions, perhaps by drawing in a missing MIDI kick hit (with appropriate velocity, of course!) or nudging an errant snare.
This often involves creating hitpoints (or transient markers) on your drum tracks, slicing at those points, and then quantizing. For complex parts, you might prioritize which drum dictates the groove. For a blast, the snare and hi-hat might be your primary reference.
Sculpting the Sound: Essential Processing for Duplantier-Style Drums
Once your performance is solid, whether it's all-natural, all-samples, or a hybrid, it's time to shape the tone with processing.
EQing for Impact and Clarity
EQ is your primary tool for carving out space and adding punch.
- Kick: You might look for a clicky attack around 3-5kHz, some body around 60-100Hz, and potentially scoop out some boxiness in the 200-500Hz range. A high-pass filter (HPF) around 30-40Hz can clean up unnecessary sub rumble.
- Snare: The fundamental "thwack" is often between 150-250Hz. Presence and crack can be found from 2kHz up to 8kHz. Be careful with excessive brightness, as it can sound harsh. Sometimes a subtle dip in the low-mids (400-600Hz) can reduce "gonginess."
- Toms: Similar to kicks, look for attack and body. HPFs are crucial to remove sympathetic resonance when they're not being played.
- Overheads/Cymbals: Often, you'll use an HPF to remove low-end rumble and kick/snare bleed (maybe up to 300-500Hz depending on the sound). You might add some "air" above 10kHz with a shelf, but be cautious of making cymbals too harsh or washy. Surgical cuts with a narrow Q on your EQ (using something like FabFilter Pro-Q 3) can tame specific ringing frequencies in cymbals.
Compression for Punch and Control
Compression helps manage dynamics and add sustain or punch.
- Kick/Snare: Fast attack and release times on a compressor (like an 1176-style FET compressor plugin) can emphasize the transient and add punch. Slower attack times will let more of the initial transient through before clamping down, which can make the drum sound bigger.
- Toms: Similar to kick/snare, but often you want to control the sustain.
- Drum Bus: Compressing the entire drum kit together (the "drum bus") can help "glue" the elements and create a cohesive, powerful sound. An SSL-style bus compressor plugin with a medium attack and auto-release setting, aiming for just a few dB of gain reduction, is a classic starting point. Parallel compression (blending a heavily compressed signal with the dry signal) is also a popular technique for adding density without sacrificing transients.
Sample Selection: The Often-Overlooked Detail
If you are using samples, remember that no drummer hits the drum the same way, at the same velocity, in the exact same spot every single time. Their stick moves, the drum resonates differently. This is why multi-samples are generally superior to one-shot samples for realism. Good multi-sample libraries (like those from Toontrack, GetGood Drums, or a Slate Digital pack) offer multiple recorded velocities and often round-robin variations (different samples triggered even at the same velocity) to avoid that "machine gun" effect. One-shots have their place, perhaps for ultra-consistent sub-drops or specific effects, but for the core kit, variety is your friend.
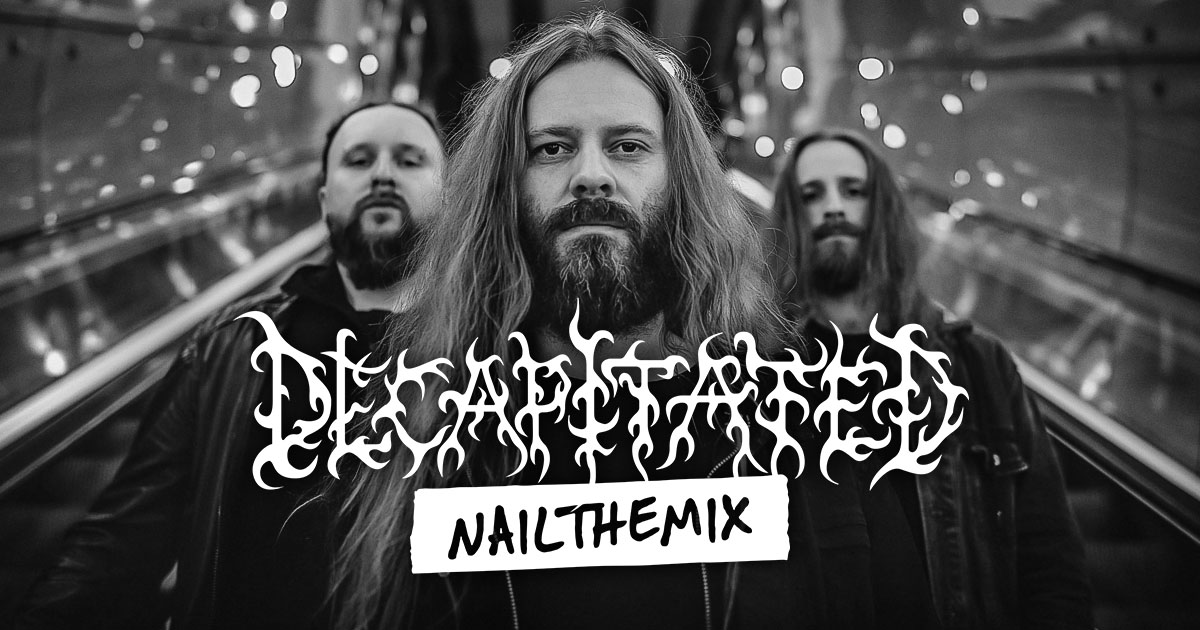
Gojira on Nail The Mix: Learning From the Source
Speaking of Gojira and incredible drum sounds, we were stoked to have Logan Mader mix "Stranded" from Gojira's album Magma right here on Nail The Mix. Seeing a pro like Logan tackle Mario's drum tracks, balancing the raw performance with modern mixing techniques, is an invaluable learning experience. He showed exactly how he approached the EQ, compression, and overall shaping of those iconic drums to fit into a monstrous mix.
Bringing It All Together (And Leveling Up Your Mixes)
Achieving a drum sound with the power and feel of Mario Duplantier in your productions is a journey. It starts with a great performance (or meticulous programming), embraces smart sample usage and editing that serves the music, and finishes with tasteful processing.
Key takeaways:
- Performance is king: A great drummer makes everything easier.
- Samples are tools, not crutches: Use them to enhance, not to sound robotic. Prioritize velocity and multi-samples.
- Edit with feel: Aim for tight but human. Don't quantize the life out of it (90% can be your friend!).
- EQ and Compress with purpose: Shape, control, and add impact.
These techniques are powerful, and you can start applying them today. But if you're serious about taking your metal productions to the next level, imagine seeing top-tier producers demonstrate these concepts in real-time, on real sessions, from bands you love.
That’s exactly what Nail The Mix offers. Every month, you get access to the actual multi-tracks from huge metal songs and watch the original producers (or renowned guest mixers) mix them from scratch, explaining every single decision, plugin choice, and fader move. If you want to learn to mix modern metal like a pro, this is where you learn how the pros truly build those colossal, professional-sounding mixes from the ground up.