The Multi-Source Guitar Mixing Chain for Shred Tones (ft. Jason Richardson)
Nail The Mix Staff
Let’s be honest, mixing guitars for a virtuoso like Jason Richardson is no small task. His playing is a whirlwind of insane precision, complex harmonies, and blazing speed. Getting that to sit right in a dense, modern metal mix requires a specific and finely-tuned approach. Lucky for us, legendary producer Taylor Larson (Periphery, Asking Alexandria, Veil of Maya) pulled back the curtain on the exact processing he used on Jason’s tracks.
Forget simple EQ scoops and basic compression. Taylor’s method involves blending multiple tones, meticulous phase alignment, and a monster of a plugin chain that carves, shapes, and energizes the guitars into a final polished sound. We’re going to break down his entire guitar bus, step-by-step.
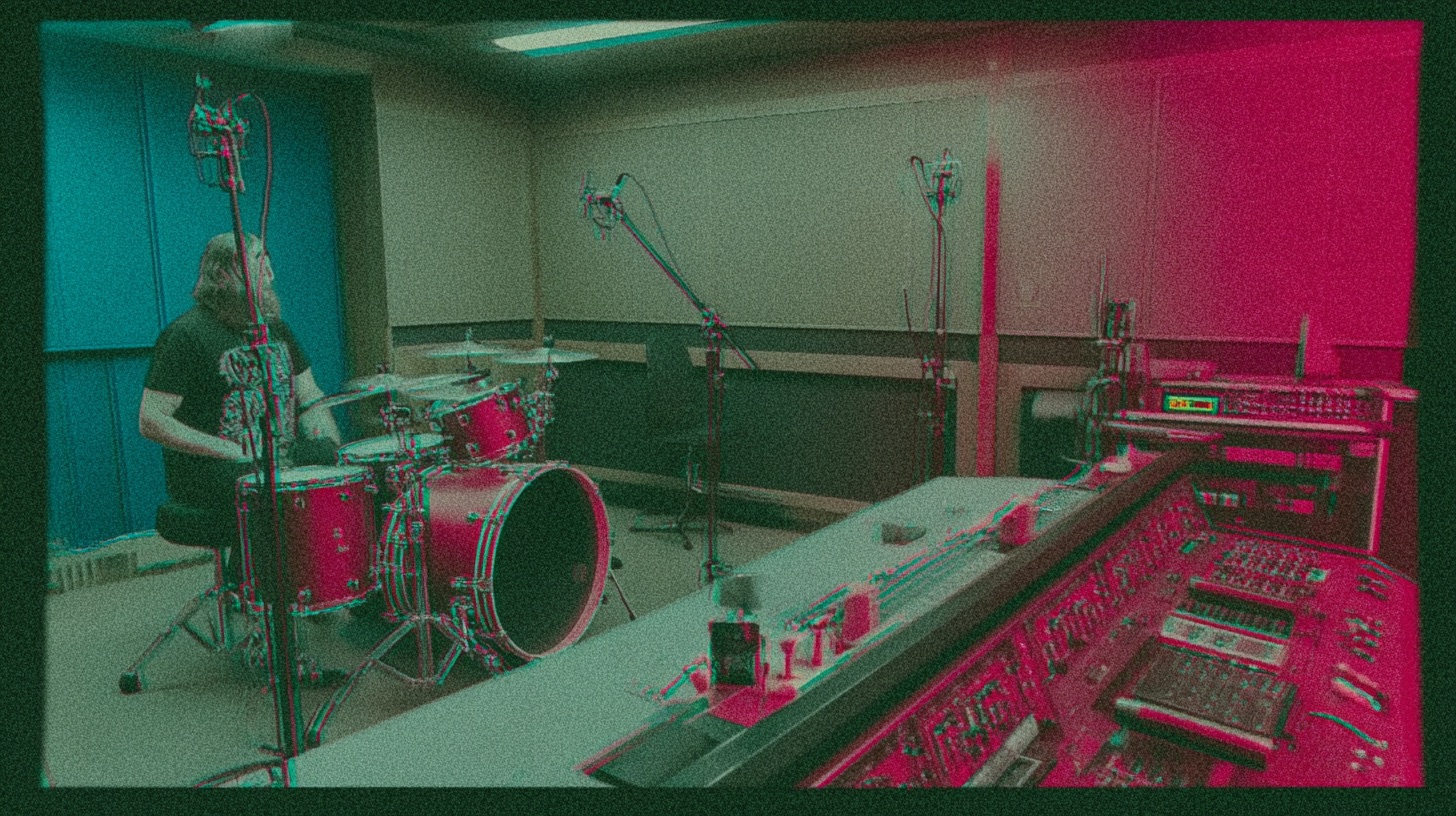
Want to see Taylor apply these techniques himself? You can watch his entire 6-hour mixing session, and download the multitracks to practice on, when you join Nail The Mix.
The Foundation: Blending Tones for Clarity and Attack
Before a single plugin touches the main guitar bus, the raw tones need to be perfectly combined. For Jason Richardson, Taylor didn’t rely on a single amp sound. Instead, he crafted a composite tone from three distinct sources:
- A fizzy, high-gain Marshall-style tone for the main body and aggression.
- A mid-gain tone to fill out the sound.
- A completely clean DI track, processed separately, purely for adding pick attack and definition.
The Critical First Step: Phase Alignment
With three separate sources playing the same part, phase becomes the most important factor. If the waveforms fight each other, you’ll get a thin, hollow, and weak sound. Taylor spent a significant amount of time aligning these tracks by ear.
This process involves soloing different combinations of the tracks, flipping the phase on one or more of them, and nudging the audio clips by tiny amounts until all three sound powerful and full together. It’s a game of millimeters, but getting it right is non-negotiable for a thick guitar tone. To ensure everything stayed locked in, he even placed a bypassed plugin on tracks that didn’t need phase correction, just to match the latency of the active plugins on other tracks—a true pro move.
Crafting the Initial Blend
Once everything was in phase, the blend was set. The high-gain Marshall tone formed the bulk of the sound, with the mid-gain track layered in underneath. The clean DI track was blended in very subtly, with just a small EQ boost to emphasize the “click” of the pick on the string, adding that essential transient detail that can get lost in high-gain saturation.
The Guitar Bus: Taylor Larson’s Go-To Processing Chain
With the foundational tones blended and bussed to a single stereo track, it’s time for the real magic. Taylor’s guitar bus features a specific chain of plugins, each with a very clear job.
Subtle Sweetening with Tilt EQ
First in the chain after a utility plugin for latency is the <strong>Softube Tilt EQ</strong>. This super-simple plugin is brilliant. Instead of making multiple complex EQ moves, it just “tilts” the entire frequency spectrum. Tilting it to the right makes everything a bit brighter, and tilting to the left makes it darker. For Jason’s guitars, Taylor used a gentle tilt towards the bright side to add a bit of overall air and presence without fundamentally changing the character of the tone.
Surgical Carving & The Go-To Channel Strip
Next up is some surgical EQ to notch out any specific harsh or “ringy” notes that poke out. This is followed by Taylor’s workhorse plugin for guitars: the <strong>Waves SSL E-Channel strip</strong>. He notes that he hadn’t found anything better for getting the presence he wants from guitars.
SSL E-Channel Settings:
- <strong>Filters:</strong> He sets a high-pass filter at 150 Hz to cut out low-end mud and a low-pass filter at a high 8 kHz to manage fizz.
- <strong>High-End Lift:</strong> This is a bold move—a massive <strong>10 dB high-shelf boost at 8 kHz</strong>. This injects a ton of air and bite into the guitars, making them slice through the mix.
- <strong>Presence and Space:</strong> A healthy boost around 3 kHz adds aggression and note definition, while a gentle scoop in the mids helps create space for vocals and snare.
- <strong>Filter Shaping:</strong> To make the high-pass filter slope more dramatic and tight, he adds a bell-curve cut at 50 Hz, effectively scooping out sub-lows that the filter might not catch entirely.
This combination of aggressive high-end boosting and tight filtering is a core part of his modern metal guitar sound. Mastering these kinds of EQ strategies is crucial for any producer.
The “Misha Tweak”: A Secret Weapon for Definition
Here’s a trick you won’t find in any manual. Taylor uses a specific EQ preset that he and Misha Mansoor (Periphery) developed while working on <em>Periphery II</em>. He loves this setting so much that he uses it on nearly 90% of the guitars he mixes.
Using a parametric EQ like the <strong>FabFilter Pro-Q</strong>, the settings are:
- A 1 dB cut at 4.3 kHz.
- A boost just below that, around 1.5 kHz.
- An airy high-shelf boost starting around 18 kHz.
It seems subtle, but this specific combination of moves cleans up what he describes as “weird stuff” in high-gain tones, enhancing definition and clarity in a way that just works.
Aggressive Compression for Punch, Not Control
When you think of compression, you usually think of taming dynamics. Taylor’s approach is the opposite. He uses a plugin modeled on the <strong>DBX 160A</strong> with extreme settings to make the guitars <em>more</em> dynamic and punchy.
The goal here isn’t to level the volume; it’s to exaggerate the transient of every palm mute and picked note. With a fast attack and dramatic threshold, the compressor clamps down hard and then releases, making the start of every note “pop” aggressively. He describes the effect as making the guitars “fly out of the speakers” and sound wider, all without actually taking up more space in the mix. It’s a hyped, over-the-top sound that is perfect for energetic metal music. If you want to dive deeper into aggressive metal compression techniques, this is a perfect example of thinking outside the box.
Final Widening with the S1 Imager
To finish the chain, Taylor adds a touch of stereo width using the <strong>Waves S1 Stereo Imager</strong>. The key here is “a touch.” It’s not about creating a disorienting, phasey effect, but about pushing the guitars just slightly further out to the sides of the mix, helping them feel huge and creating a clear space in the center for the kick, snare, and vocals.
Putting It All Together for a Massive Guitar Sound
As you can see, Taylor Larson’s approach to mixing Jason Richardson’s guitars is a masterclass in detail and intention. It’s a process that starts with a solid foundation of blended tones and perfect phase, followed by a multi-stage processing chain where every single plugin has a specific job—from broad tonal shifts to surgical cleaning, aggressive transient shaping, and final spatial enhancement.
Reading about these settings is one thing, but seeing and hearing them dialed in on the actual session is the best way to truly understand the “why” behind every move. In the full Nail The Mix session, you can watch Taylor build this exact guitar sound from scratch and explain his thought process every step of the way.
If you’re ready to move past generic presets and learn how the pros craft signature sounds for the biggest artists in metal, check out our intensive production and mixing courses.
“`