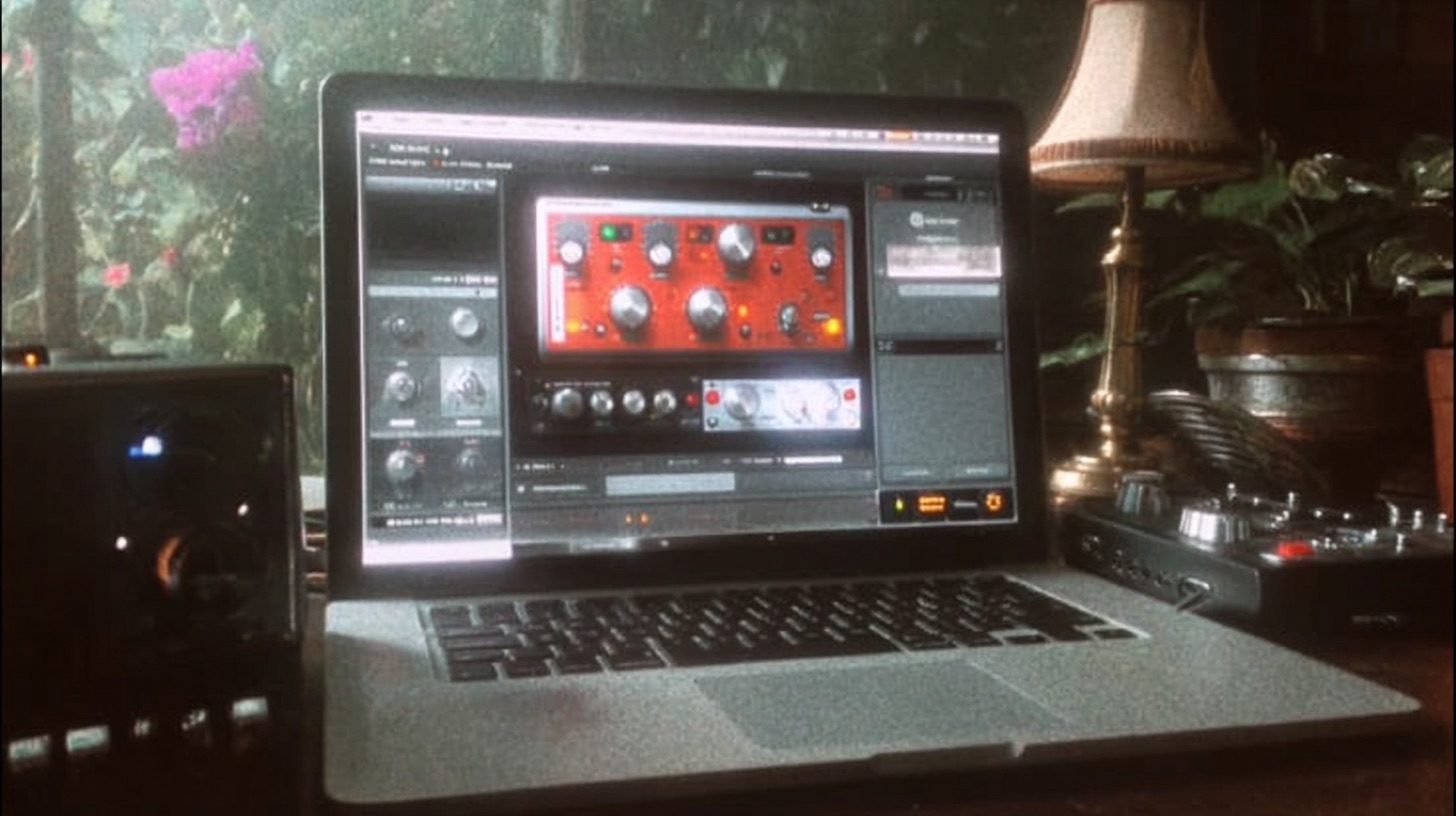
Making pop punk bass translate on small speakers with Waves MaxxBass (ft. Real Friends)
Nail The Mix Staff
Let’s be real—getting bass to sit right in a dense rock mix is a constant battle. You want it to feel huge on systems with a sub, but you also need it to punch through on laptop speakers and earbuds. Too much low-end and you’ve got a muddy mess, a problem every producer needs to learn how to fix. Not enough, and the track feels weak.
For the Real Friends track “I’ve Given Up On You,” producer and mixer Doug Weier faced this exact challenge. His solution wasn’t about finding one magic plugin, but about a methodical process of control and harmonic enhancement that makes the bass feel tangible and alive on any system. His philosophy is simple: the kick and bass are not two separate things; they are one instrument providing the groove and movement of the song.
Here’s a breakdown of Doug’s workflow for getting a bass that pops right out of the speakers, which you can see in its entirety on his Nail The Mix session.
The Foundation: Get the Groove and Mids Right First
Before diving into a massive plugin chain, Doug sets the stage with his monitoring and initial leveling. His approach is all about building the low-end relationship between the kick and bass from the ground up.
Starting Small to Think Big
Most people think you need massive speakers to mix low-end. Doug flips that on its head. He starts his bass mixing on a pair of Yamaha HS50ms. Why? Because small speakers don’t reproduce sub-bass well. This forces him to focus on the mid-range and harmonics—the very frequencies that make a bassline audible on consumer devices.
If he can get the bass to feel present and defined on the HS50s, he knows it will translate. Only after nailing the character on the small speakers does he switch to his larger Neumann monitors to check the true sub-bass and clean up any boominess he might have overcompensated for.
Building the Bass Chain: A Step-by-Step Guide
Doug’s method is about stacking plugins with purpose, with each one solving a specific problem or adding a specific character. It’s an awesome example of how to build a complex chain that works.
Step 1: Clean Up and Tame the Dynamics
Before you boost anything, you have to get control. For this bass track, which had some noise, the first move was a gate.
- Gate/Expander: He uses a single-band expander to gently clean up noise in between phrases without sounding choppy.
- Multiband Compression: This is a key step for low-end control. He sets up two bands: one for the “ultra lows” (around 73Hz for this track, but it’s key-dependent) and one for the “upper lows” (around 163Hz). He sets the threshold by pulling it all the way down for maximum gain reduction, then slowly pulls it back up until the meters are just kissing 0dB. This gives him a super consistent low-end foundation.
- Aggressive, Low-Ratio Compression: Next, he uses the stock Ableton Compressor. He loves its control knob that allows him to adjust threshold and ratio simultaneously. He applies aggressive compression—around -4.5dB of gain reduction—but with a very low ratio of 1.94:1. Using a low ratio keeps the bass sounding dynamic and natural, avoiding that “completely smashed” sound. He also sets the compressor to RMS mode, which reacts to the average level rather than peaks, perfect for a sustained instrument like bass. Learn more about how the pros use these techniques with our guide to the audio compressor.
- Limiting: A final touch of control comes from an L2 Limiter. This isn’t for loudness but for consistency, evening out any remaining dynamic waves and slightly thinning out any boominess.
Step 2: Add Harmonics to Make it Pop
This is the secret to making the bass cut through on small speakers. Simply boosting the bass with an EQ can add mud, but generating new harmonic content in the mid-range gives the bass definition and grit without cluttering the lows.
- R-Bass Style Saturation: He uses a harmonic enhancement plugin (like Waves R-Bass) centered around 80Hz. On his small HS50 speakers, this is where he can start to “feel” the bass come alive and jump off the page. It adds that tangible grit. Understanding what audio saturation is and how to wield it is key to this part of the process.
- Synthesized Harmonics (MaxxBass): For even more cut, he uses a plugin like Waves MaxxBass. This tool is unique because it doesn’t just distort the existing signal. It generates new, clean harmonics (based around 98Hz in this mix) and blends them with the original signal. He compares it to adding power chords, creating a clear and consistent harmonic layer that sounds more defined than simple saturation.
When he turns this chain off, a huge hole opens up in the mix, proving just how crucial these added harmonics are. This skill is exemplified by renowned producers like Adam “Nolly” Getgood, who is a master of building epic bass tones from a DI.
Step 3: Carve Out the Mud with Surgical EQ
Adding all those harmonics can create build-up in the low-mids. Now it’s time to clean it up. Doug has a killer trick for this.
He uses what he calls his “NS-10 Curve”—an EQ that creates a drastic band-pass effect, rolling off all the high-end and sub-lows. This focuses the listener’s ear squarely on the mud range, typically between 100-200Hz.
With this filter on, any boominess or clutter becomes painfully obvious. He then uses another EQ to make precise, narrow cuts in that range, cleaning up the bass so it doesn’t fight with the low-end of the guitars and the drum room mics. It’s a huge move that makes a massive difference in the clarity of the entire mix. Getting this right is one of the most important parts of a modern mix, and you can perfect your skills by mastering the parametric equalizer.
Step 4: The Final Polish
- More Multiband & Limiting: He adds another subtle multiband compressor and another L2, this time just to catch any stray pick attacks or fret noise peaks that might have been emphasized by the processing.
- Final Tangibility Boost: After sending the first mix, the band wanted a bit more bass presence. Doug used a frequency-specific harmonic exciter to find a spot where the bass could cut through just a little more without harming the guitars or vocals.
- Soothe: Finally, a touch of Soothe2 helps tame any harshness that may have been introduced by all the harmonic generation, ensuring the bass is present but never painful.
Watch Doug Weier Build This Tone from Scratch
Reading about these techniques is one thing, but seeing them in action is another. In Doug Weier’s full Nail The Mix session, you can watch him dial in this entire bass chain from scratch, explaining every move as he makes it.
Real Friends on Nail The Mix
Doug Weier mixes "Waiting Room"
Get the Session
When you join the Nail The Mix community, you get to be a fly on the wall for sessions just like this one every single month. You get the raw, multi-track audio from bands like Real Friends, Periphery, and Gojira, and you get to watch the original producer mix the song in real time. It’s the ultimate way to move beyond presets and unlock your own sound with our in-depth production and mixing courses.
“`
Get a new set of multi-tracks every month from a world-class artist, a livestream with the producer who mixed it, 100+ tutorials, our exclusive plugins and more
Get Started for $1


