How to Mix Metal Leads with Positive Grid BIAS
Nail The Mix Staff
Getting a guitar solo to sit properly in a dense, aggressive metal mix is a classic producer's headache. You need it to be loud, proud, and in your face, but it can’t trample the rhythm guitars or get lost in a wash of cymbals. The secret isn’t always about finding the single “perfect” tone. It’s about creating a tone that cuts.
Positive Grid’s BIAS Amp and BIAS FX are insanely powerful tools for this job, giving you an entire studio’s worth of amps in one plugin. But with endless options, it’s easy to get lost.
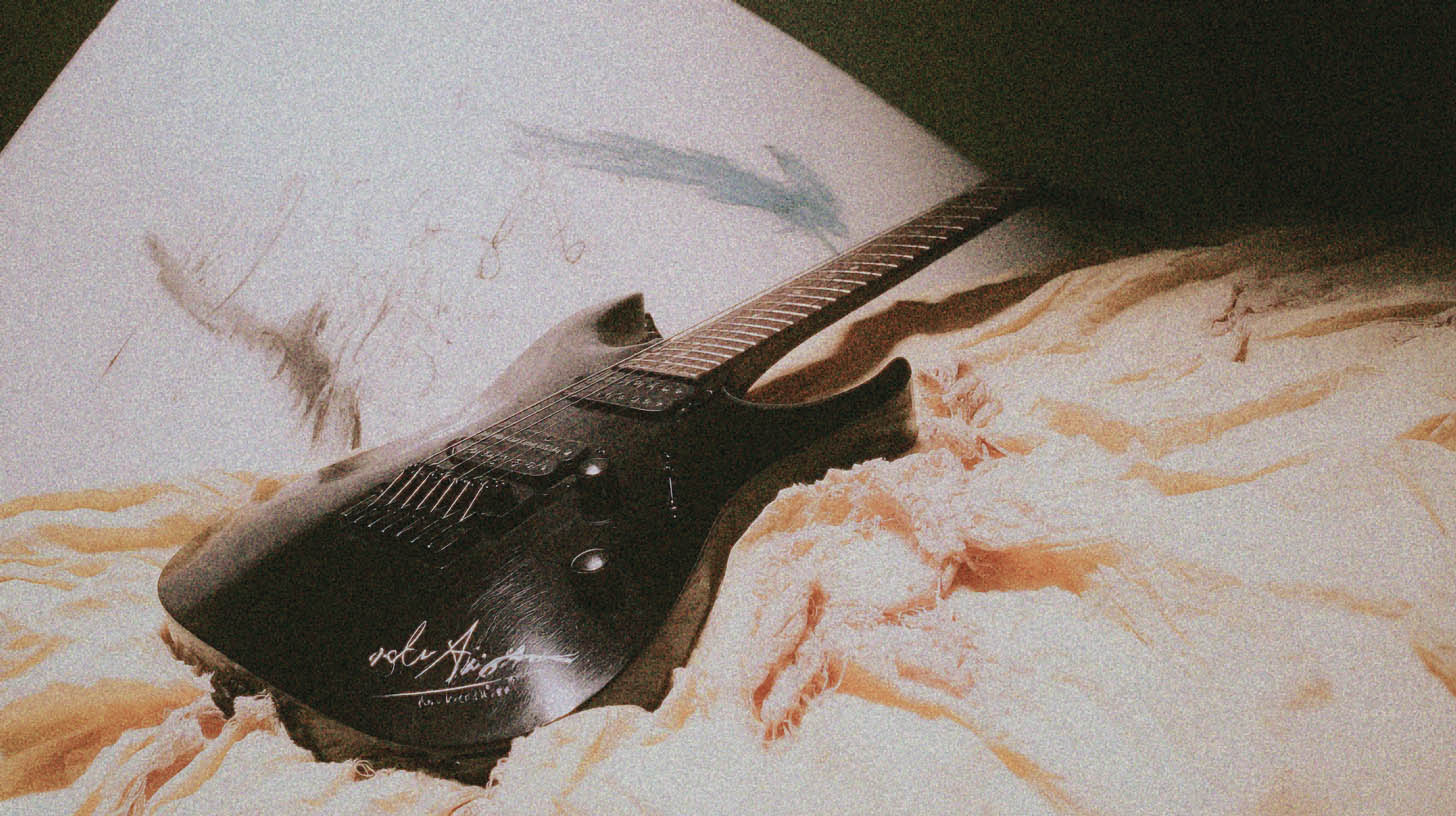
Here’s a no-nonsense, pro-level workflow for taking a raw DI guitar solo and making it slice through your mix using Positive Grid BIAS, compression, EQ, and automation. This is the exact process one of our instructors used on a guest solo from the legendary Trey Xavier (Gear Gods), who laid down the track with a killer Ernie Ball Music Man JP7.
Step 1: Find a “Good Enough” Tone in BIAS
Forget spending hours searching for the holy grail preset. When it comes to lead guitars, the mission is simple: find a tone with a strong mid-range that has the potential to cut. We’ll shape the rest later.
The "Cut Over Character" Philosophy
Your rhythm guitars are the foundation. They need to be huge, wide, and glued together. A lead is different. It’s a temporary spotlight moment. If it slices through the mix and commands attention for those 30 seconds, its job is done.
This means you don’t want a heavily scooped, modern rhythm tone for your lead. You need those mids. They’re the key to cutting through the wall of sound created by everything else.
A Practical Approach to Dialing It In
- Loop the Solo: Isolate the solo section in your DAW and let it loop continuously.
- Open Positive Grid BIAS: Slap it on your DI track.
- Twist Knobs: Don’t be precious about it. Start clicking through amp models and presets. Crank the gain, twist the EQ, and listen for something that feels right in the ballpark. In this particular mix, an SLO 100 model had the right kind of aggressive character to build on. Just like working with a real amp, you just have to fiddle for a bit until you land on something that works.
The goal isn’t perfection. It’s finding a starting point with a solid mid-range and the right attitude.
Step 2: Tame the Dynamics with Aggressive Compression
A real solo performance, even from a monster player like Trey, will have dynamic variations. Some notes will be picked harder, others softer. Compression is your tool for leveling everything out, ensuring every single note is audible and powerful.
For a lead guitar, you can be pretty aggressive. You want to smash it.
Choosing Your Weapon (And Knowing When to Switch)
A fantastic, aggressive tool for this is JST Gain Reduction. It’s a limiter and compressor that can really pin a signal in place. However, a crucial part of mixing is knowing when your tools aren’t playing well together. In this case, the combination of the BIAS amp sim and Gain Reduction was creating some unwanted digital distortion.
This is a real-world problem that happens all the time. The fix? Don’t fight it. Swap your tool.
We pivoted to the stock compressor in Logic Pro, which is an absolute powerhouse. Never underestimate the stock plugins in your DAW! We started with the "Electric Guitar" preset and tweaked from there.
The key is to set a low threshold and a decent ratio to really clamp down on the signal, creating a consistent, solid block of sound that won’t get lost.
Want to go deeper on this? Check out our complete guide to metal compression secrets for more techniques.
Surgical EQ for Maximum Clarity
After heavy compression, any harsh or unpleasant frequencies in your tone will be exaggerated. Now it’s time to clean them up with surgical EQ. The goal is to carve away the nasty "ice pick" frequencies without making the tone sound dull.
This is where you’ll use the classic "sweep and destroy" technique:
- Grab a Parametric EQ: A plugin like the Waves Q10 is perfect for this.
- Create a Narrow Band: Use a very narrow Q (bandwidth) and boost the gain significantly.
- Sweep the Frequencies: Slowly sweep the boosted band across the high-mid and treble spectrum (from around 1kHz up to 10kHz and beyond).
- Listen for the Ugliness: You'll hear certain frequencies jump out as harsh, ringing, or fizzy, especially on the highest notes of the solo.
- Cut What You Find: Once you identify a nasty frequency, flip from a boost to a cut, pulling that specific frequency down until the harshness disappears.
Repeat this process a few times to eliminate the most offensive spots. This precision work cleans up the tone dramatically while preserving the aggressive bite you need. For a full breakdown on this, see how the pros approach EQing modern metal guitars.
Step 4: Create Space and Width with Delay
A bone-dry solo can sound a little naked and disconnected from the mix. Adding time-based effects like delay is how you give it depth, width, and a professional polish.
The best way to do this is with a delay bus:
- Create a new stereo aux/bus track in your DAW.
- Put a delay plugin on this track. The Waves H-Delay is a go-to for many pros.
- Set the delay time to sync with your song’s tempo (e.g., a quarter note or eighth note delay).
- Use the "send" on your lead guitar channel to route a copy of the signal to your new delay bus.
Now you can blend in the perfect amount of delay using the send fader, giving the lead its own space to live in without cluttering up the main track.
Step 5: The Final Polish: Volume Automation
Even after aggressive compression, you’ll still want to use automation. It’s the final touch that makes a lead feel truly integrated and alive. A player’s dynamics are part of the performance—the picking might get softer at the start of a solo and more aggressive towards the end. Automation lets you control this.
Riding the Fader
This is the art of manually adjusting the track’s volume throughout the performance.
- Open the volume automation lane for your lead guitar track.
- Put the track in "Touch" or "Latch" mode.
- Press play and use your mouse or a fader on a control surface to ride the volume. Gently push up the quieter phrases and pull back the louder, more aggressive ones.
It might take two or three passes to get it feeling smooth and natural, but this manual control is what separates a good mix from a great one. You can even automate the send to your delay bus, adding more delay to long, held notes and pulling it back during fast, shreddy passages.
Your Pro-Level Lead Workflow
That’s the process: from a raw DI to a finished lead that cuts.
- Step 1: Dial a mid-focused tone in Positive Grid BIAS.
- Step 2: Smash it with Compression for consistency.
- Step 3: Clean it up with surgical EQ.
- Step 4: Add depth with a Delay bus.
- Step 5: Control the final level with Automation.
The beauty of using an amp sim like BIAS is the flexibility. If you get to the end and feel the SLO 100 isn’t quite right, you can just open the plugin and swap it for a different amp model without having to redo all your other processing.
This is just one technique from one of the many world-class Nail The Mix instructors. If you want to see exactly how producers like Will Putney, Zakk Cervini, and Andrew Wade build massive metal tracks from the ground up, check out the full Nail The Mix sessions catalog. You get the raw multitracks from bands like Gojira, Lamb of God, and Knocked Loose, plus an 8-hour masterclass showing you every single plugin and fader move.
Want even more? Over 1,500 more tutorials like this are available as part of URM Enhanced.
Get a new set of multi-tracks every month from a world-class artist, a livestream with the producer who mixed it, 100+ tutorials, our exclusive plugins and more
Get Started for $1


