How To Get That Clanky Metal Bass Tone
Nail The Mix Staff
The Full-Bandwidth Distortion Problem
So, your first instinct might be to just slap your favorite amp sim plugin directly onto your bass DI track. You fire it up, maybe cycle through a few high-gain amp models like a Pod Farm Bass Amp or something from Tone Forge, and sure, you get some distortion. But here’s the catch: when you distort the entire bass signal, things can get ugly fast.
While you might get some interesting top-end clank, you’re also wreaking havoc on your crucial midrange and low-end. The distortion tears up the fundamental frequencies, often leading to a bass tone that’s either too fizzy, too muddy, or just loses all its punch and definition in the low register. Different amp sims will affect this differently, but the core issue remains: full-range distortion often sacrifices clarity for aggression.
The Solution: Splitting Your Bass for Targeted Clank
The magic happens when you split your bass signal. This approach allows you to keep your low-end clean and powerful while adding all that glorious distortion only to the higher frequencies where the clank lives.
Setting Up Your Tracks
It’s super straightforward:
- Duplicate Your Bass Track: In your DAW, take your main DI bass track and duplicate it.
- Label Them Clearly: You’ll now have two identical bass tracks. Name one something like “Bass Low” or “Bass Clean” and the other “Bass High” or, as Joel calls it, “Bass Swank” – something to denote its clanky purpose.
You now have two copies of the same performance, ready for specialized processing.
Filtering for Clarity: The High-Pass and Low-Pass Strategy
This is where the separation truly happens. We’ll use EQ filters to isolate the frequency ranges for each track. For more in-depth strategies, learning how to use a basic shelf EQ is a great first step.
The “Swank” Track (High-Pass Filter)
On your “Bass Swank” track, insert an EQ and apply a high-pass filter (HPF).
- Frequency: You can start this anywhere from around 500Hz up to 2kHz, or even higher. Joel starts his around 700Hz in the video. The exact point will depend on your bass, the song, and how much “body” you want in your clank.
- Purpose: This filter removes all the low-end and low-mid frequencies, leaving only the upper midrange and high frequencies. This is the signal you’ll distort.
By filtering out the lows before the distortion, you prevent the amp sim from turning your bottom end into an undefined mess.
The “Clean Lows” Track (Low-Pass Filter – Optional but Recommended)
On your “Bass Low” track, you’ll want to do the opposite to ensure a clean crossover and prevent frequency buildup. Insert an EQ and apply a low-pass filter (LPF).
- Frequency: A good starting point is to set this LPF around the same frequency as the HPF on your “Swank” track (e.g., 700Hz). You can adjust this by ear later.
- Purpose: This removes the high frequencies from your clean bass track, ensuring it’s focused purely on providing a solid low-end foundation. It also makes space for the distorted “Swank” track to shine through with more clarity.
This creates a clean separation: one track for the punchy, clean bottom, and another for the aggressive, distorted top. While you’re focusing on the low-end track, remember that solid dynamic control is key. Often, achieving that involves more than just EQ; understanding the basics of compression for mixing rock and metal can be a game-changer for a tight and consistent bass foundation.
Dialing in the Distortion: Amp Simulators and Settings
Now for the fun part! On your “Bass Swank” (high-passed) track, insert your amp simulator. Joel uses the stock Steinberg Amp Simulator initially to show that even basic tools can work, but you can use anything: Tone Forge Ben Bruce, Pod Farm Bass Amps, popular pedal plugins from brands like Neural DSP, or even mix metal bass using guitar amp sims.
Choosing Your Weapon
Cycle through different amp models and cabinets within your chosen plugin. Listen in the context of your mix – with drums and guitars playing. What you’re looking for is a top-end character that complements the other instruments and adds that desirable clank and aggression without sounding too harsh or fizzy. Some amp sims Joel tries include:
- Steinberg Stock Amp Sim: Proves the concept works with basic tools.
- Joey Sturgis Tones – Tone Forge Ben Bruce: Another option to try.
- Line 6 Pod Farm (Bass Amps section): A classic for a reason, offers various tones.
Don’t be afraid to experiment. The “best” amp sim is subjective and mix-dependent.
The Importance of Drive/Gain
The amount of drive or gain you dial in on the amp sim is crucial.
- Less Drive: Results in a cleaner, more articulate clank. You’ll hear more of the pick attack and string noise.
- More Drive: Makes the tone more aggressive and saturated, but you can start to lose clarity and definition if you push it too hard.
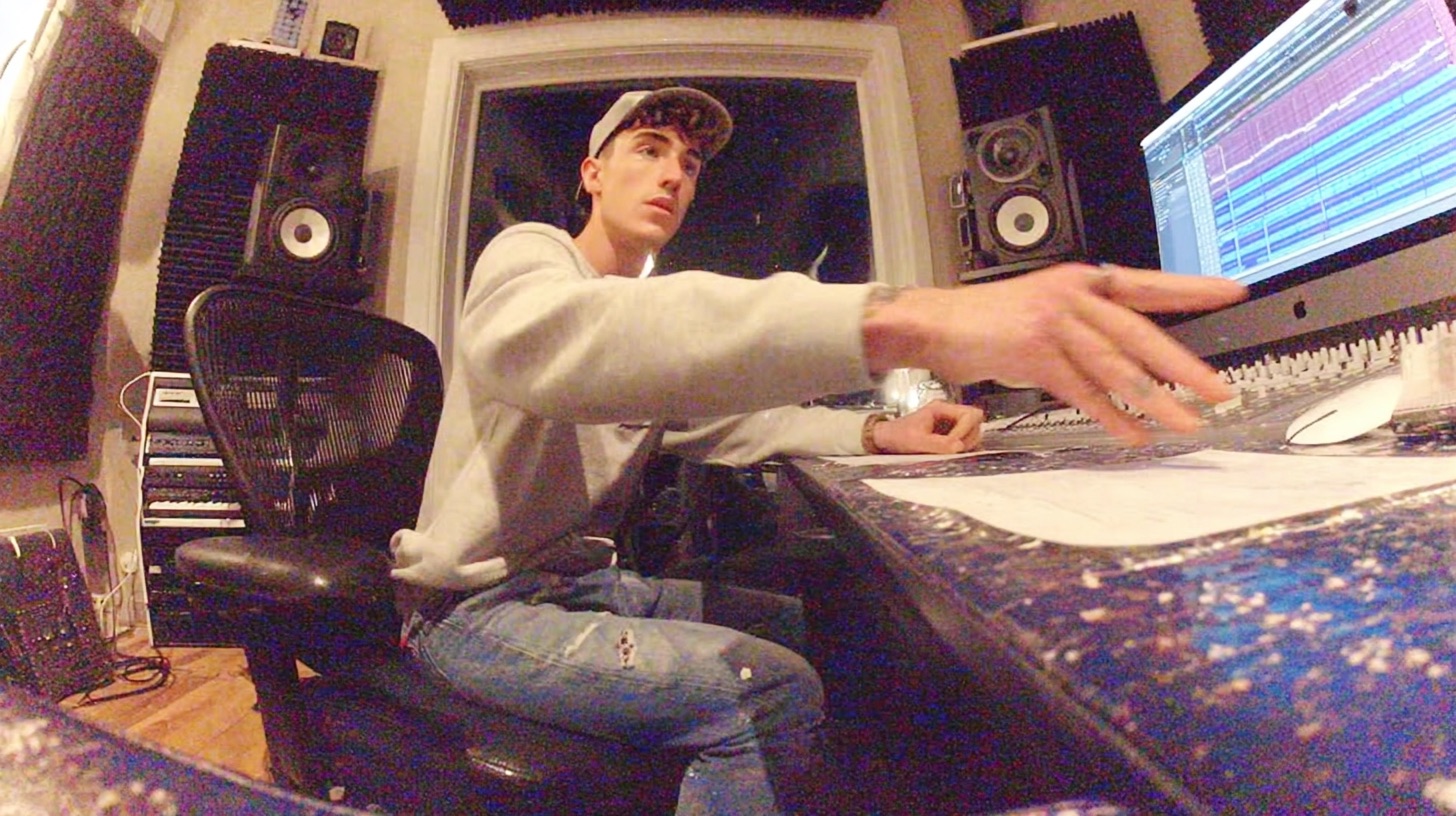
Listen carefully in the mix. Find that sweet spot where the bass has attitude and cuts through, but doesn’t become a wash of distortion. (04:29) Joel finds a setting he likes after adjusting the drive.
EQing the Distortion for Maximum Clank
After the amp sim on your “Swank” track, you might want to add another EQ. This allows you to further shape the character of the distortion.
- Cut Annoying Frequencies: Use a narrow Q to sweep through and find any harsh, resonant, or “nasty” frequencies in the distorted top end and gently cut them.
- Boost the Good Stuff: Find the frequencies that really emphasize the “clank” or “swank” you’re after and give them a slight boost. This is often in the upper mids to high frequencies.
Joel demonstrates this by finding an “annoying” frequency and cutting it, then finding a “clanky” one to boost. He mentions that playing with EQ on the distortion can really help accentuate the nastiness and make it sound “real nasty” in a good way.
Blending and Fine-Tuning
With your “Bass Low” track providing the clean foundation and your “Bass Swank” track delivering the distorted top-end, the final step is to blend them.
Using Faders for Tonal Balance
This is where the real power of the split technique comes into play. Use the volume faders for your “Bass Low” and “Bass Swank” tracks to dial in the perfect balance:
- Want more clank and aggression? Turn up the “Bass Swank” track.
- Need more low-end punch and weight? Turn up the “Bass Low” track, paying close attention to how it balances with your kick drum.
- Bass too boomy but clank is good? You might even dial back the “Bass Low” slightly.
This fader-based blending essentially gives you an incredibly powerful macro EQ for your overall bass tone. You’re not just adjusting volume; you’re adjusting the character of your bass in the mix.
Why This Matters For Your Mixes
This split-processing technique gives you incredible control. You get the weight and power of a clean bass fundamental, combined with the aggression, articulation, and cut-through of a distorted top end, without the typical compromises. Your bass will sit better in a dense metal mix, define the riffs more clearly, and add an exciting aggressive edge. This is a key part of learning how to balance metal guitars and bass in a mix. This is a common technique used in professional metal productions, and now you know how to do it yourself! Many aspiring producers find that understanding core techniques like these is the first step, and our Metal Mixing 101 guide can help build that foundation.
Take Your Metal Mixes to the Next Level
Mastering techniques like this clanky bass tone is a huge step forward. But imagine learning these kinds of secrets directly from the producers who mixed albums for bands like Gojira, Periphery, and Meshuggah. At Nail The Mix, that’s exactly what you get. Every month, you receive the actual multi-tracks from a real metal song and watch the original producer mix it from scratch, explaining every plugin, every decision, every fader move.
If you’re serious about elevating your rock and metal production skills, and want to see how the pros achieve these powerful sounds from start to finish, then Nail The Mix is where you want to be. Stop guessing and start learning from the best in the business.