How to make MIDI drums sound real w/ Superior Drummer 3 and GetGood Drums (ft. Zenith Passage)
Nail The Mix Staff
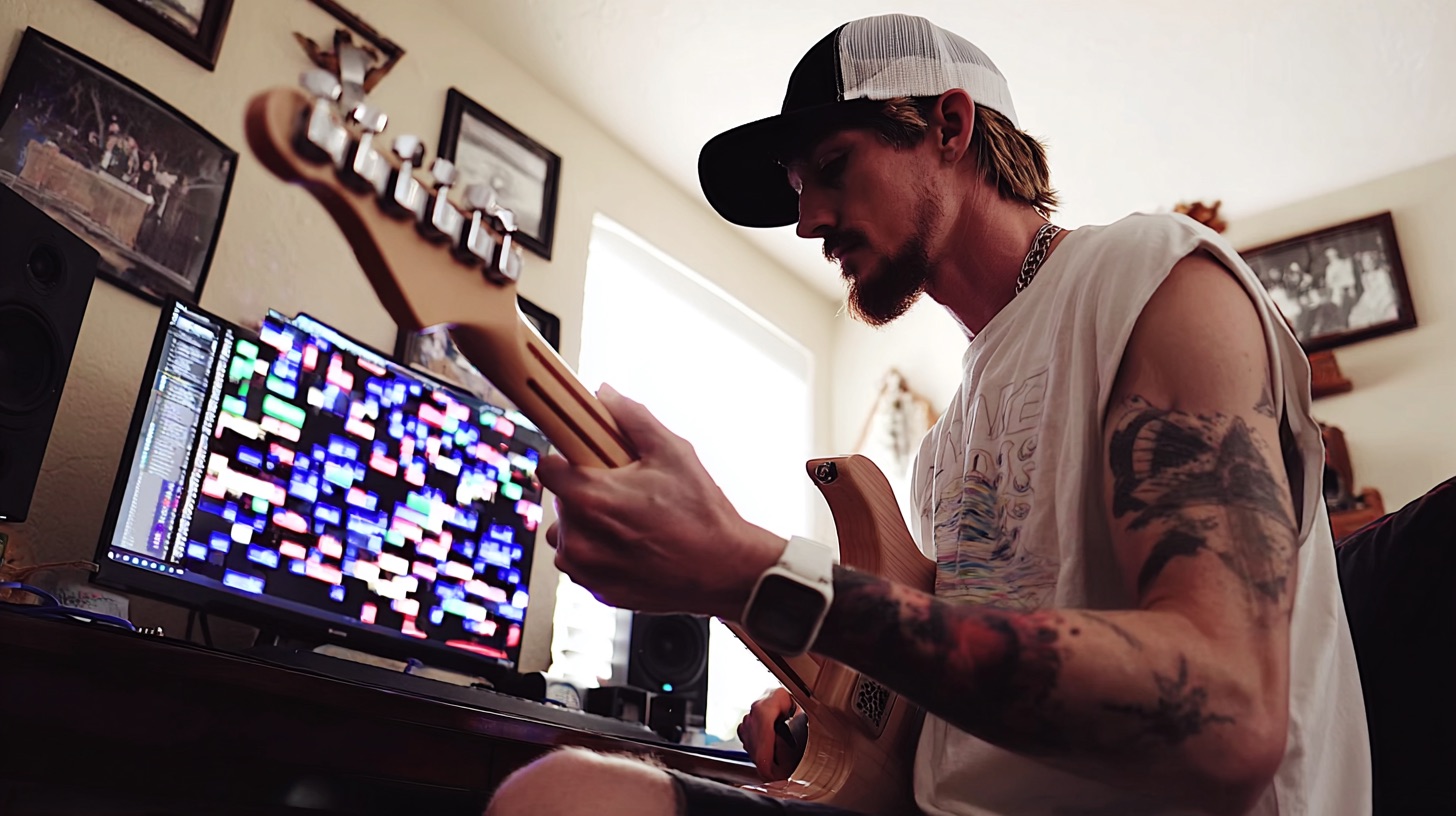
Let’s be honest, the line between programmed and “real” drums in modern metal is blurrier than ever. When you hear the machine-gun precision on a tech-death record like Zenith Passage, you knowMIDI is involved. But making MIDI drums sound massive, detailed, and organic—not like a robot playing in a closet—is a serious art form.
Enter producer Dave Otero (Flatline Audio), the man behind the board for the Zenith Passage record. He pulled back the curtain on his a session, revealing that the foundation of the album’s brutal drum sound is 100% MIDI. But he didn’t just load up a single preset and call it a day. He built a custom hybrid kit by combining multiple drum libraries, giving him an insane amount of control.
Let’s break down how Dave Otero constructs a pro-level MIDI drum mix.
The Cymbal Conundrum: Why Superior Drummer 3 Was a Must
When Dave received the session, the drum parts were already programmed by the band’s drummer, Justin, using Toontrack’s Superior Drummer 3. For the shells—the kick, snare, and toms—this isn’t a big deal. But for cymbals, it’s a different story.
Cymbal MIDI is incredibly nuanced. The programming contains tons of detailed information that doesn’t always translate between different drum samplers—things like hi-hat pedal positions (from tightly closed to sloshy and open), and different articulations like hitting the bow versus the bell of the ride cymbal. Trying to move that complex MIDI to a different sampler would have been a nightmare and would have completely changed the feel of the performance.
To preserve all that detail, Dave made a crucial call: all the cymbals had to stay within Superior Drummer 3. He then customized the SD3 kit, auditioning different crashes, chinas, and hats from the libraries he had, including the Death & Darkness SDX, to build the perfect cymbal setup for the track.
Building a Better Beast: Swapping Shells with GGD Krēm Drums
With the cymbals locked in, Dave was free to get creative with the core of the kit. While SD3 is powerful, he’s a huge fan of the shells in GetGood Drums’ Krēm Drums library. He loves the way they’re tuned, the way they interact with the room sound, and their overall punch.
So, he did what any pro would do: he took the best of both worlds. He disabled the shells in his Superior Drummer 3 instance and loaded up GGD Krēm Drums on a separate track. The MIDI for the kick, snare, and toms was routed to GGD, effectively creating a hybrid kit: GGD shells and SD3 cymbals.
This approach gives you the flexibility to choose the absolute best sounds for each part of the kit, rather than being limited to a single library.
Stacking Samples Like a Pro
Here’s where the workflow starts to mirror mixing a real acoustic drum kit. Dave treats his new hybrid MIDI kit as the “natural” drum sound. From there, he does what he’d normally do on any metal mix: he augments the kick and snare with trigger samples.
Beefing Up the Kick and Snare
Using Steven Slate Trigger 2, Dave stacks his own hand-picked samples underneath the GGD kick and snare. This isn’t about completely replacing the original sound, but reinforcing it. He creates what he calls a “giant mix mash” of kick samples to get the perfect combination of attack, low-end punch, and consistency. The GGD shell provides the body and “real kit” feel, while the samples add that modern metal impact and cut through the dense guitars.
Pro Routing: The Unfair Advantage of MIDI Drums
This is where the magic really happens. Dave’s routing strategy is the key to unlocking an insane level of control that’s nearly impossible with a live drum recording. He sets up his DAW just as if he were mixing a multi-mic’d acoustic kit, with separate tracks and buses for everything.
Busing Shells and Samples
The GGD kick track and the Trigger kick sample track are routed to a master “Kick Bus.” The same goes for the snare. This allows him to process the “mic’d” sound and the “sample” sound together, making them feel like one cohesive instrument. This is a fundamental step in getting a punchy, glued-together drum sound. For more on getting your low-end right, check out these strategies for mixing modern metal.
The Secret Weapon: Separating Your Room Mics
With a real drum kit, the room mics pick up everything. When you heavily compress your room mics to make the shells sound huge and explosive, you also bring up a ton of harsh cymbal wash. This can make the whole kit sound messy and washy.
But with Dave’s hybrid MIDI setup, he has the room mics from the GGD shells and the room mics from the SD3 cymbals on completely separate tracks.
This is a game-changer.
He can absolutely smash the GGD shell room with a plugin like the Korneff Audio Talkback Limiter to get an explosive, larger-than-life shell sound, without the cymbals turning into a trashy mess. His technique is similar to how he uses triple parallel compression on Archspire’s drums to achieve maximum impact. Then, he can gently blend in just a little bit of the SD3 cymbal room to add cohesion and space, giving him the best of both worlds. This level of parallel compression on room mics is what creates that massive, modern drum sound.
Learn the Methods Top Pros Use on Real Records
This hybrid approach—combining libraries, stacking samples, and using clever routing to gain an unfair advantage—is a perfect example of the creative problem-solving that happens in a high-level metal mix. These are the kinds of techniques that separate amateur mixes from pro-level productions.
If you want to see exactly how Dave Otero applied these principles, tweaked his EQs, and dialed in his parallel bus compression using tools like the Soundtoys Devil-Loc, you can. With a Nail The Mix membership, you get to watch the full, unabridged session where Dave Otero mixes this Zenith Passage song from scratch.
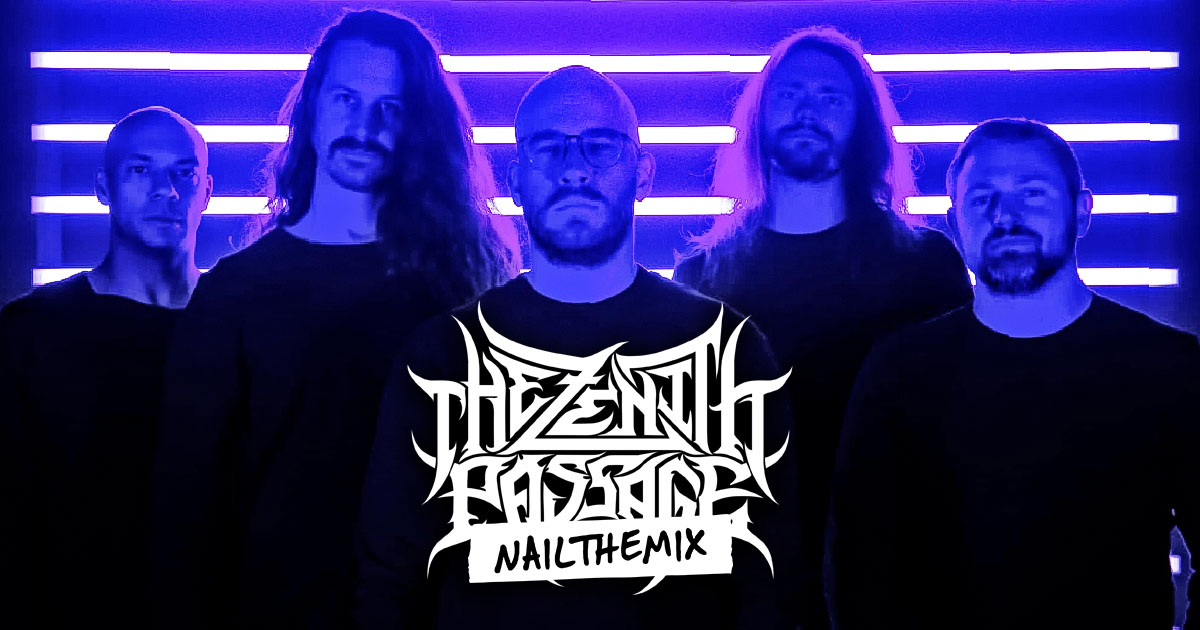
The Zenith Passage on Nail The Mix
Dave Otero mixes "Algorithmic Salvation"
Get the Session
Even better, you get the actual multi-tracks to practice on yourself. Imagine being able to solo his separated room mics, reverse-engineer his sample choices, and apply his techniques to your own mix. That’s how you truly learn to mix modern metal beyond presets.
Stop guessing and start learning from the best in the business. Check out another full tech-death mixing session with Dave Otero and see for yourself.