Metal mixing 101: bus EQ, drum compression & vocal distortion with stock plugins
Nail The Mix Staff
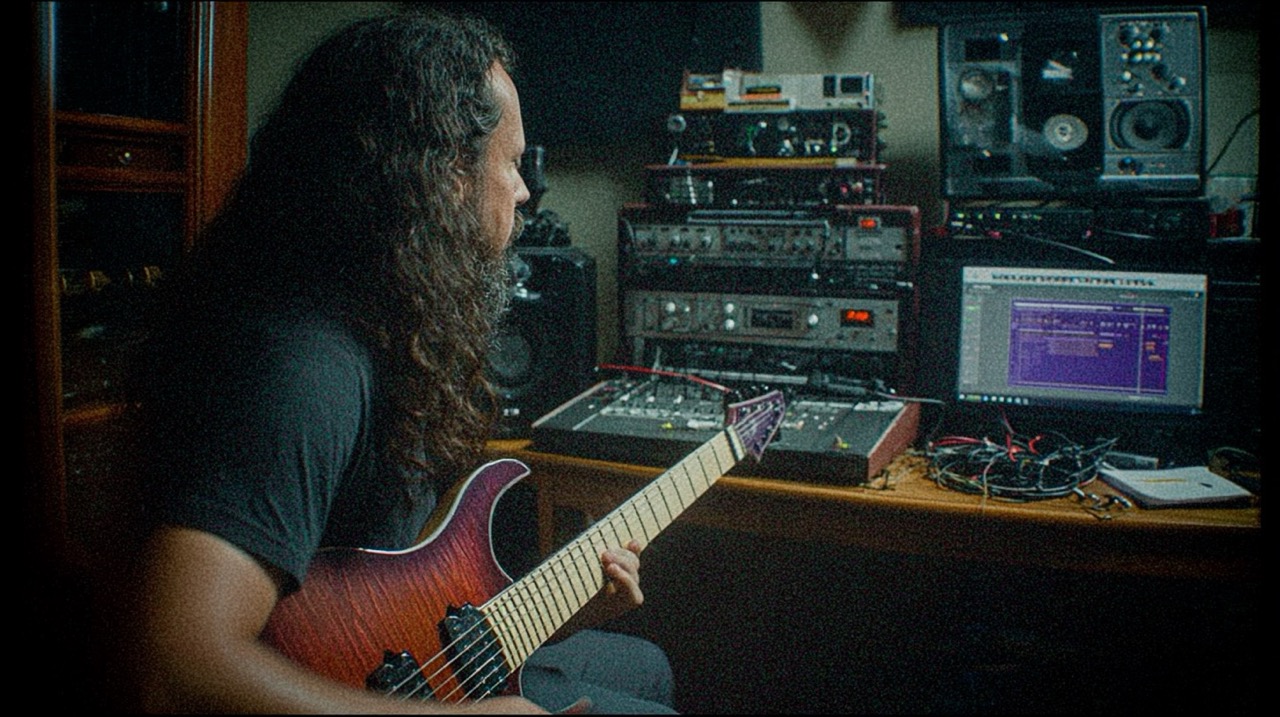
So, you’ve laid down some killer tracks and now it’s time to make them punch. If you’re looking to take your metal demo mix from decent to devastating, producer Buster Odeholm (Vildhjarta, Humanity’s Last Breath, Impact Approved) from the Nail The Mix team has some killer tips. This isn’t about reinventing the wheel, but rather refining your approach to key elements like guitars, drums, bass, and vocals using smart bus processing and effects. Let’s dive into some practical techniques you can apply right now to get your metal mixes sounding more professional. And if you’re serious about leveling up your production game, platforms like Nail The Mix offer deep dives with industry pros.
Dialing In Your Guitars with Bus Processing
Getting those heavy guitars to sit right is crucial. Instead of tweaking individual tracks endlessly, Buster often starts by processing them together on a group track, or bus.
Setting Up a Guitar Group Track
First things first, create a stereo group track (your guitars are panned, right?). In Cubase, this is a simple “Project > Add Track > Group” affair, ensuring it’s a stereo configuration. Route the outputs of your individual rhythm guitar tracks to this new “Guitars” bus. Now, any processing you add to this bus’s insert section will affect all your guitars uniformly, saving time and creating a more cohesive sound.
Taming Low-Mids and Adding Clarity with EQ
One of the first culprits muddying up a guitar tone is often an excess of low-mids – that murky area roughly between 200Hz and 400Hz. Buster points out that this is where guitars can clash with the bass and lose definition.
Using an EQ (like Cubase’s stock StudioEQ or your favorite third-party plugin), identify this problematic range. He often starts looking around 200Hz. Try a moderate cut here, playing the track and listening to how it clears up the guitars. For more in-depth strategies on carving out space, you can use multiband compression to tame boomy guitars.
High-Passing for Bass Room
To make even more room for your bass guitar to shine, a high-pass filter (HPF) on the guitar bus is your friend. This filter rolls off unnecessary low-end frequencies that guitars don’t really need. Buster suggests setting this around 90Hz (using the “Cut” filter type), but feel free to experiment. You can adjust the ‘Q’ or slope of the filter – a narrower Q (by adjusting the Q knob) will make the roll-off steeper, cutting more aggressively below the chosen frequency while preserving a bit more just above it.
Punchy Drums with Strategic Compression
Next up, let’s get those drums hitting hard. Bus compression can really glue them together and bring out their attack.
Applying Bus Compression to Drums
Route your drum tracks to a dedicated drum bus. Slap a compressor on it – any good stock or third-party one will do (Buster uses Cubase’s “Compressor” from the dynamics section). He often goes for a ratio of around 4:1, a medium attack (say, 20ms to let the initial transient through), and a fast release (as fast as it goes, like 10ms in his example).
The key is to dial in the threshold. Start by over-compressing to really hear what the compressor is doing, then back off the threshold (bring the knob up) until the drums are punching through with more aggression and attack, but without sounding overly squashed or weird. To get even more punch, consider exploring techniques like parallel compression for your drum bus.
Balancing Kick Drum Post-Compression
A common side effect of drum bus compression is that the kick drum can get a bit too loud relative to everything else. Listen carefully with the compressor on and off. If the kick is now overpowering, simply go back to your drum VSTi’s mixer (or your individual kick track) and turn the kick down a dB or two until it sits nicely in the balance again.
Sculpting Your Bass for Power and Definition
A solid bass tone is the foundation of a heavy mix. EQ is your primary tool here.
EQing the Bass Guitar
Similar to guitars, bass can also suffer from low-mid congestion. Buster often finds himself looking around the 200Hz mark again with an EQ like Cubase’s StudioEQ. Use the EQ with a reasonably tight Q (adjusting the Q knob) to dip these frequencies, cleaning up the murk.
However, be careful not to make the bass sound thin. To counteract this, he suggests boosting the low frequencies below where you made the cut. This brings back the heft and power.
Also, listen out for harshness in the high-mids, typically around 2kHz to 3kHz. If you hear any clangy or overly aggressive frequencies, use a tight Q to find the specific offender (Buster sweeps to find it, then pulls it back) and gently pull it down. This can make the bass sit much more smoothly with the guitars. This approach is key to getting that clanky metal bass tone that has both weight and aggression.
Balancing Bass with Guitars
Once you’ve EQ’d the bass, listen to it alongside the guitars. You might need to adjust the bass fader slightly – Buster mentions pulling it down about 1.5dB in his example to get it to sit perfectly. The goal is a bass that glues to the kick drum and provides a powerful low-end foundation without overshadowing the guitars. Ultimately, you need to know how to balance metal guitars and bass to create a cohesive low-end.
Aggressive Vocals with Distortion
For those intense, screamed metal vocals, distortion isn’t just an effect; it’s practically a necessity to make them cut through and sound aggressive.
Why Distortion Works on Screamed Vocals
Distortion adds harmonics and saturation, which can make screamed vocals sound fuller, more powerful, and help them slice through a dense metal mix. It’s all about enhancing that raw energy.
Clean Signal First, Distortion Later
Crucially, Buster emphasizes recording your vocals clean. Avoid clipping your audio interface on the way in by setting your gain levels appropriately. The distortion we’re talking about here is an added effect in the mix, not unwanted input distortion. Recording clean gives you maximum flexibility to add (or remove) as much distortion as you want later. Good distortion plugins are designed to sound good; interface clipping rarely does.
Applying and Dialing In Vocal Distortion
Loop a section of vocals and insert a distortion plugin (Cubase’s “Distortion” is used in the video, but any decent saturator or distortion will work). You’ll likely notice a big volume jump. The first step is to bring the plugin’s output level down so you can A/B the effect at a similar perceived loudness.
Buster cranks the drive/mix to 100% on his chosen plugin and then pulls the output down significantly (around -10dB in his example) to compensate. Experiment with different distortion types and amounts to find what suits the track. For more control, you can also mix screaming vocals with parallel distortion to blend the effect perfectly.
And BTW Buster gets MUCH deeper into this in his course, “How It’s Done.”
Copying Settings to Other Vocal Tracks
Once you’ve nailed the distortion setting on one vocal track, you’ll want to apply it to your other vocal layers (doubles, harmonies, etc.). Most DAWs offer an easy way to do this. In Cubase, for instance, you can open the MixConsole, hold Alt (or Option on Mac), and drag the plugin from one channel strip to another to copy it with its settings intact. This ensures consistency and saves a ton of time, making the vocals cut through much better due to the added frequencies.
Gluing it All Together: Master Bus Processing
After processing your individual instrument groups and vocals, a little bit of master bus love can help glue everything together.
EQ Matching for Tonal Balance
Buster uses a cool technique with FabFilter Pro-Q (though other EQs with matching capabilities exist) to analyze and match the frequency response of his mix to a reference. You can remove any previous master EQ, then use the EQ match feature. Play your track to let the plugin capture its current frequency spectrum. Then, click “match” to apply a curve that nudges your mix towards a more balanced sound, often based on general “good mix” profiles or even specific reference tracks. Make sure any volume compensation feature (like the “Auto Gain” puck in Pro-Q) is engaged so you’re judging the tonal change, not just a volume boost.
Fine-Tuning Levels Post-EQ Match
After applying a master EQ match, listen critically. Sometimes, this process can bring out certain elements more than others. For example, Buster notes the EQ brought out the drums and bass more than the guitars. His solution? Simply nudge the drum bus down a dB or so and the guitar bus up about 1-1.5dB until the balance feels right again.
Adding a Limiter for Loudness
The final touch on the master bus is often a limiter (like Cubase’s Limiter, using similar settings as before). This helps bring up the overall perceived loudness of your demo and catches any stray peaks, making it more competitive-sounding. Be mindful, though: if you’ve added a lot of low-end (e.g., on the bass during earlier EQ stages), it might cause the limiter to distort a little. If this happens, simply bring down the input level going into the limiter (or the output of the EQ before it) until the distortion disappears. This is just a starting point; a full metal mastering chain in-the-box will give you even more control over the final loudness and punch.
Finalizing, Exporting, and Taking It Further
Exporting Your Polished Demo
With your mix sounding dialed in, it’s time to export. Highlight the section of your song you want to bounce (activate the locators in Cubase). Then head to your DAW’s “File > Export > Audio Mixdown” function. Buster Odeholm typically uses 16-bit resolution for demos. Name it something clear like “SongName_Mix_Final” and export. Your DAW will usually save this in a “Mixdown” or “Bounces” folder within your project directory (e.g., in Cubase 12, it’s in the “Mixdown” folder). Always give it a listen to ensure everything sounds correct.
Share Your Work and Keep Learning
Now you can upload your demo to services like Dropbox to share with your bandmates and get feedback. These steps can significantly elevate your demo mixes, making them sound far more competitive even if they aren’t fully “finished” products.
Want to go even further? Mastering these techniques is just the beginning. If you’re serious about taking your metal productions to a world-class level, consider exploring what Nail The Mix has to offer. Imagine getting access to the multi-tracks from huge metal bands and watching the original producers mix them live, explaining every step. It’s an unparalleled way to learn what it takes to mix like a pro. Keep experimenting, have fun, and make some killer demos!

And for those who want to dive really deep, get Buster’s course “How It’s Done.”