# Dissecting Meshuggah’s “Monstrocity”: A Live Recording Deep Dive
Nail The Mix Staff
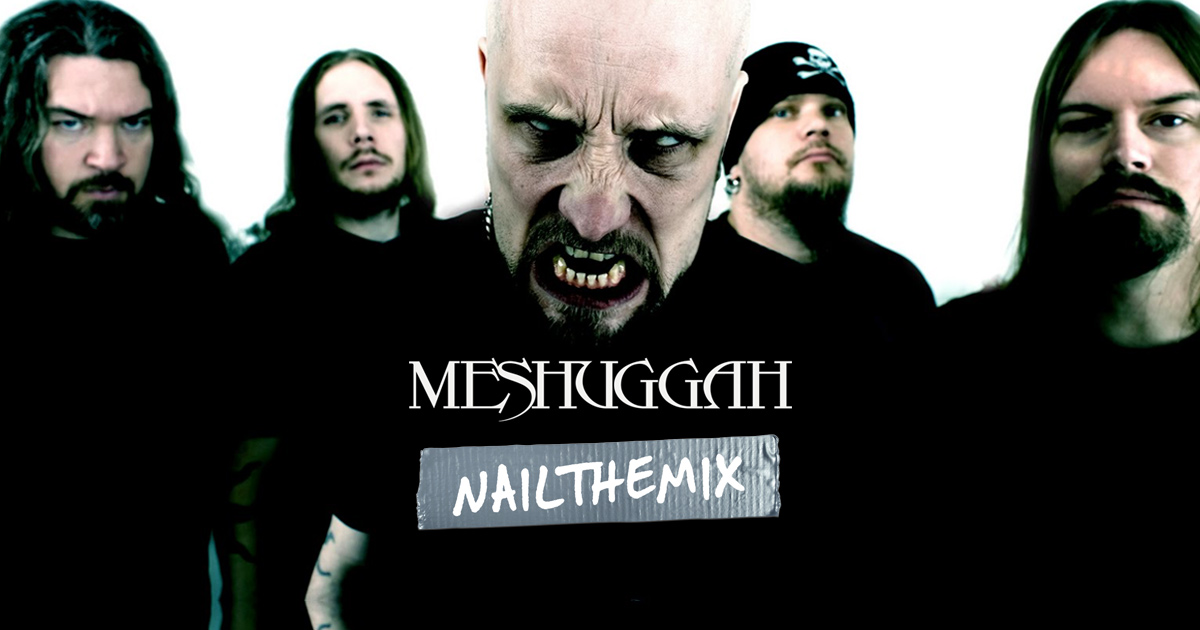
Let’s be real, Meshuggah’s sound is a force of nature. It’s a calculated, polyrhythmic assault that feels both impossibly tight and chaotically heavy. When you hear a track like “Monstrocity,” you assume it’s the product of painstaking, layer-by-layer studio construction. But what if we told you the core of that track was recorded live?
That’s right. The multi-tracks for “Monstrocity,” produced and mixed by the legendary Tue Madsen, are from a live-in-the-studio performance. This is a feat only a band with the inhuman precision of Meshuggah could ever pull off. It’s not your typical, isolated-booth recording session. This is the real deal—a room full of bleed, raw amp tones, and the kinetic energy of a band firing on all cylinders.
Diving into these raw tracks reveals a masterclass in capturing and blending an overwhelming amount of sonic information. Let’s break down how this monstrous sound was built from the ground up.
The Foundation: Capturing a Live Drum Kit Tsunami
Forget a simple kick, snare, and a pair of overheads. The drum setup for “Monstrocity” is an absolute beast, designed to capture every nuance of the performance in a live environment. The first challenge in this scenario is always bleed. With a full band playing in the same space, cymbals will bleed into tom mics, guitars will bleed into room mics, and so on.
To get a handle on this from the start, some simple gates were used on the tom and snare tracks. This isn’t about surgically removing all noise; it’s a basic cleanup step to tighten things up and give you a cleaner starting point before you even think about compression or heavy processing.
Building the Kick and Snare for Impact
Meshuggah’s kick drum pattern is a dizzying display of left-and-right-foot interplay. To capture this, the session features separate tracks for “Kick 1” and “Kick 2.” Each kick was miked with a combination of sources, including:
- Sennheiser e901: A boundary mic placed inside the kick for that modern, clicky attack.
- Sennheiser e602 (or similar): A classic dynamic mic for capturing the low-end “thump” and body.
- Electro-Voice RE20: Often seen as the core, dominant mic in this setup, providing a full, natural, and punchy sound that doesn’t get overly boomy.
The key here is the blend. You can use the RE20 as your foundation and then mix in the 901 for more beater attack or the 602 for more sub-bass weight, giving you incredible flexibility.
The Secret Weapon: Ambient and Amped Drum Mics
Here’s where it gets really interesting. Alongside the standard close mics and overheads, the session is packed with ambient mic options—some even re-amped for extra character. You’ll find tracks labeled “Amp Head,” “Heirloom,” and “Distant.”
If you were to solo one of these tracks, you might scratch your head. They can sound washy, distant, and frankly, a bit weird on their own. But their magic isn’t in isolation; it’s in what they add to the overall drum mix.
When you blend these ambient mics back in with the close-miked shells and cymbals, the entire kit comes to life. That sterile, dry sound instantly gains depth, power, and a sense of space. It’s the “glue” that makes it sound less like a collection of individual drums and more like one massive instrument being played with punishing force in a real room. These tracks are where some careful EQ can help you shape the exact character of the room sound you want to add.
Crafting the Colossal Guitar and Bass Wall
Tue Madsen’s approach to the strings is all about providing a buffet of tonal options. This isn’t a session where you’re handed a single, finished guitar tone. You’re given all the raw ingredients and challenged to cook up your own perfect blend.
Bass Attack: More Than Just a DI
The bass tone is built from four distinct sources:
- Bass DI: The clean, fundamental signal. Perfect for grounding the low-end and for any potential re-amping you want to do yourself.
- Distorted Bass: A pre-processed, gritty bass tone that provides the main character.
- Bass Pick: A signal likely EQ’d to emphasize the string attack and clank, crucial for cutting through those dense, eight-string guitar riffs.
- Sennheiser MD 441: A miked amp signal, adding the air and feel of a real cabinet to the mix.
By blending these four tracks, you gain total control. You can keep the DI for clean sub-bass, use the distorted track for midrange power, and sprinkle in the pick and mic tracks for definition and realism.
The 24-Track Rhythm Guitar Hydra
Get ready, because this is where it gets truly insane. The rhythm guitars are quad-tracked (four separate performances). For each one of those four tracks, you get signals from six different amps. That’s a mind-boggling 24 tracks of rhythm guitar. The amps include:
- Marshall: The classic rock and metal workhorse.
- Mesa/Boogie Rectifier: A staple for modern high-gain chunk.
- Engl: Known for its tight, aggressive, and articulate distortion.
- Torp & C-watt: More esoteric amp tones that provide unique textures. The C-watt in particular is described as a “black hole” of sound—perfect for adding a unique, sludgy weight to the blend.
- DI: The clean performance for each of the four tracks, ready for your own amp sims.
The lesson here is profound: the final Meshuggah guitar tone isn’t just one amp. It’s a carefully crafted recipe blending the best characteristics of multiple amps to create something bigger than the sum of its parts. You can use the Marshall and Engl as your core tone and then season it with the wilder character of the C-watt or Torp.
Final Touches: Iconic Vocals and Leads
Beyond the rhythmic onslaught, the session includes those signature Meshuggah leads—full of dissonant, harmonized lines, complete with printed stereo effects. And of course, there are Jens Kidman’s vocals. To give them the necessary power and presence to sit atop such a dense mix, his iconic roar is delivered via doubled and tripled vocal tracks, a smart move that adds thickness and weight even in a live recording context.
Putting It All Together: The Art of the Blend
The “Monstrocity” session isn’t complex because of a hundred-piece orchestra; it’s a standard band setup. Its complexity lies in the sheer depth of the capture. This mix is all about the blend. It’s about taking 24 tracks of guitar and summing them down to a cohesive wall of sound, or taking weird, ambient drum mics and using them to inject life into the kit.
Your challenge isn’t to fit more parts in; it’s to sift through a treasure trove of world-class tones and make the right choices.
Want to get your hands dirty and try blending these tracks yourself? You can. The full multi-track session for Meshuggah’s “Monstrocity” is available right now.
Meshuggah on Nail The Mix
Tue Madsen mixes "MonstroCity"
Get the Session
Better yet, the session includes a full mix walkthrough from Tue Madsen himself, so you can watch the man who produced the record blend these exact same tracks and explain every single decision he makes. It’s the ultimate lesson in crafting a world-class metal mix. This is what Nail The Mix is all about: giving you access to the real sessions and real producers behind the songs you love.
If you’re ready to move past presets and learn how the pros build their iconic sounds from the ground up, start your journey here.
Get the Meshuggah Multi-Tracks and Mix with Tue Madsen
Learn more about mixing with raw tracks from world-class artists
Get a new set of multi-tracks every month from a world-class artist, a livestream with the producer who mixed it, 100+ tutorials, our exclusive plugins and more
Get Started for $1
