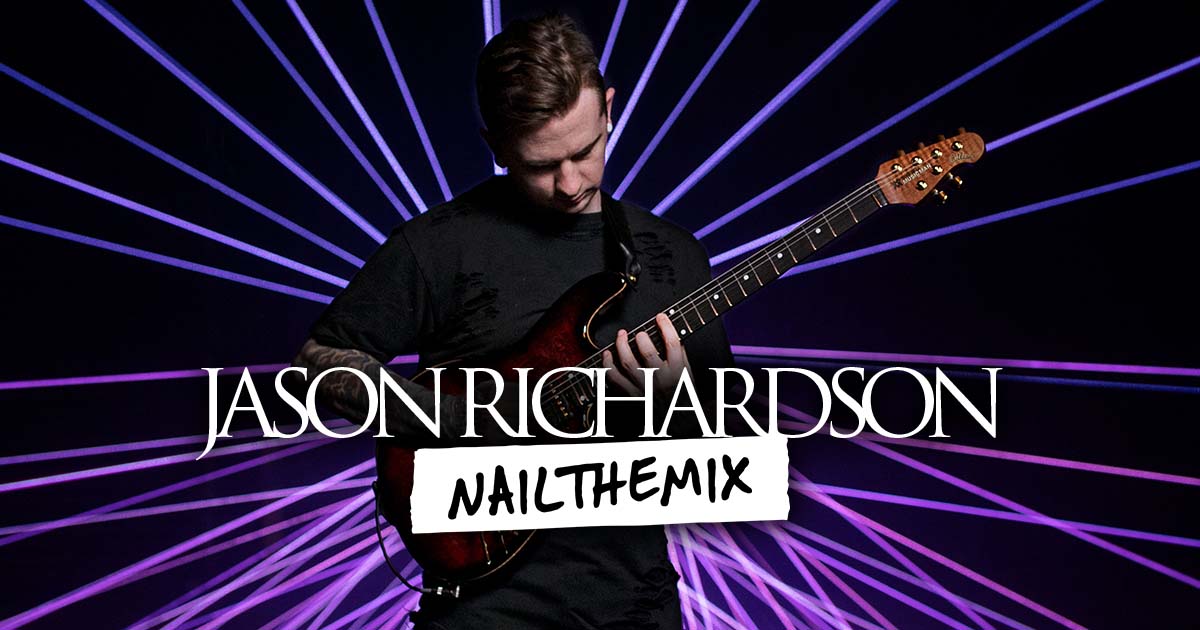
The Complete Metal Snare Mixing Chain (ft. Jason Richardson)
Nail The Mix Staff
Let’s face it: the snare drum can make or break a metal track. It’s the anchor, the crack, the shot that cuts through a wall of guitars and screams. A weak snare means a weak mix. But a powerful, punchy snare? That can make even a decent recording sound massive.
When you’ve got a technical monster like Jason Richardson on guitar and a powerhouse like Luke Holland on drums, you can’t afford to get the snare wrong. We got to see exactly how producer/mixer Taylor Larson tackled this challenge in his mix for Jason Richardson’s track “Titan.” This isn’t about some fancy, unobtainable secret plugin; it’s about a solid, repeatable signal chain that you can try in your own sessions.
Let’s dive into Taylor’s go-to snare chain, from the initial gate to the final reverb and sample reinforcement. If you want to see exactly how he puts all the pieces together for the entire song, you can watch his full session right here on Nail The Mix.
The Foundation: A Gate You Need to Steal
Before any EQ or compression, Taylor starts with a gate. For an aggressive metal snare, a tight gate is non-negotiable to remove cymbal bleed and tighten up the performance. Taylor uses the stock Pro Tools Expander/Gate III with a set of parameters he’s been using for years.
In his words, you should steal these settings. The only thing he typically adjusts from song to song is the Threshold, which determines how much signal is needed to open the gate. By keeping the Attack, Hold, and Release consistent, he gets a predictable, clean snare track every time. It’s a perfect example of finding something that works and building it into your template for a fast, efficient workflow.
Processing the Snare Top: Body and Crack
Taylor’s philosophy for snare mixing is simple: the snare top mic is for the thud and power, while the bottom mic provides the sizzle and snap. Every move on the top snare channel is designed to enhance that body and initial impact.
More Attack with a Transient Designer
First in the chain is a transient designer. This simple tool is essential for making the drummer “hit harder.” By boosting the attack, the initial crack of the snare becomes more pronounced and aggressive, helping it punch through even the densest mix. A little bit of sustain can also be added back to help shape the body of the drum.
EQ for Character and Weight
Next up is EQ, where the real tonal shaping begins. For this, Taylor often reaches for a Pultec-style plugin like the Waves PuigTec EQP-1A.
- Body: He adds a little low-end weight by boosting around 200 Hz. He’ll sweep between 100-200 Hz to find the sweet spot that makes the snare feel fat and powerful without getting muddy.
- Crack: A healthy boost around 1.5 kHz adds the attack and crack that helps the snare cut.
A key piece of advice from Taylor: don’t trust the numbers on vintage-modeled EQs. A dial that says it’s boosting by 8dB might be doing something much more subtle. Forget the visuals and use your ears to feel out what’s right for the track. For more essential EQ techniques, check out our guide on EQ Strategies for Mixing Modern Metal.
Surgical Cuts for Ring
After the broad tonal shaping, it’s time for surgical cleaning. Every snare has some unpleasant ringing frequencies. Taylor uses a clean digital EQ like the FabFilter Pro-Q to hunt them down. His method is classic: create a narrow band, boost it significantly, and sweep through the frequencies until the ugly ring jumps out. Once he finds it—in this case, around 300 Hz—he flips the boost to a cut and notches it out.
Final Polish with Console Emulation
To finish the snare top chain, Taylor adds some analog flavor with the Slate Digital Virtual Console Collection. For the snare, he likes the 4k G model, an emulation of an SSL G-Series console. Unlike a Neve emulation, which he often uses on kicks for its low-end warmth, the SSL brings a mid-range punch and character that helps the snare sit perfectly in the mix.
Processing the Snare Bottom: All Sizzle, All Snap
While some mixers barely use the bottom snare mic, Taylor turns it up loud. He wants the sound of the snare wires “falling on your face.” The processing here is aggressive and designed to maximize that sizzle.
Drastic EQ and Transient Shaping
The processing here starts similarly to the top, with a transient designer to shape the hit. But the EQ, using the Sonnox Oxford EQ, is far more extreme. He filters out most of the lows, carves out nasty frequencies, and adds a ton of high-end air. Taylor notes a cool side effect of such heavy EQ: it can make phase relationship with the top snare less of an issue, since you’re removing most of the conflicting low-frequency information.
The Bomb Factory Secret Weapon
Here’s a real gem. For compression, Taylor uses the old-school Bomb Factory BF-76. He admits it’s a “splatty and weird” compressor that he wouldn’t use on much else, but for a bottom snare, it just works perfectly. He hits it hard to create an explosive, aggressive character. A good compressor is a must for any metal mix, and you can learn more about how to use them with our metal compression secrets.
Driving the NLS for Brightness
To get even more grit and top-end, Taylor uses the Waves NLS Channel plugin set to the “Mike” (EMI console) model. By cranking the drive knob, the circuit emulation starts to distort, which not only adds saturation but also makes the signal audibly brighter—exactly what you want for that sizzly snare wire sound.
Reverb and Samples: Creating Space and Depth
With the dry snare tracks dialed in, it’s time to add space and reinforcement.
Building Body with Reverb
The tight gating on the main snare track can sometimes leave it sounding a bit thin. Taylor rebuilds that lost body and sustain with reverb.
- Main Verb (Avid ReVibe): His primary snare reverb is a tight, boomy room sound. This is a crucial part of his drum sound, blending with the gated snare to give it a full, powerful decay without washing it out.
- Effect Verb (AMS RMX16 Emulation): For extra texture, he blends in a second reverb modeled after the classic AMS RMX16 hardware. This verb has a grainy, ’80s character that adds a subtle, high-frequency sizzle to the overall snare sound.
Supporting with Samples (The “Anti-Sample” Way)
Taylor jokingly calls himself “anti-samples,” but he still uses them as a tool for support, not replacement. Using Slate Trigger, he blends in a simple sample underneath the real snare. You can’t really hear it on its own, but when it’s tucked under the main snare, it adds extra depth, consistency, and sizzle. This is the perfect way to use samples: enhance what’s already there, don’t just cover it up.
Bringing It All Together
This detailed snare chain is a masterclass in modern metal mixing. It’s about having a clear goal for each part of the sound—power from the top, sizzle from the bottom—and using a series of deliberate processing moves to achieve it.
Jason Richardson on Nail The Mix
Taylor Larson mixes "Upside Down"
Get the Session
This is just the snare. Imagine watching a pro like Taylor Larson apply this same level of detail to the kick, toms, overheads, and then gluing it all together with the guitars, bass, and synths. At Nail The Mix, that’s exactly what you get. Our members get to learn directly from the world’s top producers by watching them mix iconic tracks from scratch.
Learn to move beyond presets and unlock your own sound. To see Taylor Larson build this entire mix for Jason Richardson from the ground up, check out his full Nail The Mix session today.