Layering Amp Sims for a Huge Metal Bass Tone (ft. Karnivool)
Nail The Mix Staff
Let’s be honest, getting a bass tone that’s both huge in the low-end and cuts through a dense wall of metal guitars is one of the biggest challenges in modern production. It’s easy to end up with a tone that’s either a muddy mess or a thin, clicky whisper. But when you hear a track like “Simple Boy” by Karnivool, that bass is a monster—a perfectly engineered force of nature.
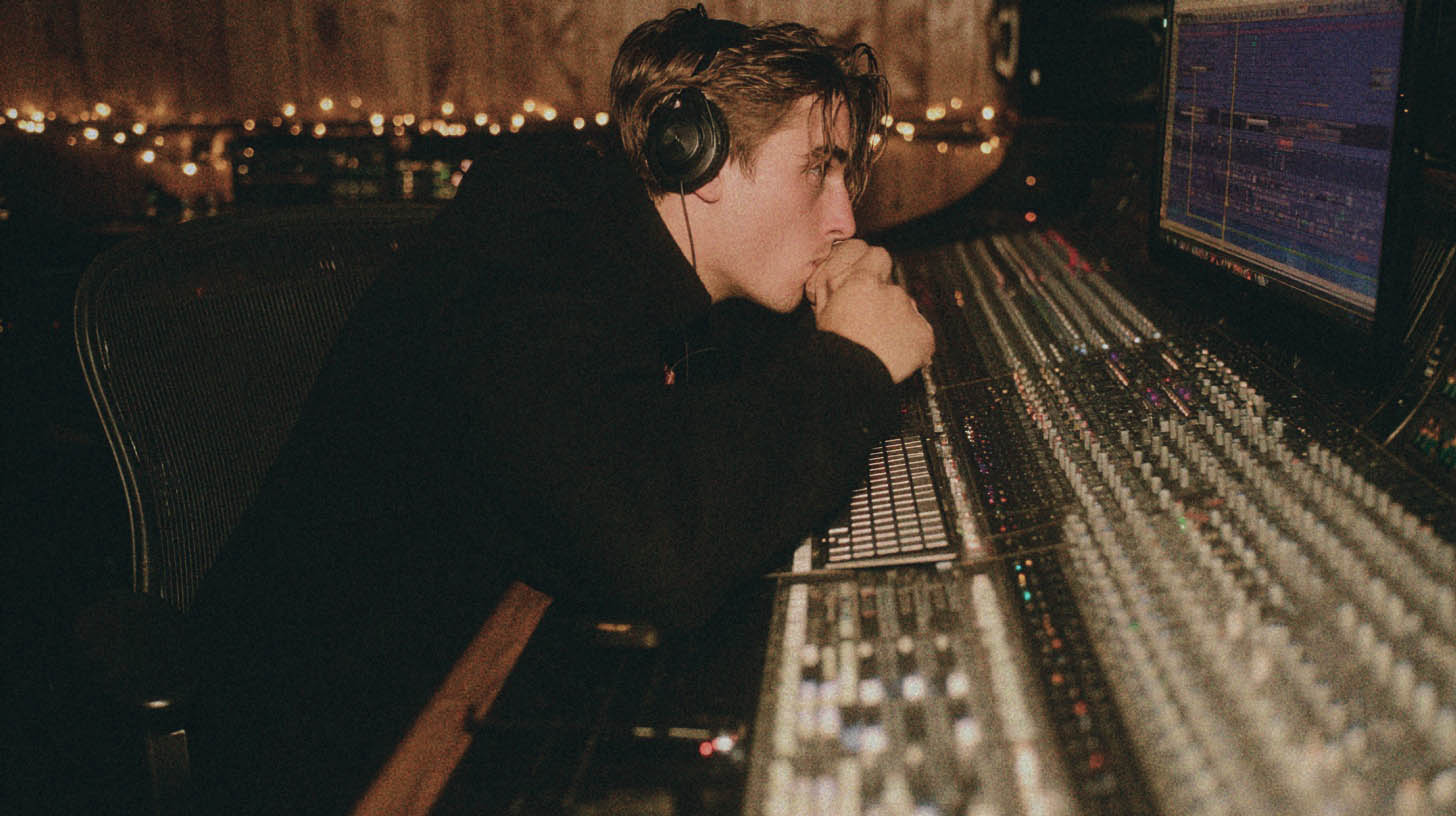
We got a look under the hood with the man who mixed it, legendary producer Forrester Savell, to see how he constructs these massive tones entirely in the box. His approach isn’t about finding one “magic” plugin. It’s a masterclass in building a complex, powerful sound by layering multiple amp sims and thinking like an engineer.
Let’s break down Forrester’s key techniques for building a world-class metal bass tone from a single DI track.
The Multi-Track Mindset: One DI, Three Paths
Right off the bat, Forrester’s first move is to ditch the idea of getting everything from a single amp sim. He immediately splits his main bass DI track into three separate tracks in his DAW.
Why? Because one amp sim trying to do everything—provide clean sub-bass, aggressive mid-range grind, and fizzy top-end distortion—often ends up compromising on all fronts. By splitting the signal, you can dedicate each track to a specific job, using different amp sims that excel in one particular area. All three tracks are then routed to a single bass bus, allowing him to control the blended, final tone as one cohesive instrument.
This is the foundation of the entire technique: divide and conquer.
Building the Tone Layer by Layer
With three DI tracks ready to go, the next step is to start assigning roles and choosing the right tools for the job. Forrester’s method is a strategic blend of clean lows, distorted highs, and a powerful mid-range.
Layer 1: The Clean Foundation
The first track is all about the low-end. You need a solid, clean, and fat foundation that provides weight without turning into mud. For this, Forrester reaches for a classic: an Ampeg amp model.
- The Plugin: IK Multimedia’s AmpliTube. It has a fantastic collection of officially modeled Ampeg amps, which are the gold standard for round, punchy bass tones.
- The Goal: He uses an Ampeg sim to create a tone that’s pure, fat bass. There’s no heavy distortion here. This track is the anchor, providing the fundamental notes and sub-frequencies that you feel more than you hear.
Layer 2: The High-End Grit
Next up is the aggressive, distorted top-end. This is the layer that helps the bass slice through distorted guitars and gives it an audible ‘edge’. Interestingly, Forrester often turns to a guitar amp sim for this.
- The Plugin: Avid’s Eleven MK II. He specifically uses the “DC Modern” amp model, which is based on a high-gain beast. Even better, this amp model is available in the free version of the plugin, Avid Eleven Lite.
- The Technique: This sim provides all the grind and distortion needed. However, high-gain guitar amps can introduce a lot of unpleasant high-end “fizz.” To control this, he immediately follows the amp sim with an EQ to roll off some of the extreme top-end, keeping the aggression without the harshness. These kinds of surgical EQ strategies are crucial for polished results.
Layer 3: The Mid-Range Punch
This third layer is arguably the most important for making the bass audible in the mix. It’s all about creating that forward, pokey mid-range that helps the bass notes speak clearly on smaller speakers and compete with the guitars.
After trying a few options, Forrester landed on a winner.
- The Plugin: Joey Sturgis Tones’ ToneForge Menace. This plugin delivered the exact kind of meaty, mid-forward character he was looking for.
- The Shootout: Before settling on ToneForge, Forrester A/B tested it against other plugins like the Waves GTR. By setting up both on separate tracks and flipping between them in the context of the full mix, he could clearly hear that ToneForge provided the mid-range push the song needed without becoming overly aggressive.
The Secret Weapon: Phase and Time Alignment
Here’s where Forrester’s process goes from good to great. When you combine three different amp sims from different manufacturers, you’re almost guaranteed to have phase and latency discrepancies. Each plugin processes audio with a slightly different delay, and this can cause phase cancellation that thins out your tone.
Fixing this is non-negotiable for a tight, powerful bass sound.
H4: Check Your Phase Polarity
The first and easiest check is the phase polarity button (often shown as Ø). While A/B’ing the ToneForge Menace plugin, Forrester noticed flipping the polarity on it made the combined bass tone suddenly feel fuller and more alive. Always check this on each layer; sometimes, one track being out of phase can suck the life out of your entire sound.
H4: The Micro-Delay Trick for Ultimate Cohesion
This is a pro-level move. Even with your DAW’s automatic delay compensation, the timing between tracks might not be perfectly aligned for the best possible tone.
- The Plugin: Sound Radix Auto-Align. This plugin allows you to shift a track’s timing forwards or backward by individual samples. While it has an “automatic” mode, Forrester prefers the manual approach for dialing in the sweet spot.
- The Manual ‘Sweep’ Technique: He puts Auto-Align (or a similar sample delay plugin like Pro Tools’ stock Time Adjuster) on one of the distorted tracks. Then, while the whole bass bus is playing, he manually sweeps the delay time back and forth.
- As you sweep, you’ll hear a “phasing” or “flanging” effect.
- Listen for the point in the sweep where the combined tone sounds the fullest and loudest. This “highest point” of the phase sweep is where the tracks are most constructively in-phase, resulting in the most powerful and coherent sound.
Forrester found the sweet spot was around -50 samples with the phase inverted on the ToneForge track. This tiny adjustment made a huge tonal difference, gluing all three layers together.
Bringing It All Together
So, to recap Forrester Savell’s method for a massive Karnivool bass tone:
- Split the DI: Create three tracks from your one bass DI.
- Layer the Tone: Dedicate each track to a frequency range: AmpliTube for clean lows, Eleven MK II for high-end grit, and ToneForge Menace for mid-range punch.
- Align Everything: Critically check the phase polarity and use a sample delay plugin like Auto-Align to manually time-align the tracks for maximum punch and coherence.
These techniques give you incredible control over your final sound. You can automate the level of each layer to change the bass character for different sections of a song. Once you have this killer combined tone, a final touch of compression on the main bass bus can glue it all together and ensure it sits perfectly in the mix.
Karnivool on Nail The Mix
Forrester Savell mixes "Deadman"
Get the Session
Mastering these concepts is how you go from presets to pro-level results. But reading about it is one thing. Imagine watching a producer like Forrester Savell actually dial in every plugin and make every decision, explaining his thought process in real-time on a real-world session.
That’s exactly what you get with URM Enhanced. You get full access to Fast Tracks like this one, plus hours of other tutorials from our full course catalog to help you master every aspect of production. It’s part of the complete producer toolkit you get as a member of Nail The Mix, where you can learn directly from the pros who mixed the albums you love in our monthly mixing sessions. If you’re ready to unlock your sound and mix modern metal beyond presets, this is how it’s done. Try these amp sim layering and alignment tricks in your next mix and hear the difference for yourself.