Basic Shelf EQ: Your Quick Start to Better Metal Mixes
Nail The Mix Staff
Alright, let's talk EQ. We all know it's one of the absolute pillars of a killer mix, especially when it comes to the fundamentals of mixing metal and rock where every element needs to hit hard and sit right. But let's be honest, staring at a parametric EQ with a dozen bands can feel like defusing a bomb if you're just getting your bearings. It's easy to get lost in the sauce, tweaking endless knobs and wondering if you're making things better or just… different.
The good news? You don't need to master every advanced EQ trick from day one to start hearing real improvements. Joel Wanasek, co-founder of Nail The Mix and a seasoned producer, laid out a super simple yet powerful approach to get you started: focusing on basic shelf EQs. Forget surgical cuts and boosts for a moment; we're talking broad strokes that can make a massive difference.
The "Brighter, Warmer, Thicker, Thinner" Shelf EQ Game Plan
So, what's this magic? It boils down to asking yourself four simple questions about any sound source – be it a thunderous kick drum, a ripping guitar, or a soaring vocal. We're going to use shelf EQs, which are perfect for these broad adjustments.
What’s a Shelf EQ Anyway?
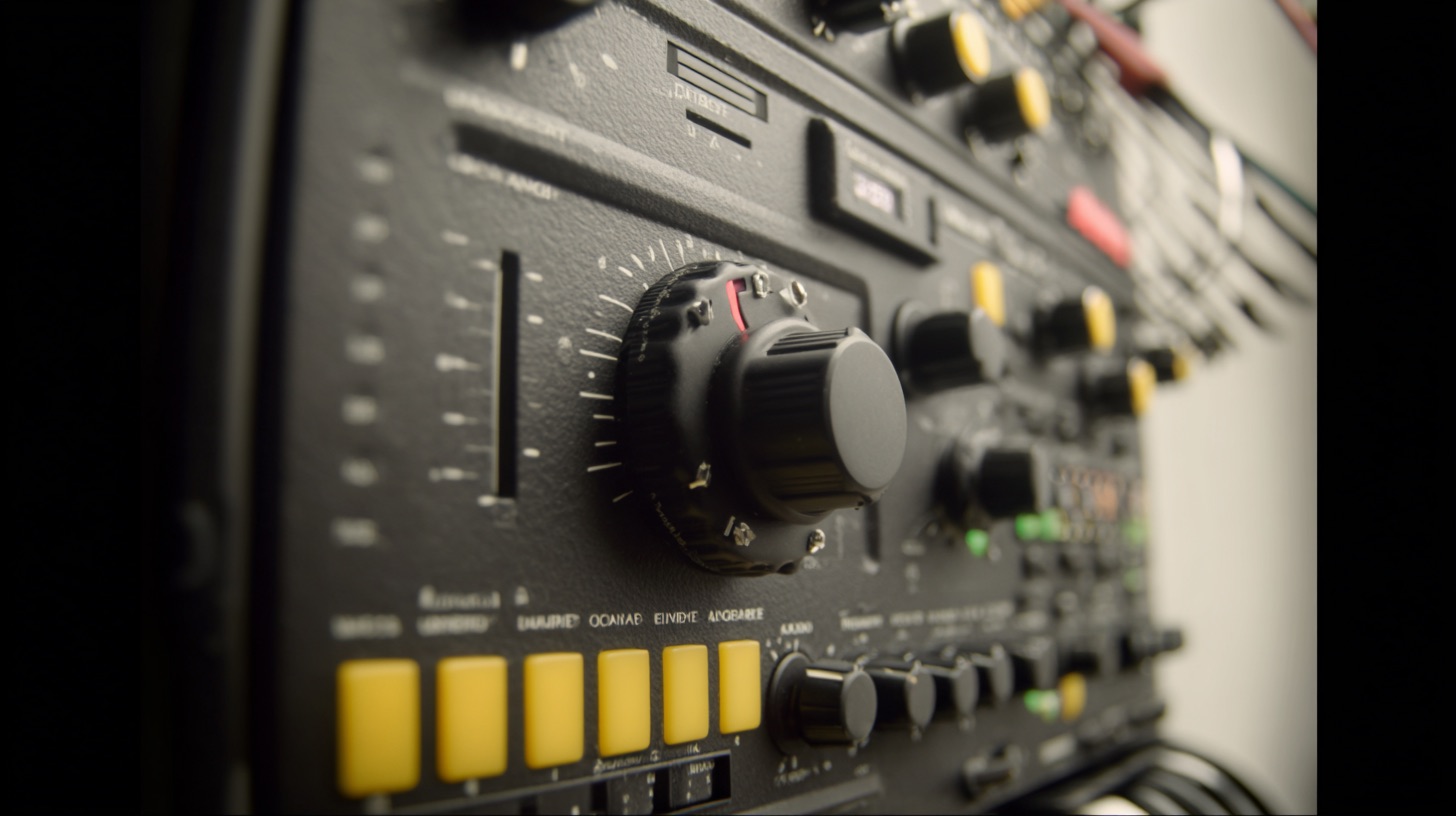
Think of a shelf EQ as a ramp. A high shelf boosts or cuts all frequencies above a certain point, and a low shelf boosts or cuts all frequencies below a certain point. It’s a beautifully simple tool found on pretty much any DAW stock EQ (like Logic's Channel EQ, Pro Tools' EQ3, Cubase's StudioEQ) or your favorite third-party plugin (hello, FabFilter Pro-Q 3!). Unlike a parametric EQ where you're targeting specific frequencies with a bell curve, shelves are about general tonal shaping. This makes them way less intimidating when you're starting out.
The Four Key Questions & Adjustments:
When you solo up a track, listen critically and ask:
-
Does it need to be BRIGHTER?
- How: Use a high shelf and boost the treble.
- Effect: Adds air, clarity, and attack. Think more "snap" on a snare or "sizzle" on cymbals.
-
Does it need to be WARMER?
- How: Use a high shelf and cut the treble.
- Effect: Tames harshness, makes things sound smoother or more "vintage." Good for overly fizzy guitars or cymbals.
-
Does it need to be THICKER?
- How: Use a low shelf and boost the bass.
- Effect: Adds weight, body, and low-end punch. Great for beefing up a kick or bass guitar.
-
Does it need to be THINNER?
- How: Use a low shelf and cut the bass.
- Effect: Reduces mud, clears up low-end clutter, and can make instruments sit better in a dense mix.
The exact frequency you set your shelf at is a matter of taste and will depend on the source, but the concept is what’s key here. Don't overthink it at first!
Putting It Into Practice: EQing Drums Like a Pro (The Simple Way)
Let's see this in action, using a drum mix as an example, much like Joel demonstrated with some Papa Roach tracks from a Nail The Mix session. To keep things manageable, he simplified the track count, focusing on the core elements. This is a great tip: don't overwhelm yourself.
Start by soloing each drum element. The goal is to make each piece sound as good as possible on its own first, then see how they all fit together.
Kick Drum: Finding the Punch
- Listen: Does it sound muddy? Is the beater click lost?
- Approach: Often, a kick might sound a bit flabby. Making it brighter with a high shelf can bring out the attack of the beater, giving it that essential "click" that cuts through a metal mix. If it's too boomy, you might experiment with making it slightly thinner with a low shelf cut, but focus on one move at a time.
- Result: More definition and impact, less mud. You can take this even further with a three-step method for EQing metal kicks to get them to really cut through.
Snare Drum: Getting That Crack
- Listen: Is it dull and lifeless? Or maybe too boxy?
- Approach: A dull snare is a common problem. Making it brighter with a high shelf can add that satisfying "crack" and sizzle from the snare wires. If it has too much low-mid "thunk" or boxiness, making it thinner can help, but again, try the brightness first.
- Result: A snare that cuts through and has energy. Once you have the basic tone, you can use more surgical EQ to tame any annoying snare ring.
Balance these two with your faders before moving on. Already sounding better, right?
Overheads: Clarity and Space
- Listen: Are the cymbals harsh or washy? Do they obscure the direct drums?
- Approach: Cymbals can easily get harsh. If they are, try making them warmer with a high shelf cut to tame that top-end fizz. Conversely, if the overheads feel a bit muddy and are clouding the close mics, making them thinner with a low shelf cut can work wonders, letting the direct kick and snare punch through more. This is where strategic EQ for carving out space really shines.
- Result: Clearer cymbals that don’t fight the rest of the kit.
Room Mics: Adding Size or Taming Boom
- Listen: Are the rooms dark and undefined? Or too boomy?
- Approach: If your room mics are dark, making them brighter can add some life and air. If they contribute too much low-end rumble, making them thinner will tighten things up. Sometimes, making them a bit thicker can add a sense of size if they're a bit thin.
- Result: Room mics that add depth and character without cluttering the mix. In fact, you can even get huge drum room sounds without using room mics at all.
Toms: Definition and Cut
- Listen: Do they sound dull or boomy when they hit?
- Approach: Toms often benefit from being a bit brighter to help their attack cut through, especially for fast fills. If they're overly resonant and boomy, making them thinner can help.
- Result: Toms that have impact and are clearly audible.
After EQing in solo, always check everything back in context with the rest of the drums. Adjust faders. You'll be amazed at how much clarity and punch you can get with just these simple shelf moves!
Taking on Guitars and Bass
This same "brighter, warmer, thicker, thinner" logic applies beautifully to your stringed instruments.
Rhythm Guitars: Fitting Them In
- Listen: Are they too thick and fighting the bass? Or too fizzy and harsh?
- Approach: Distorted metal guitars can have a lot of low-mid build-up. Making them thinner with a low shelf cut often helps them sit better with the bass and drums, creating more clarity in the overall mix. If they're overly bright and fizzy, try making them a touch warmer.
- Result: Guitars that are powerful but don't overwhelm the mix. Getting this right is crucial for how you balance guitars and bass in the final mix.
Bass Guitar: Weight and Articulation
- Listen: Is it muddy? Does it lack low-end weight? Can you hear the notes?
- Approach: If the bass feels a bit weak, making it thicker with a low shelf boost can add that foundational weight. If it's muddy and undefined, making it thinner might be the ticket. To bring out some string noise or pick attack for more articulation (especially important in metal), try making it brighter. This is a key step if you're trying to get that classic clanky metal bass tone.
- Result: A bass that provides a solid low-end foundation with enough definition.
The Awesome Power of Simplicity (And Growing Your Ears)
The beauty of this approach is its simplicity. You're not getting bogged down in tiny, complex adjustments. You're making clear, impactful decisions. As Joel pointed out, even these minimal EQ moves can drastically improve a mix, adding clarity, punch, and definition.
Don't expect to become an EQ wizard overnight. Your ears develop over time, often in stages. You might struggle for a bit, then suddenly have a breakthrough where you start hearing things you never noticed before – maybe too much "boxy" sound around 500Hz, or harshness at 2kHz. This is normal! This basic shelf EQ practice is your training ground.
Once you're comfortable with shelves, you can start exploring parametric EQs for more surgical work, like scooping out problematic midrange frequencies in guitars or targeting specific resonances. But these four basic shelf moves are your bedrock. Master them, and you've got a powerful toolset. After a solid EQ foundation, you'll find that other processes, like learning the basics of compression for rock and metal, become much more effective.
Ready to Dive Deeper? Nail The Mix Has Your Back.
Practicing these fundamental EQ techniques is crucial. Open up your sessions, grab some stems, and start asking those four questions for every track. Do it daily for a couple of weeks, and you'll feel your confidence (and your mixes) improve.
But what if you want to see exactly how Grammy-winning producers tackle EQ challenges on real-world metal tracks? That's where Nail The Mix comes in. Imagine getting the actual multitracks from bands like Gojira, Periphery, or Lamb of God, and then watching the original producer mix the song from scratch, explaining every EQ decision, every plugin choice, every fader move.
With Nail The Mix, you get:
- Monthly access to raw multitracks from huge metal and rock bands.
- Live, 6-8 hour mixing sessions with world-class producers.
- Over 50+ hours of tutorials on recording, mixing, mastering, and specific plugins.
- Exclusive plugins to add to your arsenal.
- A killer community of like-minded producers.
It's about learning the why behind the moves, not just copying settings. If you're serious about taking your metal mixes to a professional level and want to unlock your sound beyond presets, this is an incredible way to learn.
So, start with these simple shelf EQs, build your foundation, and when you're ready to see how the pros push their mixes to the limit, come check out Nail The Mix. You’ll be amazed at how quickly your skills can develop when you learn from the best in the business. Happy mixing!