Pro Tools Automation: A Guide for Modern Metal Mixes
Nail The Mix Staff
Automation in Pro Tools is one of those things that seems simple on the surface but unlocks a massive amount of creative potential once you dig in. It's not just about moving faders up and down to make a vocal sit right. It's about creating movement, adding impact, and shaping sounds in ways that static mixing just can't touch.
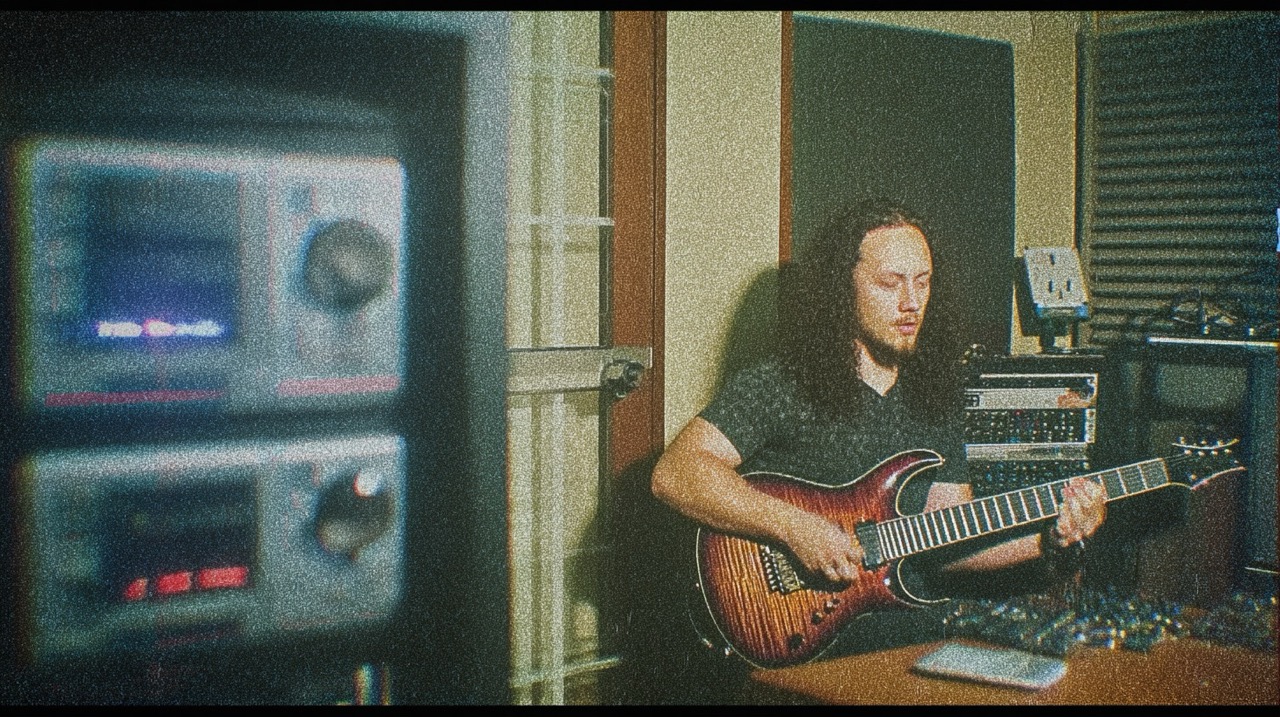
For metal producers, automation is a power tool. It’s how you make that final guitar chug hit harder than the rest, how you create swirling, filtered intros, and how you ensure every single element of your dense mix has its moment to shine, which is key to balancing guitars and bass.
Let’s break down how to master automation in Pro Tools, from the basic modes to crafting complex plugin effects that will make your tracks stand out. While these concepts can be adapted to other programs, we’re focusing on Pro Tools as it remains one of the top choices when debating the best DAW for metal.
The Basics: Understanding Pro Tools Automation Modes
Before you start drawing crazy filter sweeps, you need to know the rules of the road. In Pro Tools, this means understanding automation modes. On every track, you'll see a dropdown menu (usually set to "Read") that controls how Pro Tools handles automation data.
Read vs. Write Modes
- Read: This is the default, safe mode. Pro Tools will simply play back any existing automation on the track. If there's none, it does nothing. You can't accidentally overwrite anything in this mode.
- Write Modes (Touch, Latch, Write): These are the modes that record your automation moves. When a track is in one of these modes, any parameter you touch will have its movement recorded as automation data.
Why Touch Latch is Your Go-To
While there are a few write modes, most producers live in Touch or Latch. We're fans of Touch/Latch, which gives you the best of both worlds. Here's the deal:
- Touch: Automation is only written while you are physically clicking and holding a parameter (like a fader or a plugin knob). As soon as you let go, it snaps back to the previously written automation.
- Latch: Automation starts writing the moment you touch a parameter and continues writing at that new value even after you let go. It stops when you stop playback.
Personally, we stick with Touch/Latch for most things. It's intuitive and helps prevent accidents. This level of control is what allows for incredibly tight productions, whether you’re automating volume or doing precision work like time-aligning vocal layers with Elastic Audio.
Pro-Tip: To quickly put ALL your tracks into an automation mode, hold Option while selecting the mode on any single track. This is great for getting set up quickly. Don't worry about accidentally writing on other tracks; as long as you're focused on the one you're working on, you'll be fine. Just remember to switch everything back to "Read" mode when you’re done.
Two Ways to Write Automation
There are two primary methods for getting automation data onto your tracks: riding the fader in real-time or drawing it in manually.
The Old School Way: Riding the Fader
This is what most people picture when they think of automation: grabbing a fader and moving it around as the track plays.
You can do this easily in Pro Tools using the "breakout fader" in the Edit window. Just click the little fader icon next to your track's I/O selector. With your track's automation mode set to Touch/Latch, hit play and start moving the fader. Pro Tools will capture every move. When you switch back to Read mode, the fader will dance around, perfectly recreating your performance.
While it's a valid technique, mixing with a mouse isn't very tactile, and it's hard to be precise. For most tasks, there's a better way.
The Modern Workflow: Drawing Automation by Hand
Drawing your automation gives you surgical precision and is the key to executing clean, powerful mix moves. This same precision is vital when you’re doing an advanced drum edit. This is where you get to be the architect of your track's dynamics.
How-To: Pushing Guitars in the Outro
Let's say you have a killer instrumental riff at the end of a song, and you want the rhythm guitars to jump out by a couple of dB to really drive the track home.
- Switch to Volume View: On your guitar tracks, click on the track view selector (where it usually says "Waveform") and select Volume. You'll see a straight line across your track, representing the current volume level.
- Group Your Tracks: Your rhythm guitars should be in a Group. In the Modify Groups window (Control+Command+G), make sure the group type is set to Mix/Edit. This ensures that any edit you make to one track—including drawing automation—happens to all tracks in the group.
- Make Your Selection: With Grid mode enabled, highlight the entire final riff section where you want the volume boost.
- Use the Trim Tool: Move your cursor to the top half of the selection until it turns into a bracket icon (the Trim Tool). Click and drag upwards. You'll see the volume line for the entire section lift up.
- Get Precise: For fine control, hold Command+Shift while dragging. This will let you dial in the boost to the exact dB value you want, like a clean +2 dB.
What if you want to give just the very last chord an extra push? Make a selection over that chord ring-out, create automation breakpoints on either side of it using the shortcut Command+/, and then you can easily drag just that section up another dB for maximum impact.
Beyond Volume: Creative Plugin Automation
Here's where things get really fun. You can automate literally any parameter on any plugin—EQs, compressors, delays, distortions, you name it. This turns your static plugins into dynamic sound design tools.
Setting Up Your Plugins for Automation
First, you have to tell Pro Tools which plugin parameters you want to control.
There are two ways to do this:
- The Manual Way: In your plugin window, click the small button with two squares and a down arrow. A window will pop up with every single parameter in the plugin. Select the ones you want to automate (e.g., "HP Freq," "LP Freq," "Master Bypass") and click "Add."
- The Fast Way (Pro-Tip): Hold down Control+Option+Command and simply click on any knob, fader, or button in the plugin window. The parameter will instantly become enabled for automation. You'll see it turn green in the automation list.
How-To: The Reverse Guitar Swell & Filter Sweep
Want a cool, effected swell into your first verse? Let's build one with automation.
Step 1: Create the Reverse Part
Copy the first chord/bar of your guitars, paste it a bar earlier, and use the AudioSuite > Other > Reverse function to flip it. Nudge it into place and create a small crossfade so it flows smoothly into the real chord.
Step 2: Automate the Plugin Bypass
This effect should only happen during the swell. Slap a stock EQ 7-Band on your guitar tracks. Enable the "Master Bypass" for automation. Switch to the bypass automation lane, select the swell section, and use the Trim tool to drag the bypass to the "off" position. Now, the EQ is only active during the reverse part and is completely out of the circuit for the rest of the song.
Step 3: Draw the Filter Sweep
Now for the sound. Let's make the reversed guitar sound like it's emerging from the depths.
- In the EQ, enable the High-Pass and Low-Pass filters.
- Switch to the HP Freq automation lane. Using the Grabber tool, hold Command and click to create breakpoints: one at the start of the swell, one at the end, and one in the middle.
- Drag the middle breakpoint up to around 200Hz, creating an arc.
- Switch to the LP Freq automation lane and do the same, but drag the middle point down to around 5-6kHz.
Now, when you hit play, you'll see the EQ knobs moving automatically, creating a smooth filter sweep that opens up right as the main riff kicks in.
Step 4: Add Movement with Pan Automation
To make it even trippier, go to the Pan automation lane for each guitar. Draw in some automation that makes the left and right guitars swirl around in the stereo field during the swell before they snap back to their hard-panned positions.
This is just one example. You could automate a distortion plugin's drive knob, a delay's feedback, or the threshold on a compressor. With these techniques you can also craft sick guitar glitch effects or create the classic radio voice effect on a breakdown vocal. The possibilities are endless.
Putting It All Together (And Leveling Up)
Mastering automation is non-negotiable for modern metal production. It’s the difference between a mix that feels robotic and one that breathes, moves, and hits with intention. Start by getting comfortable with volume rides, then dive headfirst into the creative rabbit hole of plugin automation.
Experiment with these techniques on your next mix. Try boosting your guitars in a chorus, automating a high-pass filter on your cymbals to clean up a verse, or creating a wild delay throw on the last word of a vocal line.
Of course, knowing the tools is only half the battle. Seeing how the world's best producers use them on real-world sessions is the ultimate shortcut to leveling up your skills. Techniques like EQing metal guitars for max impact or applying nuanced metal compression secrets are things you see applied in every single Nail The Mix session.
When you watch one of the incredible Nail The Mix instructors work, you get to see not just what they automate, but why they do it.
If you’re ready to see these concepts in action and learn from the producers behind bands like Gojira, Lamb of God, and Periphery, check out the full catalog of Nail The Mix sessions and get the multitracks to practice on yourself.