How to Use an Audio Compressor
Nail The Mix Staff
Audio compression. It’s one of the first tools we learn about as producers, yet it’s one of the last we truly master. We all know what it’s supposed to do: control dynamics, make things louder, glue tracks together. But if you’re only using a compressor like a volume knob that turns itself down, you’re missing out on its most powerful secret.
Forget just taming peaks. Real pros use compression to inject life, shape transients, and make their mixes groove. It's not just a tool for control; it's a tool for creating an aggressive, energetic, and emotional feel. We’re going to break down a pro-level method you can use right now to stop guessing and start dialing in compressors with intention.
The Controls: A Quick Refresher for the Pros
You probably know the basic functions, but let's reframe them in the context of creating a vibe, not just managing levels. Think of it less like a textbook definition and more like what each knob actually does to your sound.
Threshold/Input
This is the "when" knob. It decides at what level the compressor wakes up and starts working. On some compressors, like the classic Universal Audio 1176 or Empirical Labs Distressor, this is controlled by an Input knob—the more you drive the input, the more signal crosses the internal threshold and gets compressed. Think of it as how hard you’re pushing the audio into the compression circuit.
Ratio
This is the "how much" knob. Once the signal crosses the threshold, the ratio determines the severity of the compression. A 4:1 ratio means for every 4dB the signal goes over the threshold, only 1dB comes out. A 2:1 ratio is gentle; a 10:1 ratio is aggressive. An ∞:1 ratio (or "Nuke" on a Distressor) is a hard-wall limiter that just flattens everything.
Attack
Here’s where the shaping starts. Attack is how fast the compressor reacts once a signal crosses the threshold.
- A slow attack lets the initial "snap" or "thwack" of a sound (the transient) slip through before the compression clamps down. This is key for punch.
- A fast attack grabs the sound instantly, squashing the transient. This can make a sound feel bigger, smoother, or more distant.
Release
Release is how long it takes for the compressor to let go after the signal drops back below the threshold. This is the “groove” knob.
- A fast release makes the compressor recover quickly, creating an energetic, "pumping" sound that can bring up the ambience and tail of a sound.
- A slow release holds the sound down longer, creating a smoother, more sustained effect.
Makeup Gain/Output
Since compression turns things down, the makeup gain turns the whole signal back up. This is crucial for A/B testing, so you can judge your compression based on tone and character, not just a change in volume.
The Pro Method: Dialing in a Compressor for Maximum Impact
Reading about attack and release is one thing. Hearing them is another. This method forces you to exaggerate the settings so you can clearly hear the effect of each knob. It’s an insane ear-training exercise.
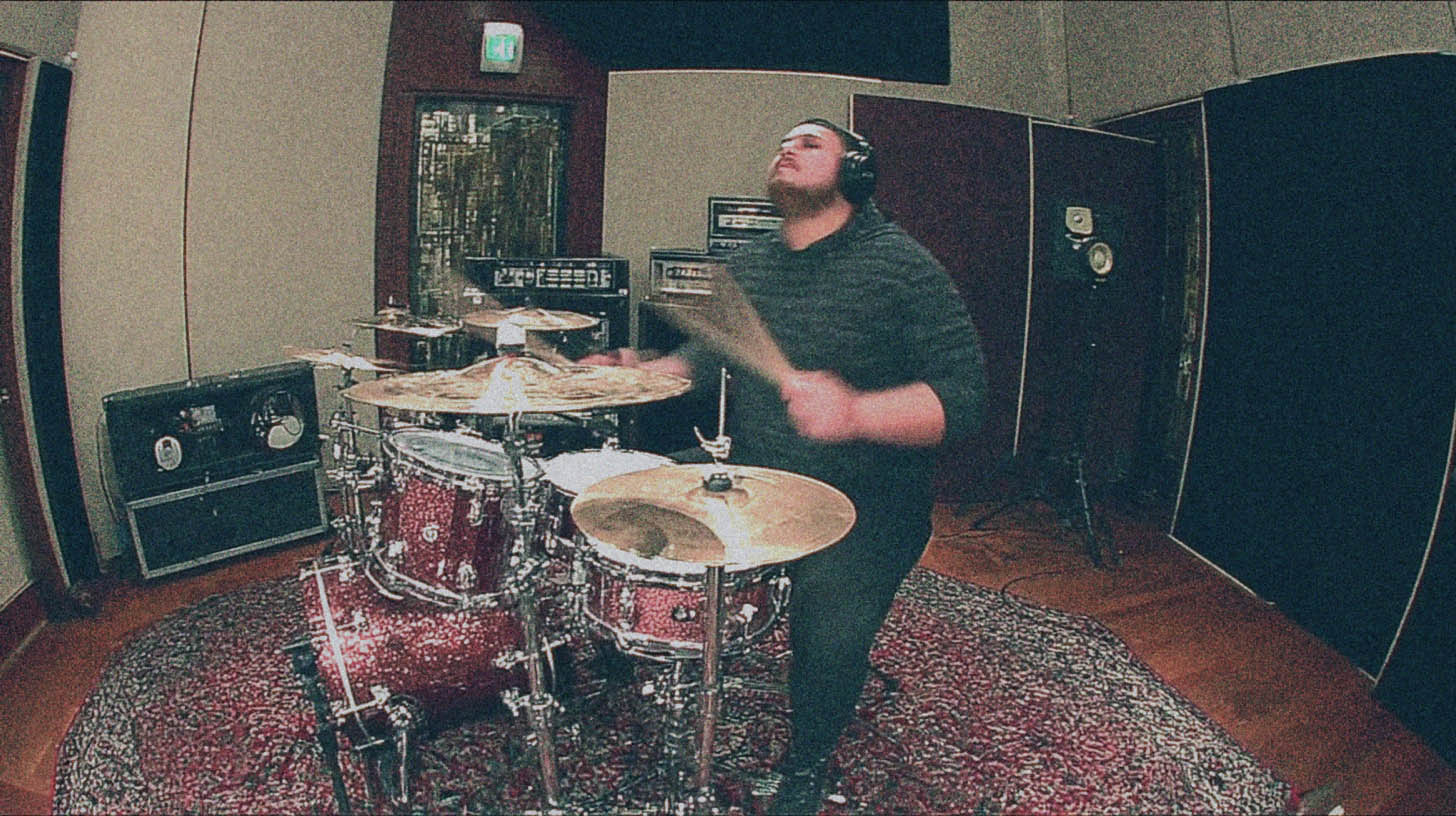
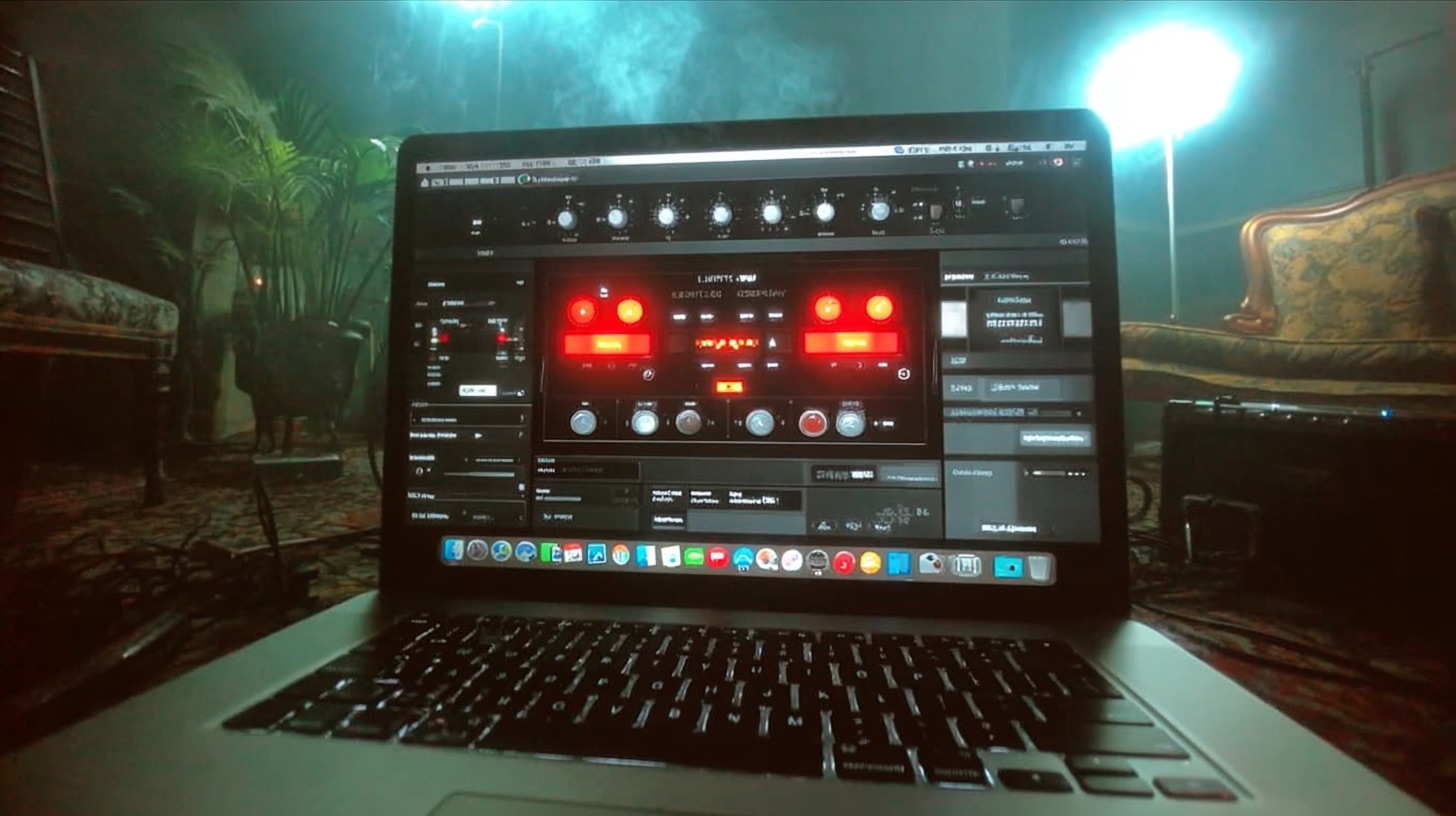
We’ll use a drum room mic as our example because the space between the hits makes it easy to hear what’s going on. Grab your favorite compressor plugin—whether it’s the Slate Digital FG-Stress, the UAD Empirical Labs Distressor, or even your stock DAW compressor—and let’s go.
Step 1: Nuke It to Hear It
Before you do anything, you need to hear what the compressor is actually doing. The best way to do that is to make it work overtime.
- Set the Ratio to its highest setting. On a Distressor, that’s "Nuke." On another compressor, go for 20:1 or ∞:1 (limiter mode).
- Smash the Input/Threshold. Crank the input knob or pull the threshold way down until you see the gain reduction meter going nuts. We’re talking 15dB, 20dB, or even more. The goal isn’t to sound good; it’s to make the compression so obvious you can’t miss it.
Step 2: Set Your Extremes (Attack and Release)
Now we’ll set up our baseline for tweaking.
- Set the Attack to its slowest possible setting.
- Set the Release to its fastest possible setting.
Right now, your drum room should sound incredibly punchy (from the slow attack letting the transient through) and probably a bit chaotic and pumpy (from the fast release).
Step 3: Sweep the Attack to Find the Punch
This is where you shape the initial hit. Keep your eye on your goal: do you want a punchy, open room sound, or a massive, explosive, ambient one?
Slowly sweep the Attack knob from the slowest setting to the fastest. Listen carefully.
- At the slowest setting: You'll hear the crack of the snare and the click of the kick clearly. The sound is open and punchy because the initial hit is getting through untouched.
- As you speed it up: You’ll hear the compressor start to clamp down on that initial transient. The "punch" will soften, and the overall sound will feel bigger, thicker, and more ambient because the compressor is squashing the hit and bringing up everything that comes after it.
Once you find a spot that has the right balance of punch and size for your track, leave it there. For a powerful metal drum room, a medium-slow attack often works well, preserving the impact while starting to build size.
Step 4: Sweep the Release to Find the Groove
With the attack set, it's time to set the groove. The release time is arguably the most musical parameter on a compressor.
Start with the release at its fastest setting and slowly sweep it to its slowest setting. Listen to how the "air" and the sustain of the room changes.
- At the fastest setting: The room will sound aggressive, energetic, and maybe a little distorted. The compressor is "breathing" in time with the drums, bringing up all the cymbal wash and room tone between hits. This is great for high-energy sections.
- As you slow it down: The pumping will smooth out. The cymbals will feel more sustained and less "swooshy." At a certain point, the release will start interacting with the tempo of the song. You'll hear the compressor "letting go" in a way that can either enhance the drummer's groove or fight against it. This is the magic.
- At the slowest setting: The room will feel huge and pushed back, but you might lose some of the energy.
Dial in the release so it's breathing with the song. Does it make the groove swing harder? Does it add exciting movement to the hi-hats? Set it to taste.
Step 5: Dial Back the Ratio and Input
You've now set the character of your compression. The attack and release are dialed in. Now, you just need to set the intensity.
- Adjust the Ratio: Back off from the "Nuke" setting. Try 4:1, 6:1, or 10:1. Listen to how the character changes. Lower ratios will sound more open and natural, while higher ratios will sound crunchier, more aggressive, and more distorted.
- Adjust the Input/Threshold: Now that your ratio is more reasonable, back off the input so you're not getting 20dB of gain reduction anymore. Dial it in so you're getting just enough compression to achieve your goal—maybe that's 5-7dB on the loud hits, or maybe it's 10-12dB for a really smashed sound.
Step 6: Level Match with the Output
This is the final, most critical step. Use the Output/Makeup Gain knob to match the volume of your compressed signal with the bypassed signal. A/B them constantly. Does the compressed version actually sound better? Does it have more punch? More energy? More size? Or is it just louder? Level-matching is the only way to know for sure.
Putting It Into Practice: Beyond Drum Rooms
This method of exaggerating the settings to train your ears is universal. You can use it on anything:
- Bass Guitar: Find the perfect attack to either let the pick/finger attack through or to smooth it out for a fat, pillowy foundation. Use the release to control the sustain and keep the low-end consistent.
- Screaming Vocals: A fast attack and fast release can bring insane aggression and energy.
- Mix Bus: A very slow attack and an auto-release setting can add punch and glue to your entire mix without killing the dynamics.
These are the kinds of advanced techniques, like parallel compression, that separate a good mix from a great one. It’s about more than just levels; it’s about vibe.
Want to See This in Action?
Reading about this is a great start. But seeing and hearing a producer like Will Putney, Kurt Ballou, or Billy Decker apply these concepts in a real session is a total game-changer. These are the instructors who live and breathe this stuff every day.
With Nail The Mix, you don’t just learn the theory. You get the actual multitracks from bands like Gojira, Lamb of God, and Knocked Loose and watch the original producer mix the song from scratch, explaining every single decision—including exactly how they dial in their compressors.
If you’re ready to see how the pros really use these tools, check out our full catalog of mixing sessions. And if you want to go even deeper, URM Enhanced members get access to over 1,500 more tutorials covering every aspect of rock and metal production. Learn more about URM Enhanced here.