How to Blend Three Drummers Into One Performance (ft. Devin Townsend)
Nail The Mix Staff
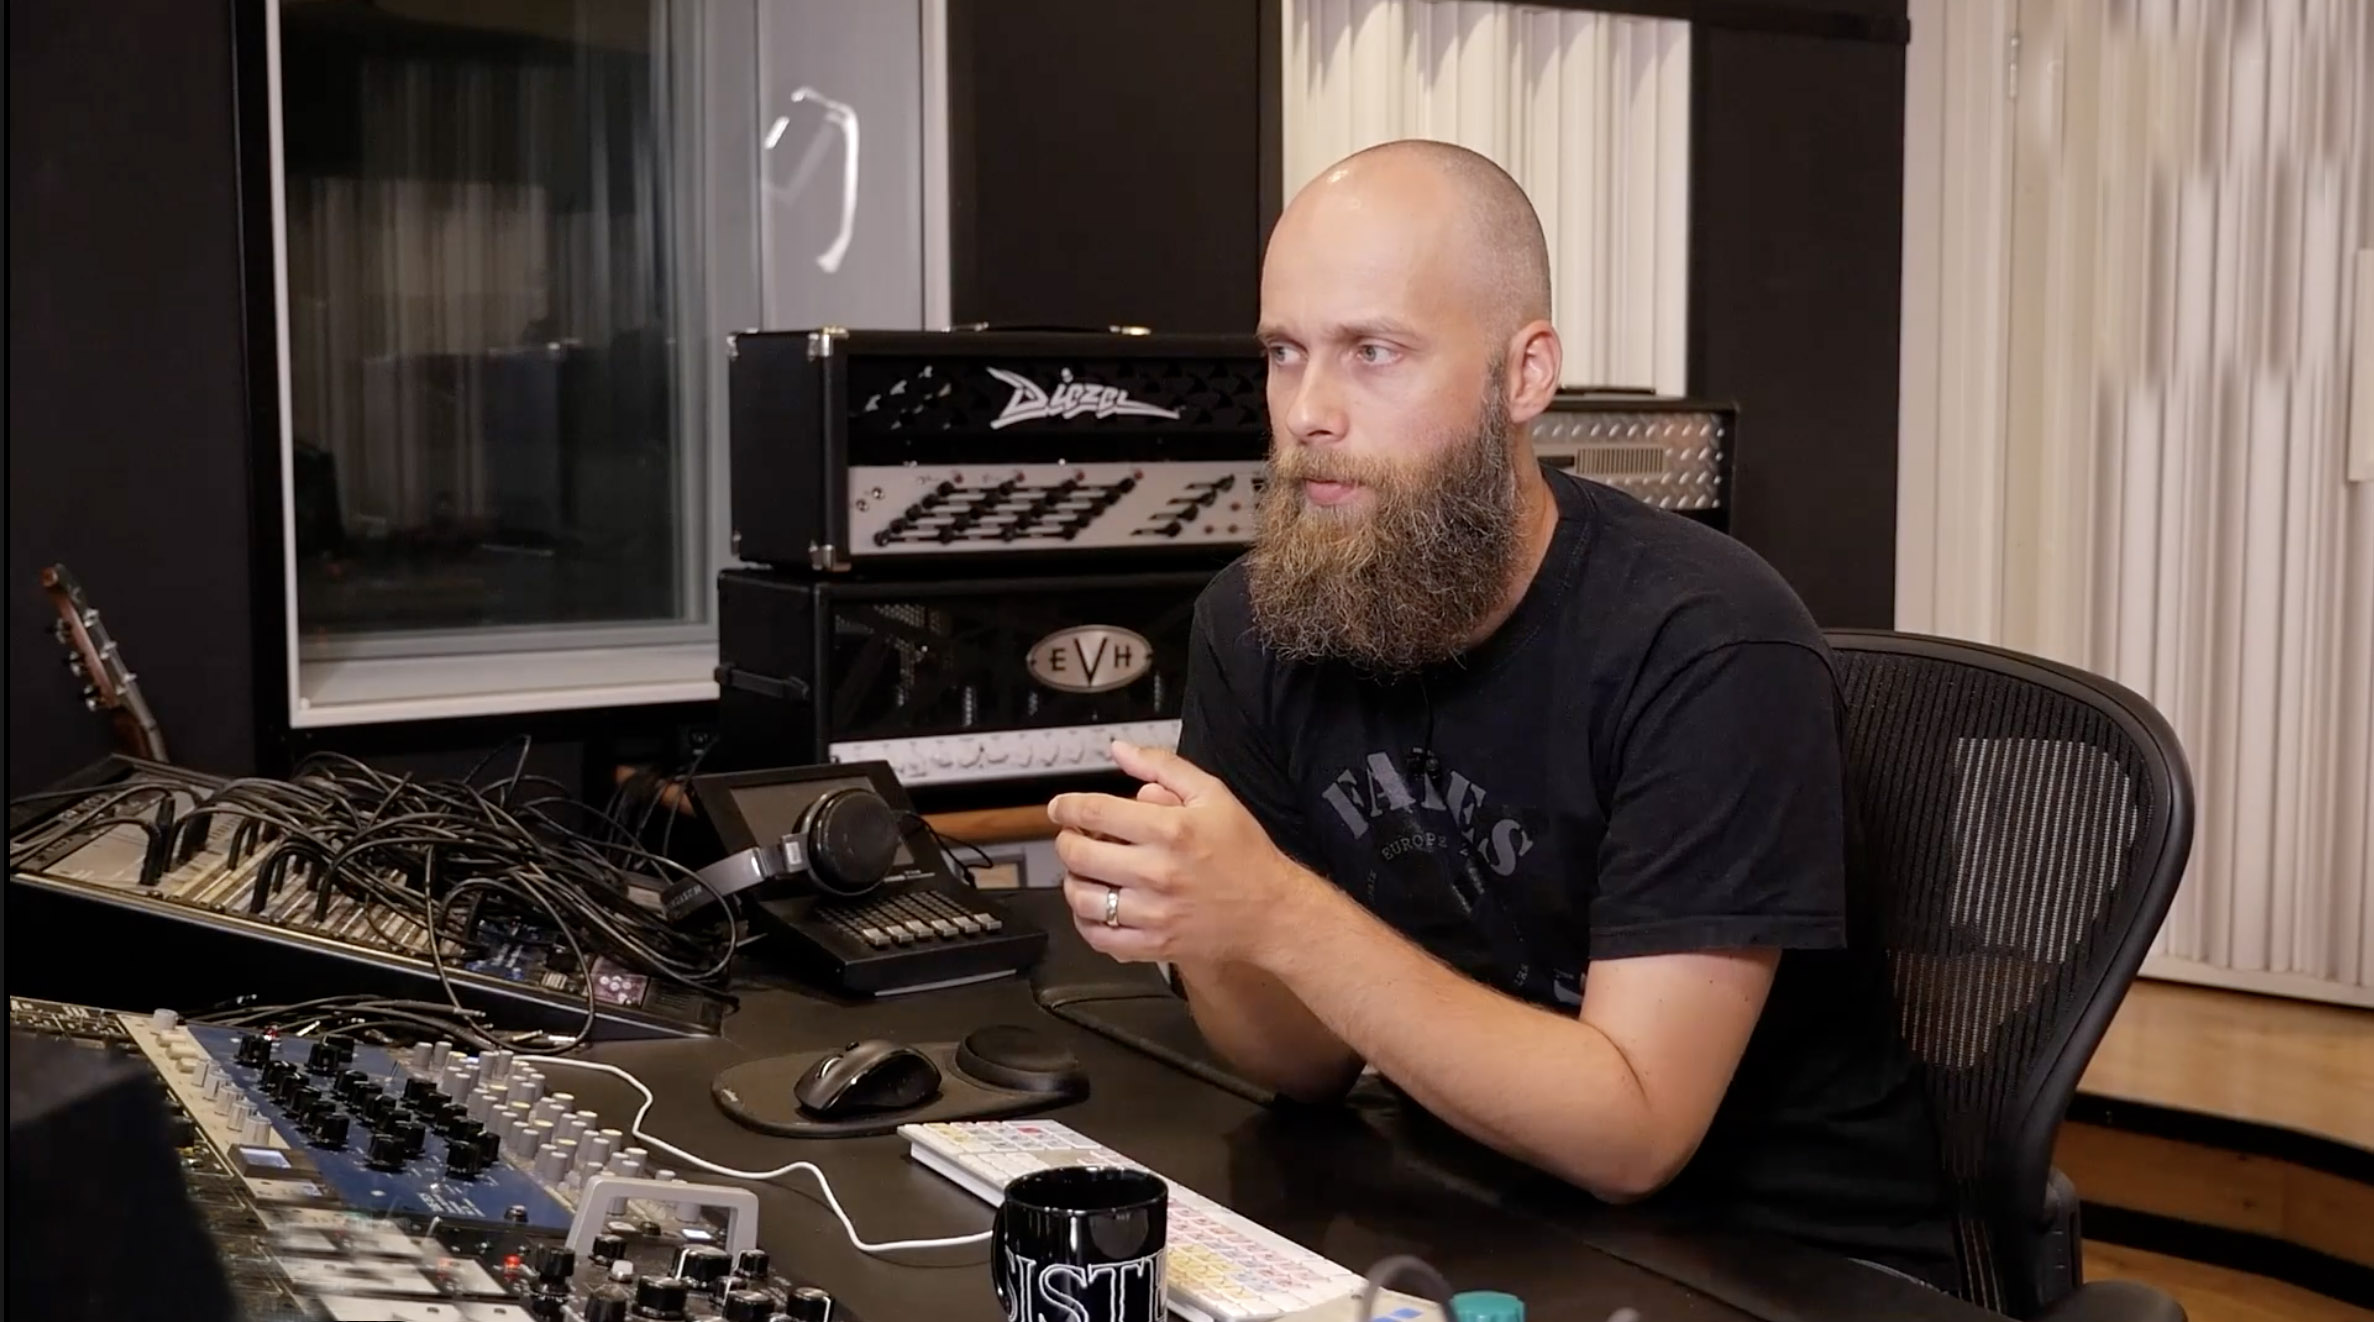
Let’s be real, mixing one drummer can be a challenge. Getting the kick and snare to punch, taming the cymbals, making it all sound cohesive—it’s a whole process. Now, imagine mixing three different drummers, with three unique kits and three distinct performances, all in the same song. It sounds like creative chaos, and in the hands of Devin Townsend, it is… but it’s a controlled chaos that results in something massive.
In his exclusive Nail The Mix session, Devin pulls back the curtain on how he wrangled the incredible drumming of Morgan Ågren, Anoop Sastry, and Samus Paulicelli for a single track. Forget what you think you know about conventional drum mixing; this is a masterclass in organization, creative layering, and slick transitions.
Here are some of the key techniques Devin used that you can apply to your own complex productions.
The Foundation: Ruthless Organization and Bussing
When you’re dealing with a mountain of tracks, your first move isn’t EQ or compression—it’s organization. Devin stresses that while this setup process might feel slow, it’s the key to not mixing yourself into a corner later on. If you don’t do it, you’ll hit a wall where you can’t figure out where a sound is coming from.
Start with a Master Drum Bus
Before diving into individual tracks, Devin’s first step is to create a master bus for all drum tracks.
- Create a Stereo Auxiliary Track: He names it “All Drums.”
- Route All Drummers to It: Every single drum track and drum bus from all three players gets routed to this one master fader.
This gives him a single point of control to solo the entire drum performance and apply global processing. The very first thing he does is tame the ultra-low end, using a simple EQ to roll off everything below around 70Hz. This quick high-pass filter cleans up mud and makes room for the bass guitar without sacrificing the kick’s punch. It’s a fundamental move in modern metal and a great starting point for any drum mix.
Individual Busses for Each Player
With the master bus in place, he then creates separate auxiliary busses for each individual drummer (e.g., “Anoop Ox,” “All Morg”). This allows him to:
- Control Relative Levels: Easily adjust the volume of one drummer against another using a single fader.
- Apply Player-Specific Processing: Add effects or EQ to one drummer’s entire kit without affecting the others.
This level of bussing is crucial. It turns a potentially overwhelming track count into a manageable set of core components.
Creating Space with Parallel Processing and Phase
With a ton of tracks competing for sonic real estate, you have to get creative to find space. Devin uses some killer parallel processing and phase tricks to give each drummer their own dimension in the mix.
The Parallel Bus Trick for Texture
For a section where Morgan Ågren’s drums needed to feel smaller and more contained, Devin set up a parallel bus.
- He sent Morgan’s main drum bus to a new auxiliary track.
- On this new parallel bus, he slapped on a Shep’s EQ and used one of its presets to create a filtered, “radio sound.”
This gives him two signals to blend: the full, unprocessed drum sound and the heavily filtered one. This allows him to automate the blend and create dynamic shifts in the drum texture.
Using Phase for a Wider Image
Here’s where it gets really cool. To create space for Morgan’s drums, Devin doesn’t just pan the tracks. Instead, he slightly pans the parallel bus just a bit to the right.
Because the parallel bus is playing the same performance as the main tracks, this slight pan introduces a subtle phase shift between the two. The result? The drums suddenly feel wider and occupy a unique space in the stereo field, all without ever touching the pan knobs on the primary drum tracks. It’s a slick way to use phase as a creative tool to carve out room in a dense mix.
Layering and Transitions That Don’t Suck
Blending different performances requires seamless transitions and smart layering, especially when the parts are rhythmically complex.
Accenting Beats with Non-Phasing Samples
In one section, Devin wanted more “push” on the main beat from Anoop, but he couldn’t quite draw it out of the existing kick performance. His solution wasn’t to just EQ or compress the kick.
Instead, he layered in a completely different kick sample on the main accents. The key here is that he used a different sample. If you layer an identical kick sample on top of an existing one, you’re almost guaranteed to run into phase issues that can thin out the sound. By using a different sample, he gets the extra attack and weight he wants without any phase cancellation. He then uses some surgical EQ strategies to notch out a specific “bronze colored” upper-mid frequency from the sample, helping it sit perfectly with the main kit.
Devin’s “Secret Weapon” For Creative Sound Design
One of the most powerful and versatile tricks Devin reveals is his method for creating morphing sound effects using Pro Tools’ AudioSuite. This is perfect for creating transitions, swells, and unique textures out of any audio source.
The AudioSuite Morphing Technique
He does this constantly to transition from one section to another, making it sound like one part is literally morphing into the next. Here’s how:
- Select an Audio Region: In your DAW, highlight the section of audio you want to affect (e.g., the last two bars of a drum fill).
- Apply an Effect with AudioSuite: Open a wild plugin from your AudioSuite menu. Devin grabs plugins like Waves Ovos or Enigma without overthinking it. The goal is to create a cool texture.
- Render the Effect: Process the audio region. Now you have a clip that is part clean, part effected.
- Create a Long Crossfade: Drag the edge of the clean audio over the effected audio and create a super long crossfade (in Pro Tools, you just hit the ‘F’ key).
The result is a perfectly smooth transition where the clean drum sound seamlessly morphs into the wild, effected sound. It’s a painless and endlessly fun way to add high-production-value transitions to your tracks.
See The Full Method in Action
These techniques are just a glimpse into the creative madness of Devin Townsend’s mixing workflow. Seeing how he organizes his session, uses phase for width, and creatively mangles audio for transitions is one thing, but watching him apply it all in the context of a full song is another level.
Genesis on Nail The Mix
Devin Townsend mixes "Genesis"
Get the Session
In his full Nail The Mix session, you can download the multi-tracks and watch Devin mix the entire song from scratch, explaining every plugin, every fader move, and every insane idea. If you’re ready to move beyond presets and learn how world-class producers get their sound, check out a NTM membership and unlock your sound.