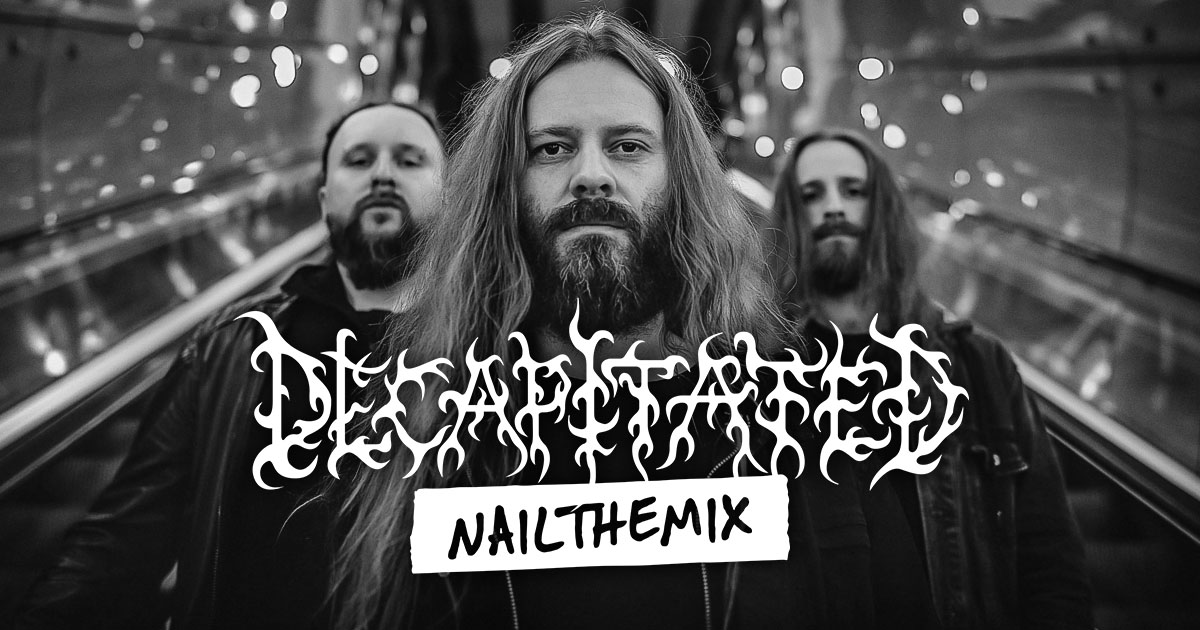
Mixing Decapitated’s Brutal Guitars with David Castillo
Nail The Mix Staff
The Producer’s Dilemma: Committing vs. Keeping Options
David brings up a great point right away: the fear of commitment. In the age of DAWs, it’s easy to record everything to its own track and just pass it all along to the mixer. The thinking is, “Maybe the mix engineer can blend this better.” But as David sees it, that’s not the mark of a great producer.
A producer’s job is to make decisions and trust their ears. The old-school method of working on a large-format console forced engineers to commit to a blended sound on the way into the recorder. While modern DAWs give us endless flexibility, learning to commit to a sound early on is a sign of experience and confidence. It streamlines the entire mixing process and lets you move forward with a clear vision for the guitar tone.
Castillo’s Blueprint for Blending Guitar Tones
So, when faced with six different tonal options for just one side of a stereo pair, how does David Castillo turn chaos into order? He follows a clear, logical process to get the blend right before committing it to a new audio track.
Step 1: Find Your Foundation Amp
Before touching a single fader, listen through the different amp and cab sources you have. You need to identify your core sound. In the Decapitated session, David quickly found that one amp served as the perfect foundation, while another, more distorted and noisy amp, worked better as a secondary layer.
Instead of trying to make them equal partners, he decided the second amp would be tucked underneath in volume. Its job wasn’t to be the main tone, but to add a specific flavor, texture, and aggression that the main amp lacked. This “primary” and “secondary” approach is a fantastic way to build a complex tone without it turning into a muddy mess.
Step 2: Balance the Mics
With a foundational amp chosen, it’s time to balance the microphones used to capture it. David’s method is simple but effective:
- Solo the mics for the main amp.
- Listen to each one individually and then together.
- Mute and unmute mics one by one. Does adding a mic improve the sound, or does it make it worse? Is it adding crucial body or introducing weird phasing?
- Find a balance. For the Decapitated tracks, he found all the mics were usable and ended up with them at a relatively even level.
Once the main amp’s mics are blended, repeat the exact same process for your secondary amp. Now you have a solid blend for each amp source.
Step 3: Clean Up with Surgical EQ
Before printing these blends, it’s time for some housekeeping. This isn’t about broad, tone-shaping moves yet. This is about cleanup. David focuses on using EQ to carve out problem frequencies on the individual microphone tracks.
He specifically targets two things:
- Boxiness: The muddy, cardboard-like sound often found in the low-mids.
- Fizz: That nasty, high-end “static noise” that can make distorted guitars sound cheap and harsh.
By using precise EQ cuts to remove these unwanted artifacts from each mic signal, the overall blended tone becomes clearer and more powerful. He notes that you might lose a little top-end Sheen, but that’s okay—you can add that back in a more musical way later on the main guitar bus, gluing all the tracks together.
The Final Move: Print and Simplify
Once the mic balances are set and the cleanup EQ is dialed in for both the primary and secondary amps, it’s time to commit.
David copies the fader levels and EQ settings across all the performances (in this case, four quad-tracked parts). Then comes the most important step: he prints all those individual tracks down to just four new audio files: Guitar 1 L, Guitar 1 R, Guitar 2 L, and Guitar 2 R.
A session that had 24+ guitar tracks is now a clean and simple four.
These four tracks are his new starting point. This is the sound he would have aimed for if he had tracked it himself, committing on the way in. From here, he routes these four tracks to a single main guitar bus and can finally begin the actual mix process—adding bus compression, saturation, and automation to make the guitars sit perfectly in the track. You can see exactly how he handles the rest of the mix for this brutal Decapitated track right here on Nail The Mix.
Bringing It All Together
This “pre-mix” blending process is an incredibly powerful workflow. It forces you to make critical creative decisions early, cleans up your session, and provides a solid, focused foundation to build your mix upon.
To recap David Castillo’s method:
- Establish a hierarchy: Don’t treat all sources equally. Find a main amp and use others for texture.
- Balance in stages: Blend the mics for one source at a time.
- Clean before you commit: Use surgical EQ to remove fizz and boxiness from individual tracks.
- Print your work: Commit to your blend and get rid of the dozens of extra tracks.
Learning foundational techniques like this is what separates good mixes from great ones. It’s about building a solid base so that your creative processing later on has maximum impact.
Decapitated on Nail The Mix
Daniel Bergstrand mixes "One-Eyed Nation"
Get the Session
If you want to see how pros like David Castillo, Will Putney, and Dan Lancaster apply these concepts to real-world sessions, then check out Nail The Mix. Every month, you get the raw multi-tracks from a massive metal song and get to watch the original producer mix it from scratch, explaining every single move. It’s the ultimate way to unlock your sound and move beyond presets and learn how to craft professional-sounding records.

