
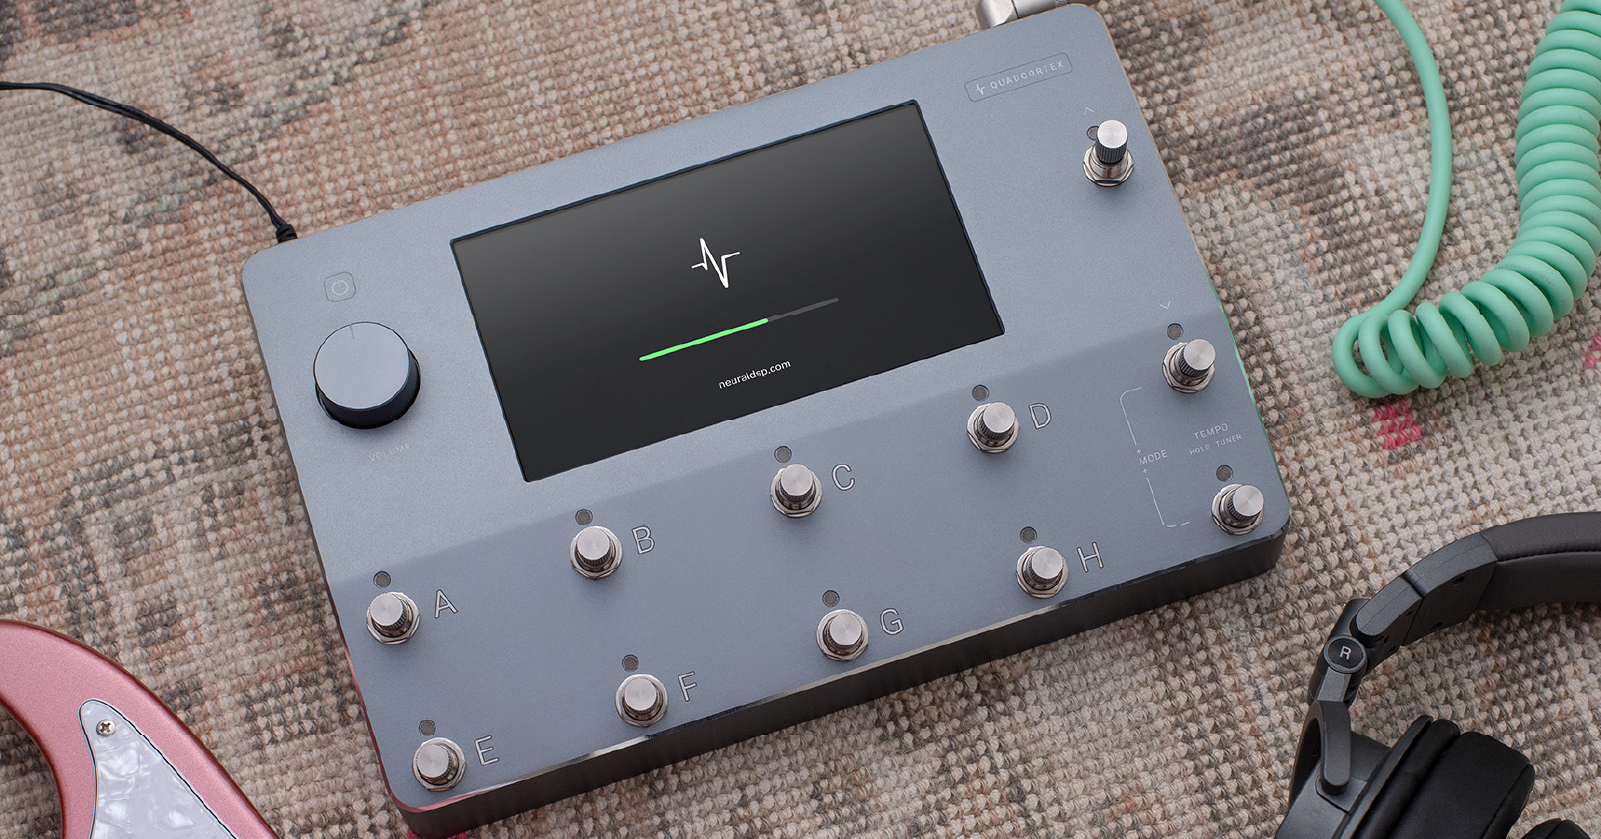
How to capture your rig with the Neural Quad Cortex
Nail The Mix Staff
So, you’ve got a Neural Quad Cortex, or you’re seriously considering snagging one. You’ve heard the buzz about its “Neural Capture” feature – the ability to model your own amps, cabs, and even pedals. But what’s the real story? In short, it’s your golden ticket to digitally bottling up the soul of your favorite gear, making those killer tones portable and instantly recallable. Forget just relying on stock models; this is about your sound, captured with uncanny accuracy.
Let’s break down how you can harness this power and create your own signature captures, just like John Douglass demonstrates with his rig.
What’s the Deal with Neural Capture Anyway?
At its heart, Neural Capture uses machine learning – a sophisticated process similar to what companies use to create their internal amp models. The big difference? Neural DSP has put this powerful tool, once mainly associated with devices like the Kemper Profiling Amp, directly into your hands. Instead of waiting for a developer to profile an amp you like, you can capture your very own Peavey 5150, your vintage Marshall, or that boutique fuzz pedal that’s your secret weapon. The Quad Cortex “listens” to your gear and creates a digital clone. Pretty slick, right?
Gearing Up: What You’ll Need for the Amp Capture
To capture an amp and cab like in the video, you’ll need a few key pieces of kit:
- Your Neural Quad Cortex, obviously.
- The guitar amp you want to capture (e.g., a high-gain monster like a Peavey 5150/EVH 5153).
- A speaker cabinet (e.g., a Mesa/Boogie 2×12).
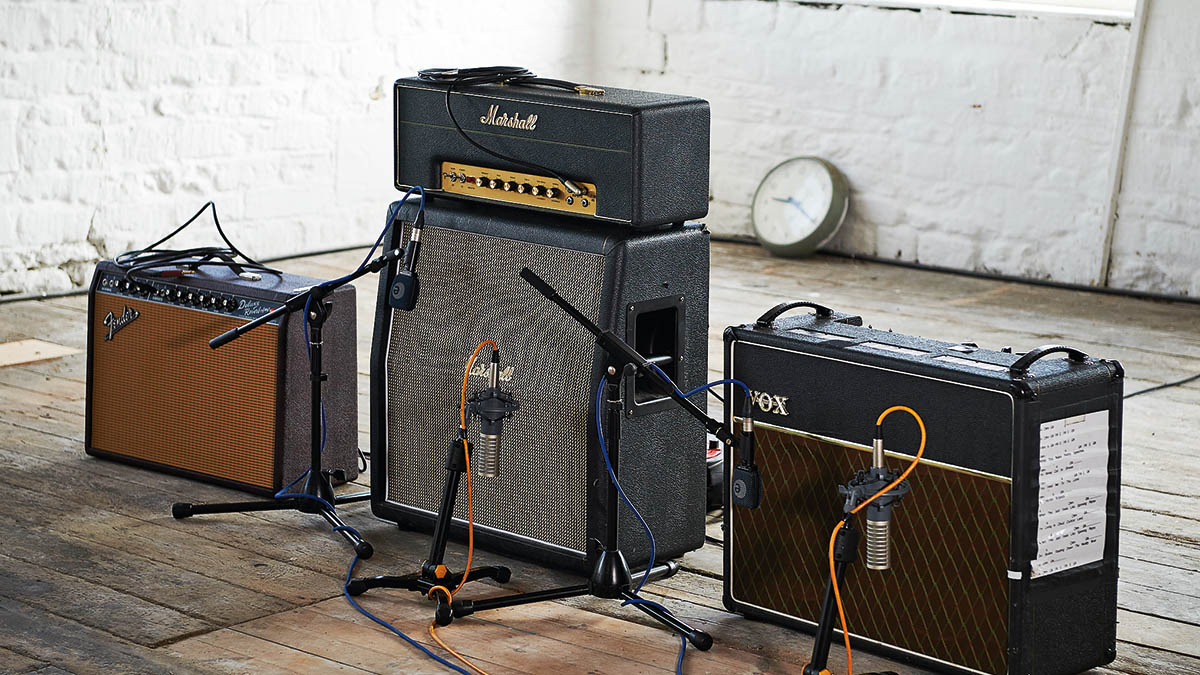
- A microphone (the trusty Shure SM57 is a go-to for a reason, but as this guitar mic showdown demonstrates, there are many great options).
- An audio interface (like a Focusrite Scarlett).
- A reamp box (such as a Radial Reamper) if you want to use pre-recorded DIs.
- Your DAW (Pro Tools, Reaper, Logic, etc.) for playing back DIs.
- Necessary cables: instrument, speaker (super important!), and mic cables.
While you can just plug your guitar straight in and play while dialing tones, using a reamped DI (a clean, direct recording of your guitar) is a smart move, but it’s essential to learn how to re-amp without losing tone. It gives you a consistent performance loop, freeing you up to focus on tweaking your amp and the Quad Cortex settings without having to play guitar simultaneously.
Step-by-Step: Setting Up Your Quad Cortex for Capture
The Quad Cortex does a good job guiding you, but here’s the essential signal flow and setup:
Connecting Your DI Signal (The Pro Way)
- Send your DI signal from your audio interface (John uses Line Out 3 of his Focusrite Scarlett) into your Radial Reamper.
- Connect the output of the Reamper to Input 1 on the Quad Cortex. This will be your “instrument” signal that feeds the capture process.
Routing to Your Amp: The “Capture Out”
- The Quad Cortex has a dedicated “Capture Out” jack. Run an instrument cable from this output directly to the input of your guitar amp.
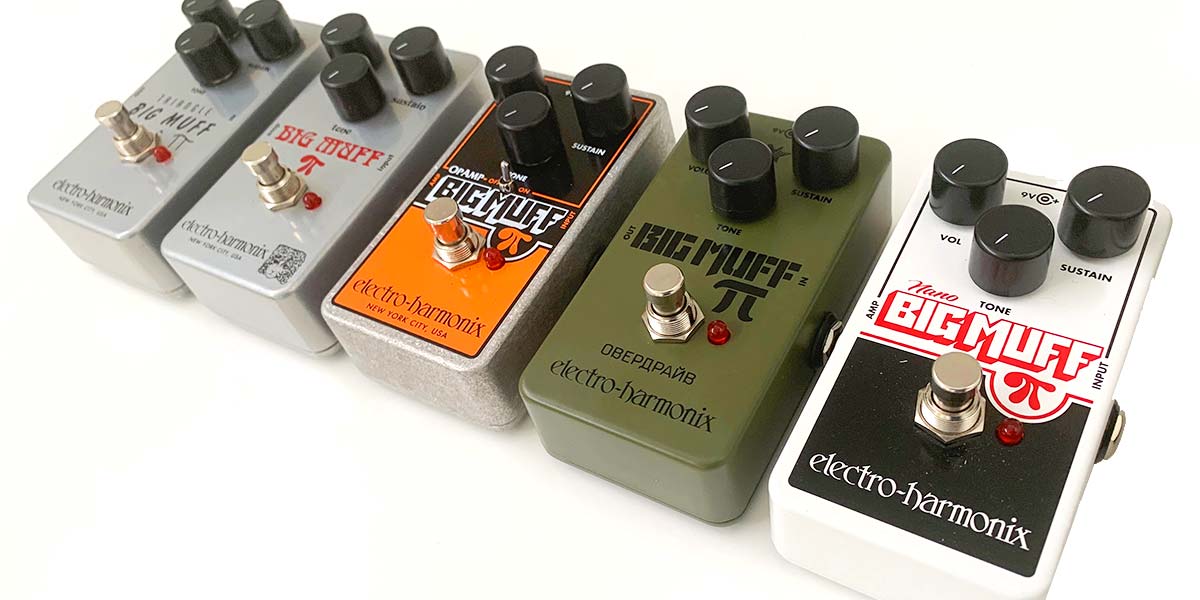
- If you’re capturing a pedal with an amp, the Capture Out would go to the input of the pedal, and the pedal’s output would then go to the amp. You’re capturing the whole chain.
Micing Your Cab and Connecting to Input 2
- Position your microphone on your speaker cabinet. A Shure SM57 on the cap edge of a speaker is a classic starting point for aggressive rhythm tones, just like John uses on his Mesa 2×12.
- Connect the microphone cable from your SM57 to Input 2 on the Quad Cortex.
- Crucial Safety Note: Always, always ensure your tube amp is connected to a load – either your speaker cabinet or a dedicated load box. Running a tube amp without a load is a fast track to damaging your gear!
Dialing In: Nailing Your Levels for a Perfect Capture
With everything wired up, it’s time to get your signals sounding sweet. The Quad Cortex’s “New Neural Capture” wizard will walk you through this.
Fine-Tuning Your Amp Tone
- Get your DI track playing from your DAW. This signal flows into the Quad Cortex (Input 1), then out of the Capture Out, and into your real amp.
- Now, tweak your amp’s knobs (gain, EQ, volume) until you’ve got the exact tone you want to immortalize. Make sure your amp is on, standby is off, and that speaker cable is plugged in all the way – easy mistakes to make!
- Listen critically. This is the sound the Quad Cortex will learn. For more advanced ways to sculpt your guitar sound at this stage, exploring EQ Strategies for Mixing Modern Metal can provide deeper insights.
Setting Input Levels on the Quad Cortex
This is where you tell the Quad Cortex how loud your DI and mic signals are.
- Input 1 (DI): Ensure you have a healthy, strong signal coming from your reamp box. John gives his DI a little bump with the built-in clipper on the Quad Cortex.
- Input 2 (Mic):
- First, tell the Quad Cortex that Input 2 is a “Mic” input.
- Dynamic mics like the SM57 often need a good amount of gain, especially on a loud guitar amp if the mic isn’t right on the grille. Don’t be shy about cranking the preamp gain on Input 2. John boosts his by around +30dB to +40dB. Think of this as the preamp gain knob on your audio interface.
- You might hear little clicks or dropouts as you adjust this digital gain while audio is playing – that’s normal.
The “Auto-Set Levels” Lifesaver
If you’re unsure about the mic level, the Quad Cortex has an “Auto-Set Levels” feature. Enable it, play your DI, and the device will listen and try to set an optimal gain for Input 2. It’s a handy tool to get you in the ballpark quickly.
The Magic: Running the Neural Capture Process
Once your amp is roaring and your levels are solid, you’re ready for the main event.
Initiating the Capture
- Hit “Start Capture” on the Quad Cortex.
- Heads up: The Quad Cortex will now send a series of strange, sometimes loud, test tones out of the “Capture Out,” through your amp and cab, and record the result from your microphone. If your amp is in the room with you, you might want to step out or use hearing protection – it can get LOUD!
The Training Phase: Machine Learning at Work
After recording the test tones (which takes a minute or two), the Quad Cortex enters the “Training” stage. This is where the machine learning algorithm does its thing, analyzing the recorded audio and building the digital model of your rig. This typically takes around 5-10 minutes. The quality of the capture is heavily influenced by this process, and it’s something Neural DSP might even refine further in future firmware updates.
The Moment of Truth: A/B Testing Your Capture
When the training is complete, the Quad Cortex will announce, “Your neural capture is ready!” Now you get to hear how well it did.
Comparing the Virtual Model to the Real Deal
The QC provides a slick A/B interface. You can instantly switch between:
- Reference: The live sound of your actual amp and mic coming into Input 2.
- Neural Capture: The newly created digital model.
John takes a smart approach here: he records a pass of the “Reference” (real amp) to a track in Pro Tools and then records a pass of the “Neural Capture” to another track. This allows him to mute his actual amp and compare the recordings accurately without the sound of the physical amp bleeding in the room.
The results? As John demonstrates, they are shockingly close. He mentions a tiny, almost imperceptible difference in the low-mids but struggles to even describe it – a testament to the capture’s accuracy. This level of precision opens up a universe of sonic possibilities. But remember, even the most perfect capture is just one ingredient. If you dream of crafting mixes where every element, including your killer new amp captures, sits perfectly, exploring how top-tier producers achieve this through platforms like URM Enhanced can be a game-changer.
Saving and Using Your New Tone
Happy with the A/B comparison? Time to save your creation!
Naming and Tagging Your Capture
- Hit “Save.”
- Be descriptive with your naming! Future you will thank you. John names his “5153 Blue V1 Mesa 2×12 57,” clearly indicating the amp (EVH 5150 III Blue Channel, Version 1), the cab, and the mic. Including the date can also be helpful.
- Assign metadata tags (e.g., “Head + Cab,” “Guitar”). This helps with organization and if you choose to upload your capture to the Neural cloud for others to use.
Integrating Your Capture into a Grid Preset
- Now, you can pull your new capture into any preset on the Quad Cortex grid.
- Simply find it under “Neural Capture” > “My Captures.”
- Drag it onto the grid. If you were using a stock amp and cab block before, you can delete those and drop your capture in. The capture now acts as your amp and cab, replacing the need for separate models or loading third-party impulse responses.
- The awesome part? You can still tweak parameters like Gain, Bass, Mid, Treble, and Volume on the capture block itself, just like a regular amp model.
Why Bother Capturing Your Own Gear?
You might wonder, with so many great built-in models and standalone plugins like the Neural DSP Omega Granophyre, why go through the effort?
- Your Sound, Your Rules: Capture that one-of-a-kind vintage amp, your modded pedal, or the specific way your amp sounds with your favorite cab.
- Ultimate Portability: Take an exact sonic snapshot of your studio rig on the road or to a different studio without lugging heavy gear.
- Consistency: Recall your exact tones instantly for recording or live shows.
- It’s Fast: As you’ve seen, the whole process, from setup to saved capture, can take as little as 15-20 minutes.
Take Your Tones & Mixes to the Next Level
Okay, so you’ve successfully captured your beastly amp rig using the Neural DSP Quad Cortex. That’s a massive win for your tone arsenal! But getting a great raw tone, even one as accurate as a Neural Capture, is just the first step. Making it sit perfectly in a dense metal mix, cutting through yet feeling cohesive with pummeling drums and a thundering bass? That’s where the real art and science of mixing come into play, especially when it comes to how to balance metal guitars and bass in a mix.
Gojira on Nail The Mix
Logan Mader mixes “Toxic Garbage Island”
Get the Session
If you’re ready to see how the pros sculpt these tones, apply advanced EQ and compression, and integrate them into world-class mixes, URM Enhanced is where it’s at. Imagine learning directly from the producers behind some of metal’s biggest albums, watching them mix actual sessions from scratch. You get the multitracks, you see every plugin, every fader move, every decision explained. It’s about moving beyond presets and truly unlocking your sound in modern metal mixing. Capturing your gear is powerful; knowing how to wield those captures in a professional mix is priceless.