The Best Clipper Plugin for Insanely Loud Metal Mixes
Nail The Mix Staff
You’ve been there. You’ve got a killer mix going—the guitars are ripping, the drums are pounding, and the bass is holding down the low end. But when you A/B it against a commercial release from a band like Periphery or Lamb of God, your mix just doesn’t have that same insane level of loudness and punch. You try slapping a limiter on the master bus, but it just squashes the life out of your snare and turns your kick drum into a floppy mess.
So, what’s the secret? More often than not, it’s not just a limiter. It’s a clipper.
While a limiter slams a brick wall on your peaks, a clipper aggressively shaves them off. This lets you control the loudest, pokiest parts of your mix (looking at you, snare transients) and increase the overall perceived volume without completely destroying your dynamics. For modern metal, it’s a non-negotiable tool.
But this brings up the age-old question: does it really matter which plugin you use?
Our take is this: for general jobs like EQ, not really. Your stock EQ can do the job if you have the skills. But for specific, surgical tasks, the right tool makes a huge difference. Getting a specific guitar tone requires the right amp sim. Taming harshness requires something like Soothe. And getting that precise, loud, and punchy master absolutely benefits from the right clipper plugin.
Let’s dive into some of the best clipper plugins out there and how to use them to get your metal mixes hitting harder.
The Best Clipper Plugins for Punchy, Loud Mixes
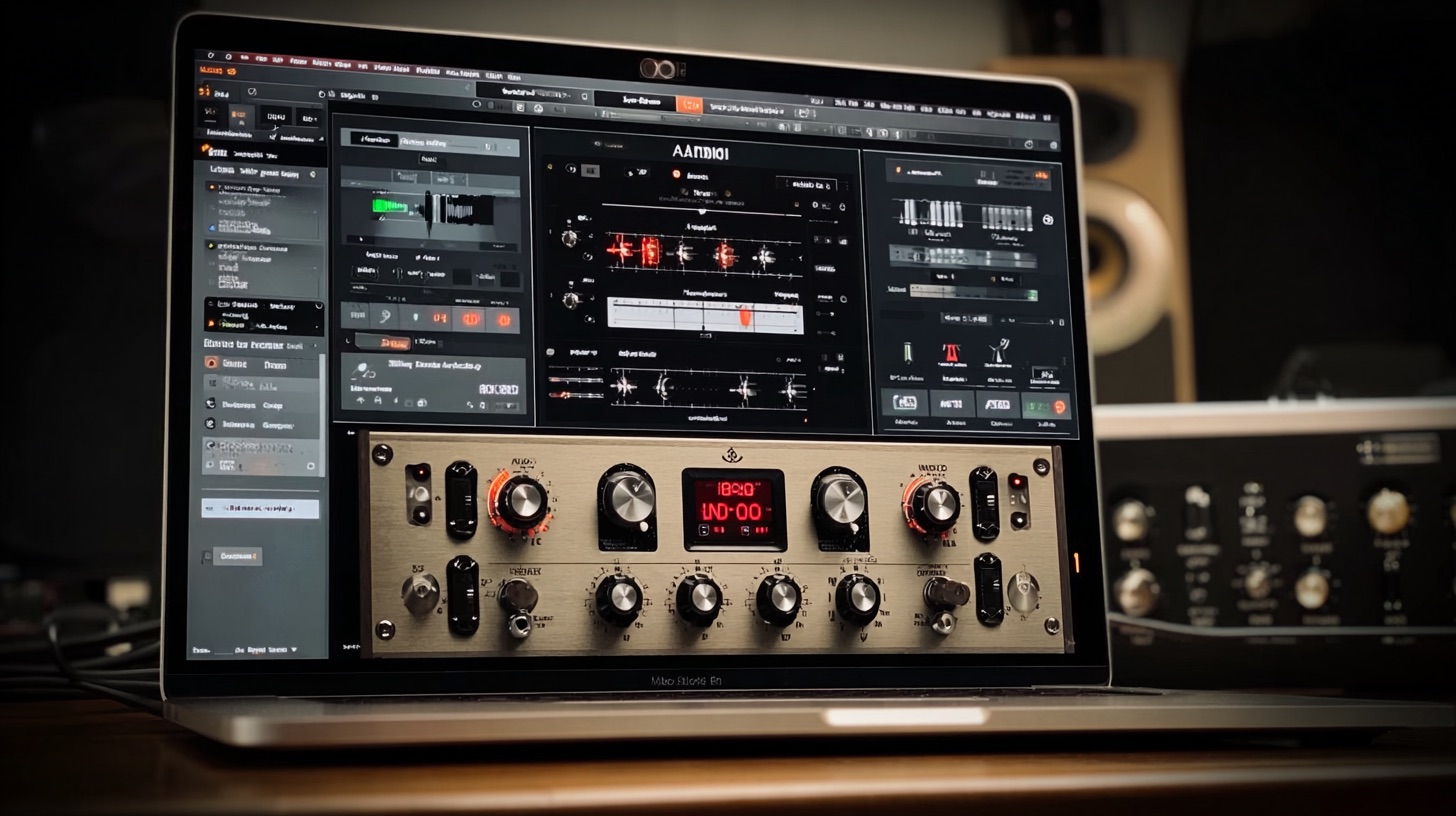
When you’re looking for a clipper, you want a few key things: clean processing (thanks, oversampling!), flexible controls, and the ability to add a touch of color or stay totally transparent. Here are a few that are staples in the metal production world.
Sir Audio Tools StandardCLIP
If there’s an industry-standard clipper, StandardCLIP is it. It’s not the flashiest plugin on the block, but it is an absolute workhorse that does one thing incredibly well: clip your signal cleanly and effectively.
Why it’s great for metal: Its simplicity is its strength. You can dial in the exact amount of clipping you need with the input/output gain and the ceiling control. The high-quality oversampling (up to 256x!) is crucial for preventing aliasing—that nasty digital distortion that can add fizz and harshness to your cymbals and guitars.
Actionable Tip:
Put StandardCLIP on your master bus right before your final limiter. Set the oversampling to at least 16x. Start by lowering the ceiling by just 1-2 dB and watch the meter. You’ll see it catching just the very tips of your loudest snare hits. This light touch will give your limiter less work to do, resulting in a louder, punchier master that still breathes.
Kazrog KClip 3
A massive favorite in the metal community, Kazrog KClip 3 is a straight-up powerhouse. It’s more than just a clipper; it’s a multi-tool for saturation and creative transient control.
Why it’s great for metal: KClip 3 offers eight different clipping modes, from clean and transparent to warm and crunchy. This is huge. The ‘Crisp’ setting can add a satisfying bite to a drum bus, while the ‘Smooth’ setting can transparently shave peaks off a master without sounding aggressive. The multiband and mid/side processing options give you an insane amount of control. Got a kick drum that’s fighting with the bass in the low end? Use KClip in multiband mode to clip only the low frequencies and tighten everything up.
Actionable Tip:
Try KClip 3 on your main drum bus. Put it in ‘Saturate’ mode and select the ‘Crisp’ algorithm. Dial in 2-3 dB of clipping. This will not only control the wild snare transients but also add a layer of cohesive harmonic saturation that glues the entire kit together. For this kind of bus processing, exploring different compression techniques in combination with clipping can yield massive results.
IK Multimedia T-RackS Classic Clipper
Part of the venerable T-RackS suite, the Classic Clipper from IK Multimedia is straightforward but powerful. It’s designed to give you that loud, polished sound you hear on modern records.
Why it’s great for metal: It has a “Slope” control (basically a soft knee) that lets you choose how aggressively the clipping kicks in. You can go from a gentle, rounded-off saturation to a hard, unforgiving brick wall. This is fantastic for dialing in precisely how much punch you want to retain. If you want to just tame peaks, use a hard slope. If you want to add a bit of analog-style saturation as you clip, soften the slope.
Actionable Tip:
Use the Classic Clipper on an aggressive vocal track. Sometimes, a screamer’s loudest peaks can be 10-12 dB higher than the rest of the performance. Before you even touch a compressor, use the clipper with a medium slope to shave off 3-4 dB from those peaks. The vocal will be far easier to compress and will sit in the mix with more consistency and bite.
Beyond the Master Bus: Where Else to Use Clippers
Clippers aren’t just for making your final master loud. They are secret weapons for individual tracks and busses.
On the Drum Bus
We mentioned this with KClip, but it’s a core technique. Placing a clipper on your drum bus is a fantastic way to add punch and cohesion. It can tighten up the low end of the kick and tame overly aggressive snare hits, allowing you to bring the entire bus up in volume without it overpowering the mix.
For Aggressive Vocals
Metal vocals are dynamic as hell. A clipper can be used to control the wildest peaks before the signal even hits a compressor, giving you a more consistent starting point. It’s less about “squashing” and more about “taming.”
Taming Snare Transients
Is your snare too “pokey” but you don’t want to kill its attack with a slow compressor? A clipper is the perfect tool. Set it to just shave off the very tip of the transient. You’ll keep the punch and body of the snare while making it sit better in the mix, allowing the guitars and vocals to shine through. This is where a surgical approach to gain staging and dynamics pays off, much like it does when EQing metal guitars to cut out fizz without losing aggression.
Clipping, Latency, and Phase: The Stuff You Can’t Ignore
When you start using plugins with high-quality modes, you introduce latency. High oversampling rates require a lot of processing power, which means the plugin adds a slight delay to the signal.
Most modern DAWs have automatic delay compensation to handle this, but it’s not always perfect. If you’re using a clipper on a parallel track, for example, that added latency can cause nasty phasing issues against the dry track. This is why many old-school Pro Tools users were notoriously careful with parallel processing—the delay compensation engine used to be a nightmare!
Be mindful. If something sounds weird and “phasey” after you add a high-latency clipper, that might be the culprit.
But Does the Plugin Really Matter?
So, we’ve shown you a few killer clipper plugins. But could a world-class mixer like Jens Bogren or Will Putney get an amazing mix with a stock clipper? Absolutely.
The great producers you see among the Nail The Mix instructors get incredible results because of their skills, not because they have a secret magic plugin. You could give 100 chefs the same ingredients, and you’d get 100 different dishes. It’s the same with mixing.
However, a specialized tool like KClip 3 or StandardCLIP is designed to solve a very specific problem efficiently and with high fidelity. The difference isn’t that you can’t get loud with stock tools; it’s that these plugins make it easier to get a great-sounding loud mix without unwanted artifacts.
The real game-changer isn’t just owning the plugin—it’s knowing how and why to use it. It’s about developing your ears to hear what 1dB of clipping on a drum bus is actually doing.
Gojira on Nail The Mix
Logan Mader mixes "Toxic Garbage Island"
Get the Session
And that’s the gap we bridge at Nail The Mix. Instead of just reading about techniques, you get to watch the pros who mixed your favorite albums apply them in real-time. You can see exactly how they dial in a clipper on a master bus, how they use saturation on a snare, and hear the “before” and “after” with the actual session files in your own DAW.
If you’re ready to see how these tools are used to create chart-topping metal, check out the full Nail The Mix sessions catalog and be a fly on the wall for a masterclass in modern production.