Why Your MixWave Luke Holland Drums Sound Robotic (And How to Fix It)
Nail The Mix Staff
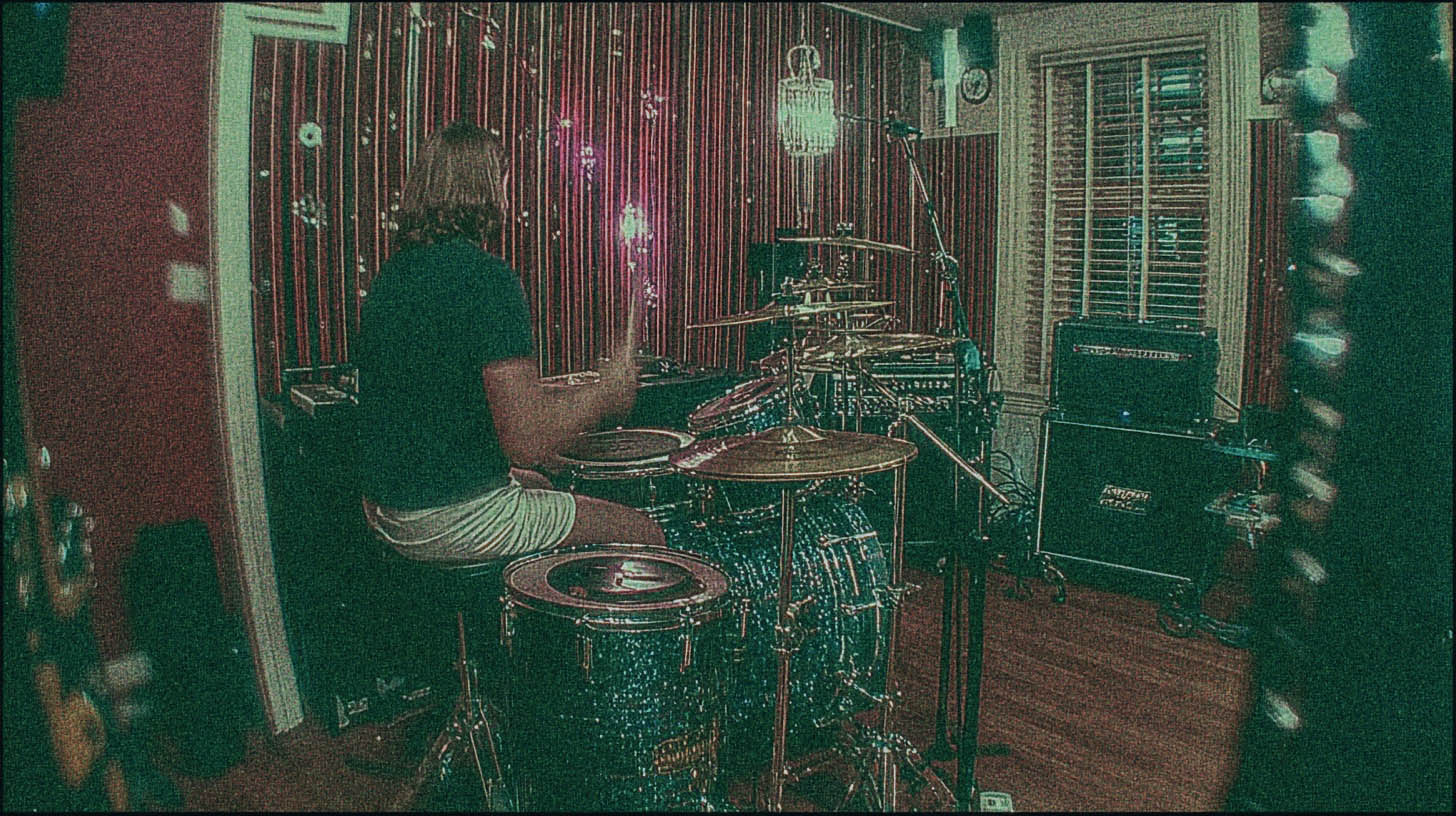
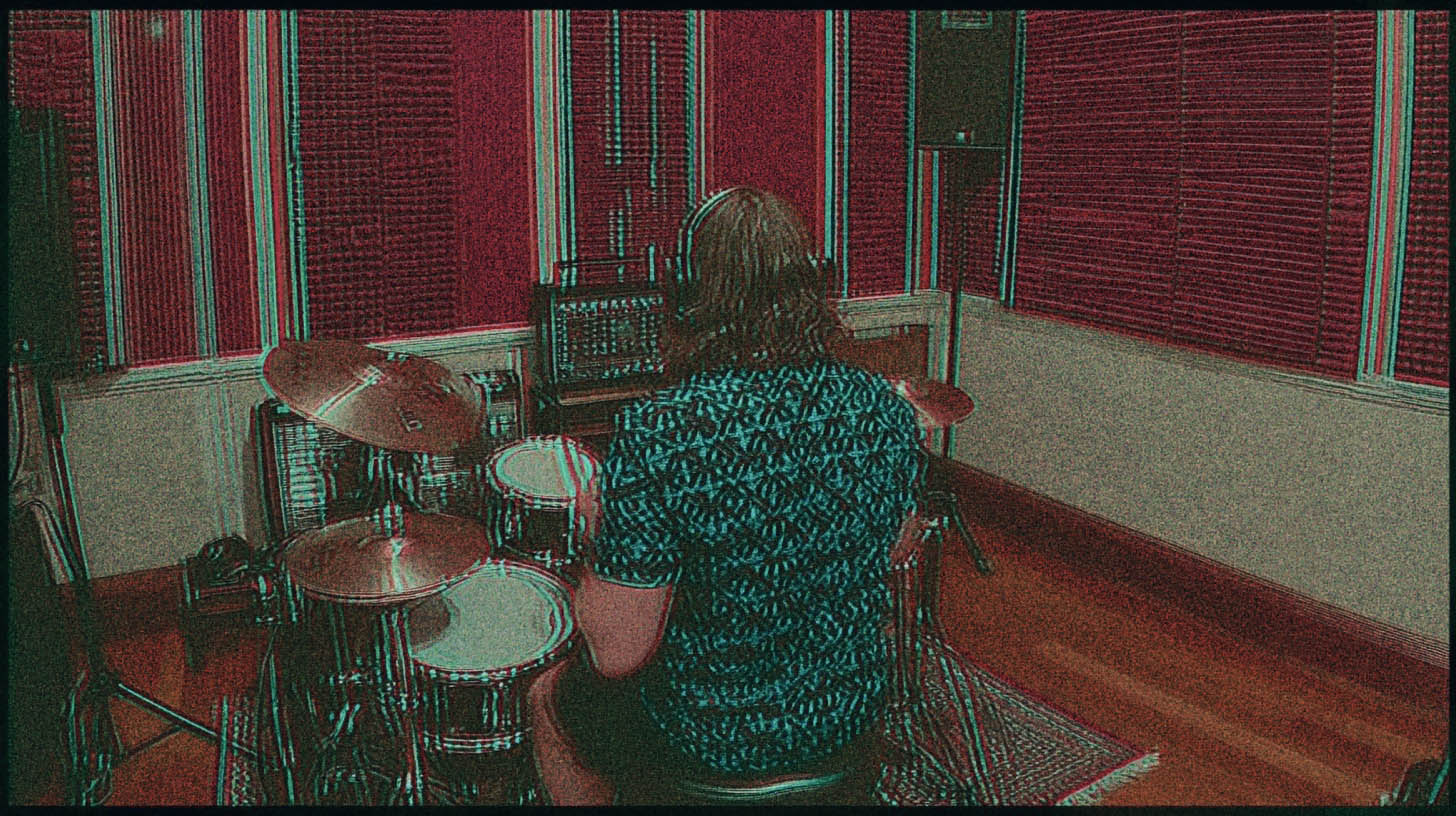
The MixWave Luke Holland drum library is a monster. It’s meticulously sampled, captures Luke’s insane feel and iconic kit (that DW and Meinl cymbal setup is legendary), and comes packed with a powerful mixer. On paper, it has everything you need to craft drum tracks that are powerful, modern, and punchy as hell.
So why do your programmed parts sometimes end up sounding… well, programmed?
We’ve all heard it. The machine-gun snare roll, the kick drums that feel disconnected from the groove, the blast beats that sound like a typewriter from space. Even with the best samples in the world, it’s easy to fall into the trap of creating something that sounds plastic and fake.
The problem isn’t the samples. The problem is how we use them. The secret to making a library like this come alive is to stop thinking like a programmer and start thinking like a drummer—and a mix engineer. It’s about re-introducing the human imperfections and dynamic nuances that make a real performance feel powerful.
The Real Enemy: Perfect Repetition
Your DAW is a tool for perfection. It lets you snap every single hit perfectly to the grid and set every velocity to its maximum value of 127. While that might look good on your MIDI editor, it’s poison to the human ear.
Our brains are wired to notice patterns. When a sound is too repetitive with zero variation—the exact same sample, at the exact same volume, hitting at the exact same time, over and over—our brain just checks out. It becomes noise. The impact is gone.
Real drummers are beautifully imperfect. Even a titan like Luke Holland will never hit a drum with the exact same velocity, in the exact same spot, at the exact same micro-time twice in a row. Those tiny variations are what create groove, feel, and energy. Our job as producers is to replicate that chaos in a controlled way.
Mastering Velocity for Dynamic Power
Velocity is the single most powerful tool for making programmed drums sound real. In a deeply-sampled library like MixWave Luke Holland, velocity isn’t just a volume knob. Hitting a snare at a velocity of 80 doesn't just play the "loud snare" sample quietly; it triggers a completely different sample of a medium-strength hit. A velocity of 120 might be a solid center hit, while 127 could be a cracking rimshot.
This is where you can add life to your tracks, especially in a dense metal mix.
Case Study: Making Blast Beats Punch, Not Annoy
Let’s take a common metal scenario: the blast beat. A real drummer playing a 220bpm blast simply can’t hit the snare with the same force they use for a backbeat in a breakdown. Physics won't allow it. Naturally, these snare hits are weaker.
The amateur move is to just turn up the fader on the live snare track during that section. But what happens? You don’t just get more snare; you get a tidal wave of cymbal bleed, hi-hat hash, and other "crust" that makes the mix sound noisy and unprofessional.
The pro move is to reinforce it with samples. But here’s the key: don’t just paste in a snare sample at 127 velocity for every hit.
- Trigger Your Sample: Use a plugin like Slate Trigger 2 or your DAW’s built-in drum replacement to trigger a snare from the Luke Holland library.
- Dial in the Velocity: Instead of maxing them all out, set the velocities for the blast beat hits to be slightly lower than your main backbeats. Maybe the breakdown snare hits are around 120-127, while the blast beat snares live in the 105-118 range.
- Add Human Variation: Go through and manually nudge the velocities of individual blast hits up or down by a few values. This subtle variation will make the roll feel more natural and less like a machine gun.
Now, the blast beat snare has the power and consistency to cut through the mix, but it still feels dynamic and connected to the rest of the performance.
Humanizing Your Grid: Why 100% Quantize Is a Trap
Quantizing is necessary for modern metal, but locking every hit perfectly to the grid is how you create soulless, robotic drums. You need to tighten the performance without erasing the human feel.
The 90% Rule
Many top-tier producers, including several Nail The Mix instructors, avoid quantizing to 100%. Instead, try quantizing to somewhere between 85% and 95%. This will pull the drum hits closer to the grid without placing them perfectly on it. It keeps some of the drummer's natural push and pull against the beat, which is the very definition of "feel."
In your DAW, look for the "Strength" or "Intensity" parameter in your quantize window. Set your grid to 16th notes (or whatever is appropriate for the part) and pull that Strength setting back from 100%. The result will be tight, but it will still breathe.
Edit with Your Ears, Not Just Your Eyes
After you apply your main quantization, listen back closely. Does anything feel weird? Is a hi-hat flamming with a snare?
This is where manual editing comes in. Zoom in on your MIDI and listen to sketchy sections on loop. Sometimes, you just need to grab a single note and nudge it forward or backward a few milliseconds to make it lock in perfectly. One pro technique is to watch the waveform of the overheads. A hi-hat hit might look slightly off on the grid, but if it lines up with the transient in the overhead track, it’s probably in the right spot emotionally, even if it’s not "perfect."
Using the MixWave Mixer to Your Advantage
The MixWave Luke Holland library doesn’t just give you raw samples; it gives you a fully-featured mixing console designed by the man himself. You can get a mix-ready sound without ever leaving the plugin.
Crafting a Foundation with Busses and Bleed
- Don't Neglect the Room Mics: The room and overhead mics are crucial for glue and realism. Even if you want a tight, dry drum sound, blending in just a little of the room mics will put the kit in a physical space and make it feel less like a collection of isolated samples.
- Use Parallel Compression: Want your drums to sound huge and punchy without losing all their dynamics? Send your kick, snare, and toms to an auxiliary bus and slam it with a compressor. The built-in "Master" channel in the MixWave mixer has a compressor that's perfect for this. Blend that crushed signal back in underneath your main drum bus.
- Surgical EQ: The built-in EQs are great for carving out space. Got too much boxiness in your snare? Find that offending frequency around 400-600 Hz and pull it down. Need more attack from your kicks to cut through a wall of guitars? A little boost around 4-6 kHz can do the trick.
From Programming to a Finished Mix
Using a world-class tool like the MixWave Luke Holland Drum Library is the first step. But turning its raw potential into a living, breathing drum performance is what separates the pros from the amateurs.
It comes down to this:
- Program Dynamically: Use a wide range of velocities to mimic a real drummer's power and finesse.
- Quantize Intelligently: Tighten your drums without making them sound robotic by avoiding 100% quantization.
- Edit Manually: Trust your ears to find and fix the small timing issues that software can miss.
These techniques will get you a massive leap forward in the quality and realism of your drum tracks. But if you want to see exactly how producers behind bands like Gojira, Lamb of God, and Periphery build their drum sounds from the ground up, there’s no substitute for watching them work.
At Nail The Mix, we give you the actual multi-tracks from huge metal songs and let you watch the original producer mix them from scratch, explaining every single move they make. You'll see how they process their drum busses, automate levels, and make the kit sit perfectly in a dense, aggressive mix. It’s the ultimate shortcut to learning pro-level techniques.
Get a new set of multi-tracks every month from a world-class artist, a livestream with the producer who mixed it, 100+ tutorials, our exclusive plugins and more
Get Started for $1


