How to Use MixWave Brooks Wackerman Drums for Realistic Metal
Nail The Mix Staff
We’ve all heard modern metal drums that sound… off. They’re punchy, sure, but they sound fake. They feel programmed. We call it "plastic drums in space," and it’s most obvious in those machine-gun blast beats where every single hit sounds identical. It's just awful.
And then you hear a modern record where the drums are absolutely massive, powerful, and feel like a real superhuman is behind the kit. Odds are, even on those tracks, you’re hearing a ton of samples and editing. So if both the great-sounding and terrible-sounding drums are using samples, what’s the real difference?
It’s not that samples are used; it’s how they're used. A killer drum library like the MixWave Brooks Wackerman Drum Library is an incredible tool. But a tool is neutral. In the hands of a great producer, it creates art. In the wrong hands, you get a shitty robot in the kitchen.
Here’s a look at this powerhouse library and, more importantly, how to use it to create drum tracks that sound human, dynamic, and crushing—not robotic.
What’s Inside the MixWave Brooks Wackerman Library?
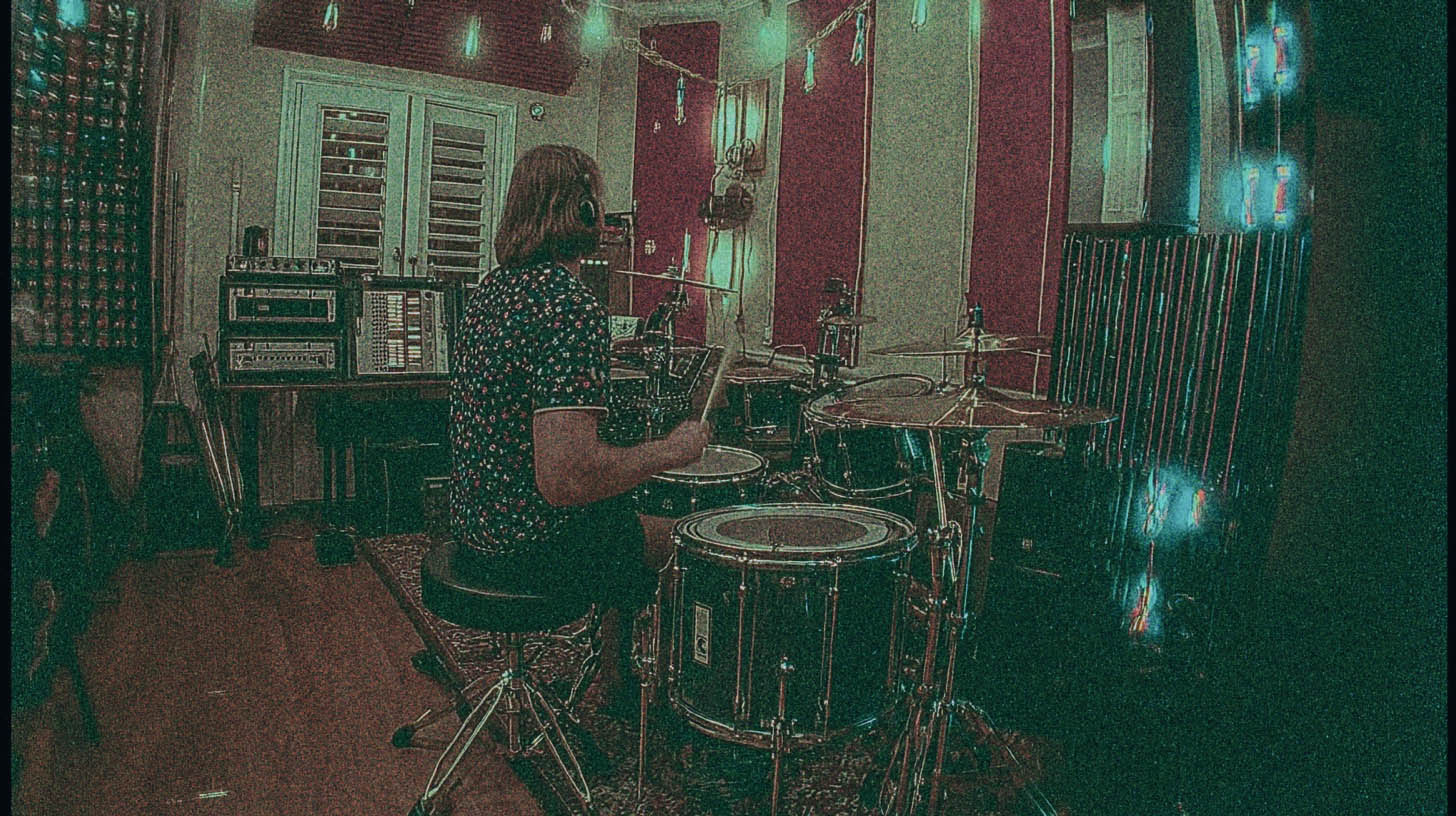
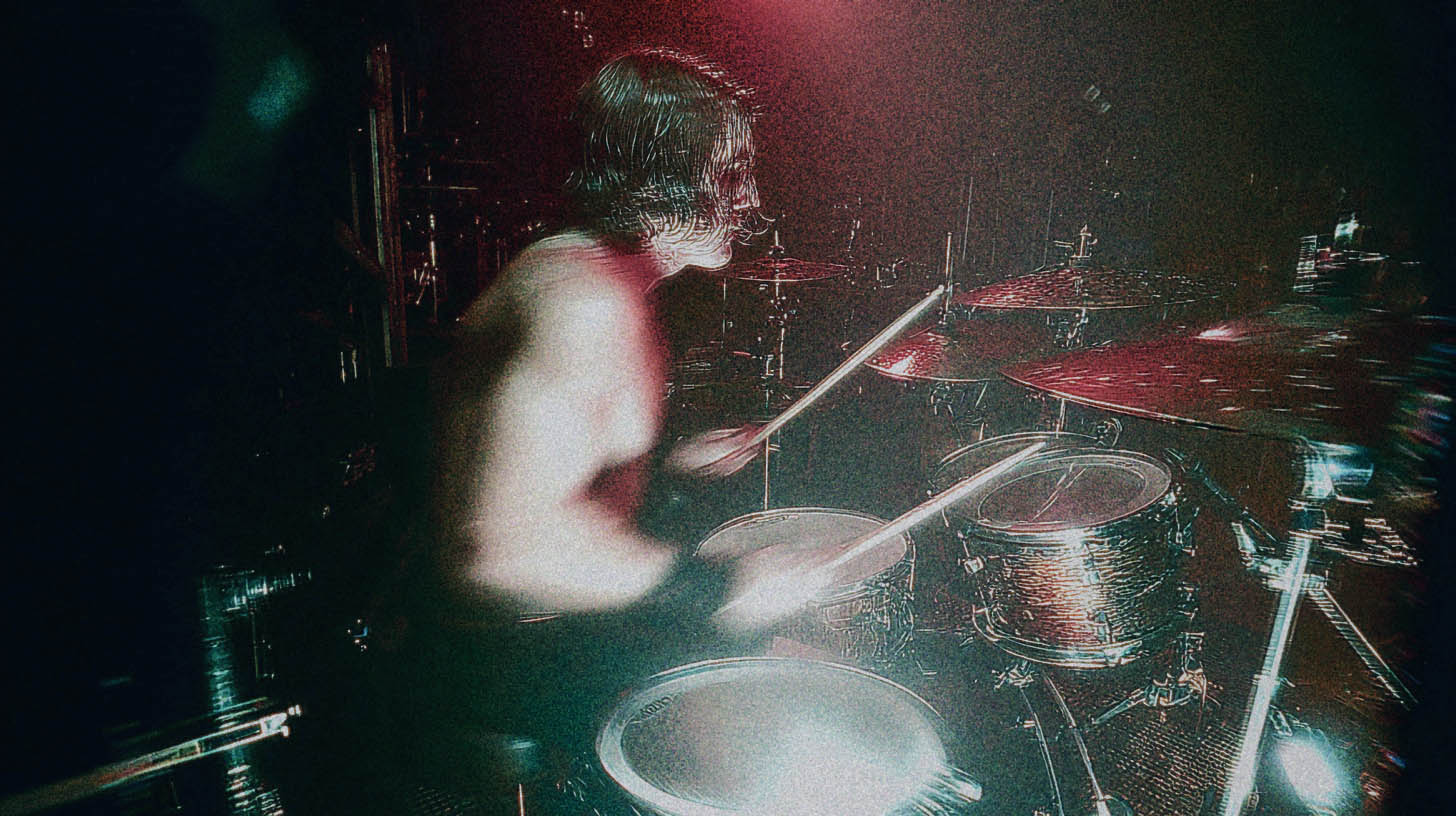
First off, let’s talk about the source. You’re getting the sound of Brooks Wackerman (Avenged Sevenfold, Bad Religion, Infectious Grooves), one of the most explosive and precise drummers in the game. The library captures his iconic Gretsch USA Custom kit, a bunch of his favorite snares (including a beastly DW Bell Brass), and a full array of Zildjian cymbals.
But the real magic for producers is that it was tracked and mixed by Adam "Nolly" Getgood. This means you get a few things right out of the box:
- A Fully-Realized "Nolly Mix": You can load the instrument and immediately have a sound that’s mix-ready, processed through Nolly’s personal chain of high-end analog gear and plugins.
- Deep Sampling: This is the key to realism. Every drum and cymbal was sampled with a massive number of velocity layers and round-robins (alternate samples for the same velocity). This means when you program two snare hits at the same velocity, you won’t hear the exact same audio file, instantly killing the "machine gun" effect.
- Total Flexibility: While the pre-mixed preset is great, you can switch to the raw samples and use the built-in mixer. You get control over every mic—from close mics like the Audix D6 on the kick to stereo room mics—and can process them with built-in EQ, compression, tape saturation, and reverb, or route them out to separate tracks in your DAW for your own plugin chains.
This library gives you all the raw material you need. Now, let’s make it breathe.
The Real Problem: Drums That Are "Too Perfect"
Human drummers are imperfect, even the legends. That’s what makes them interesting to listen to. No drummer, not even Brooks, will ever hit a drum at the exact same time, with the exact same velocity, on the exact same spot of the head, twice in a row. It’s always changing.
Our brains get bored with perfect repetition. When you hear a sample triggered at max velocity, dead-on the grid, over and over, your brain eventually just tunes it out. It might sound impressive for a second, but it has no groove, no life. The goal is to use modern tools to enhance a performance, not sterilize it.
Actionable Techniques for Powerful, Human Drum Programming
Let's get into the nitty-gritty. These are the things that separate a pro-sounding drum track from a demo.
Nail Your Velocities (This is Non-Negotiable)
Velocity is the MIDI data that controls how hard a note is struck, typically on a scale from 1 to 127. In a deeply-sampled library like this one, velocity does more than just control volume; it changes the entire character of the hit by triggering different samples.
A snare hit at velocity 70 is a completely different recording than one at 127. The 127 hit will be sharp, bright, and full of crack. The 70 hit will be warmer, with less attack and more body.
Here's how to apply this:
- Vary Your Backbeats: Don't program every snare on the 2 and 4 at 127. Try alternating between 120 and 125. It’s a tiny change, but audibly, it introduces a subtle human feel.
- Dynamics in Fills: During a fast tom fill, a real drummer's hands are flying. Not every hit will be at full power. Program the main accents of the fill around 110-120, but drop the velocities of the notes in between to 80-95.
- Realistic Blast Beats: This is where most people mess up. A drummer playing a 240 bpm blast beat cannot hit the snare as hard as they do in a simple rock beat. The physics don't allow for it. Program your blast snares at a lower velocity (maybe 95-110) to reflect this. You can then use automation to bring up the track's overall volume during that section, preserving the natural tone while achieving the necessary power.
Get Off the Grid (But Not Too Far)
Quantizing everything 100% to the grid is the fastest way to make your drums sound robotic. The secret is to achieve a performance that is tight, but still has a human pocket.
Most DAWs let you quantize by a percentage. Instead of locking everything perfectly, try quantizing your MIDI performance to 90% or 95%. This will tighten up any major timing issues while preserving the small, natural variations in the performance. This is a technique used by top-tier mixers like Dave Otero to clean up drum edits without sucking the life out of them.
For even more control, manually nudge key hits. Try pulling the snare hit on the backbeat ever so slightly behind the grid to give a track a lazier, heavier feel. Or, push the kick drums in a fast double-bass run slightly ahead of the grid to create a sense of urgency. These are micro-adjustments, but they make a massive difference in the final feel.
Processing Your Kit for a Pro Metal Mix
Once your programming feels right, it’s time to make it sit in the track. The MixWave library’s built-in mixer is fantastic, but for ultimate control, route the key elements (kick, snare, toms, overheads, rooms) to separate tracks in your DAW.
This lets you use your favorite plugins. For example, you can take that killer DW Bell Brass snare sample and add your own parallel compression to make it even more explosive. Getting the right drum compression is an art form, blending attack and release times to either add punch or increase sustain, and it’s critical for getting a pro sound.
You can also shape the close mics with surgical EQ while leaving the room mics more open and natural. Carving out space for heavy guitars often means making specific cuts in the drum overheads and room mics to avoid a buildup of harsh cymbal wash.
Learning from the Masters
Having access to a world-class sound library like the MixWave Brooks Wackerman Drums is a game-changer. But as you can see, the library is just the starting point. The real art lies in the programming, the velocity editing, the subtle timing adjustments, and the final processing.
Knowing the concepts is one thing. But what if you could watch the world’s best metal producers actually do this stuff, in real-time, on real sessions?
That's exactly what we do at Nail The Mix. Every month, you get the raw multi-tracks from a real song and watch the original producer mix it from scratch, explaining every single decision. You can see how they blend samples with live drums, how they dial in velocities for realistic fills, and how they apply their go-to metal compression secrets to make the kit punch through a dense wall of guitars.
Check out our entire catalog of Nail The Mix sessions and see how masters of the craft build these massive drum sounds from the ground up. You can learn these techniques directly from the A-list instructors who have mixed the albums that define modern metal.