12/8 Time Signature: Your Guide to Epic Metal Grooves
Nail The Mix Staff
Alright, let's talk rhythm. We all know and love the relentless power of 4/4 in metal – it's the backbone of countless headbanging anthems. But sometimes, you want something with a bit more… swagger. A groove that lurches and sways, something that feels undeniably epic. Enter the 12/8 time signature. If you're looking to add a different kind of heavy to your tracks, understanding 12/8 is a game-changer, especially in the world of modern and progressive metal.
What Exactly IS 12/8 Time Signature Anyway?
So, what’s the deal with 12/8? Break it down: the "12" means there are twelve beats in a measure, and the "8" means each of those beats is an eighth note. Simple, right?
Well, kinda. While you could count out twelve individual eighth notes, that’s not really how 12/8 feels. It's a compound time signature. This means the main beats are divided into three, giving it a natural triplet feel. Most commonly, 12/8 is felt as four main beats, with each beat being a dotted quarter note (which equals three eighth notes).
Think of it like this:
1-2-3, 2-2-3, 3-2-3, 4-2-3.
This gives 12/8 a distinct, kinda "swinging" or "shuffling" feel, but in a heavy, powerful way. It’s different from 6/8, which usually feels like two main beats ( 1-2-3, 2-2-3), and it’s definitely not just 4/4 with a bunch of triplets thrown in – the fundamental pulse is different.
Why 12/8 Kicks Ass for Metal
This time signature isn't just a quirky alternative; it brings some serious advantages to the table when you're crafting heavy music.
The "Epic Swing" and Groove Factor
That inherent triplet feel within a four-beat structure is pure gold for creating massive, grooving sections. It can make a riff feel slower, heavier, and more deliberate without losing momentum. Think of those epic intros that build tension, the crushing bridges that make you want to slowly bang your head, or even some surprisingly heavy power ballads. The natural "lilt" of 12/8 can add a serious dose of atmosphere. You're not just chugging; you're swaying with serious weight.
Progressive Metal and the Rise of "Odd" Times
Let's be real, progressive metal bands threw the rulebook out the window a long time ago. Bands like Dream Theater, Opeth, Periphery, and Meshuggah (who often take rhythmic complexity to another dimension) have made "odd" time signatures a staple of modern metal. While 12/8 isn't "odd" in the same way as 7/8 or a heavy 3/4 time signature, it shares that DNA of moving beyond straight 4/4. It's a fantastic gateway into more rhythmically adventurous territory because it’s still incredibly musical and relatively easy to grasp, while offering a fresh rhythmic perspective.
Perfect for Layering and Syncopation
The twelve eighth-note subdivisions per bar give you a ton of room to play. This is where things get really fun for metal producers. You can have guitars playing a syncopated riff that dances around the main pulse, while the drums lay down a rock-solid foundation on those four main beats. Or, you can have intricate polyrhythms between different instruments, all locking into that overarching 12/8 feel. It allows for a depth of rhythmic complexity that can make your tracks sound huge and sophisticated.
Dialing in 12/8 in Your DAW
Okay, theory's cool, but how do we actually use this in our productions? Let's get practical.
Setting Up Your Session
First things first, get your DAW (Pro Tools, Reaper, Logic Pro X, Cubase, Ableton Live – whatever your weapon of choice) set to 12/8.
- Metronome: Pay attention to how your metronome is set. You'll likely want the main click on the four dotted quarter notes to really feel the pulse. Some DAWs will let you set subdivisions, so you can hear the eighth notes too if that helps. In Pro Tools, you can go to the MIDI editor or the transport bar to change the time signature. In Reaper, right-click the time signature marker on the timeline.
- Grid: Make sure your grid is set appropriately. Seeing eighth-note or even sixteenth-note subdivisions will be crucial for precise editing of MIDI and audio. Most DAWs (like Cubase with its excellent MIDI editors) allow for triplet grids too, which is super handy here.
Programming Drums for 12/8 Impact
Drums are the foundation of your 12/8 groove. Here’s how to make them slam:
Kick and Snare Backbone
The kick and snare will define your main pulse. A common starting point:
- Kick: On beats 1 and 3 (the first eighth note of the first and third main pulses).
- Snare: On beats 2 and 4 (the first eighth note of the second and fourth main pulses).
This immediately establishes that strong, lurching 1-2-3-4 feel. You can then add ghost notes on the snare or syncopated kick patterns playing with the other eighth notes within each main beat. For samples, think about what fits the vibe. A boomy, resonant kick from Slate Drums SSD5 (like one of the "Metal" or "Rock" kits) or a punchy, tight snare from a GetGood Drums library (maybe the Modern & Massive pack) can sound killer. For programming, something like Toontrack Superior Drummer 3 gives you immense control over articulations and groove building.
Hi-Hats and Cymbals: Adding the Triplet Feel
This is where the 12/8 character really shines.
- Hi-Hats: You can play straight eighth notes, which will naturally sound like triplets against the main pulse. Or, you can accent the first eighth note of each triplet group (1-x-x, 2-x-x, etc.) for a more driving feel. Consider using a slightly open hi-hat on those main beats for emphasis, programmed with varying velocities in your MIDI editor.
- Cymbals: Crashes on beat 1 are classic. Rides can follow the hi-hat pattern or play a sparser pattern emphasizing the main beats. Using a washy ride cymbal from a library like BFD3 can add a nice atmospheric layer.
Fills and Transitions
The triplet nature of 12/8 is begging for cool drum fills. Sextuplet rolls (groups of six notes) across the toms, syncopated snare hits, and creative kick patterns all work beautifully. Don't be afraid to use your DAW's MIDI editing tools (like Reaper's robust MIDI editor or Logic's step editor) to get precise velocity changes and humanization to make these fills breathe. This is key to solving the problem with modern metal drums where everything can sound robotic if not programmed with care.
Riffing and Writing in 12/8
With your drums laying down the groove, it's time for guitars and bass.
Guitar Approaches
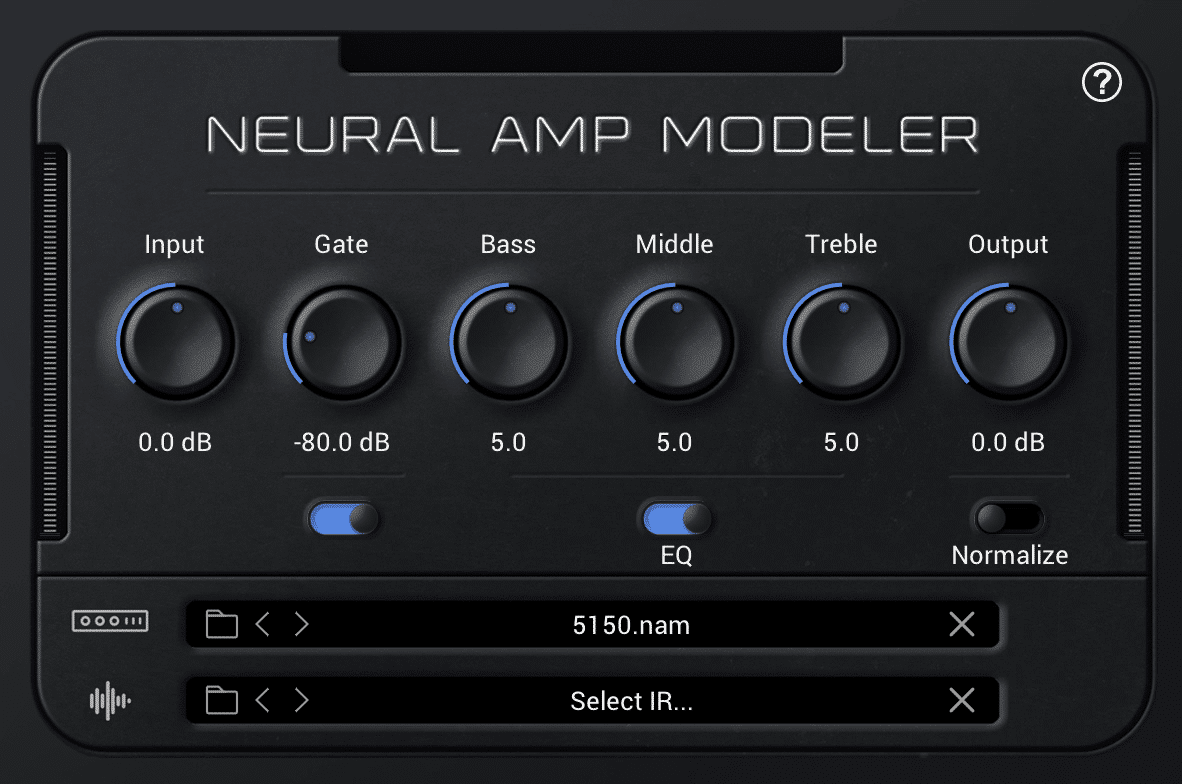
- Heavy Chugs: Down-tuned, palm-muted chugs on the main beats (or subdivisions) are a staple. Think about using an amp sim that handles low end well, like something from Neural DSP (the Archetype: Gojira X is great for this, or the Fortin Cali Suite for something a bit more raw). A classic Peavey 5150/6505 (real or modeled, like the one in STL ToneHub) is always a winner for tight, aggressive rhythms.
- Syncopated Riffs: This is where you can get creative. Write riffs that play around the main beats, using the eighth-note subdivisions to create interesting rhythmic interplay with the drums.
- Delay: A dotted eighth note delay will sync up perfectly with the pulse of 12/8, creating that galloping, U2-esque effect (but, you know, heavier). Plugins like Soundtoys EchoBoy or FabFilter Timeless 3 are incredible for this. Set the delay time to "dotted 8th" (often displayed as 1/8d or similar) and listen to it lock in. Understanding how to apply it, whether through an insert vs. send setup, can dramatically shape the space in your mix.
Bass Lines that Lock In
The bass needs to glue the drums and guitars together.
- Foundation: Often, the bass will follow the main kick drum pattern, especially on the strong beats (1 and 3).
- Counterpoint: In sparser sections, the bass can create melodic counter-lines that weave through the 12/8 subdivisions.
- Tone: A solid DI signal processed with an amp sim like the Ampeg SVT-VR Classic from Universal Audio or the Darkglass Ultra plugin can give you both low-end heft and midrange clarity to cut through.
- Compression: You'll want to keep the bass tight and consistent. An 1176-style FET compressor plugin (like the Waves CLA-76 or Arturia FET-76) with a medium attack and fast release can work wonders for this.
Mixing Challenges and Opportunities in 12/8
Mixing music in 12/8 presents some unique considerations.
Maintaining Clarity with Dense Rhythms
Because of the triplet feel, parts can sometimes feel "busier" or risk clashing if not handled carefully.
- EQ Carving: This is crucial. You need to make space for each element to breathe. For example, if the guitars are chugging on low-tuned eighth notes and the kick is also prominent, you'll need to carefully EQ them so they don't turn into a muddy mess. The key is to balance metal guitars and bass in the mix so their fundamental frequencies aren't fighting. Use a parametric EQ like FabFilter Pro-Q 3 to find the fundamental frequencies of each and carve out space, and use a high-pass filter on guitars to clear up room for the kick and bass.
- Dynamic EQ: Sometimes static EQ isn't enough. A dynamic EQ (like the aforementioned Pro-Q 3 or Waves F6 Real-Time Dynamic EQ) can be amazing for taming specific frequencies only when they become problematic – for instance, a boomy resonance on a floor tom that only rings out on certain hits.
- Panning: Use the stereo field to your advantage. Strategic panning—pushing guitars wide, and perhaps giving different rhythmic elements their own space—can massively improve clarity.
Emphasizing the Groove
The whole point of 12/8 is that awesome groove, so make sure it hits hard.
- Sidechain Compression: A classic trick is to subtly sidechain the bass to the kick drum. This means the bass ducks in volume slightly whenever the kick hits, allowing the kick to punch through more clearly and reinforcing the main pulse. Most stock DAW compressors (like ReaComp in Reaper or Logic's Compressor) can do this.
- Bus Compression: Using a touch of bus compression on your drum group can help "glue" all the drum elements together and make the overall groove feel more cohesive. An SSL G-Comp style plugin (Cytomic The Glue, Waves SSL G-Master Buss Compressor, or the built-in one in Harrison Mixbus) with a slow attack and fast release can work wonders. This is different from parallel compression, which is another powerful technique for adding punch while retaining dynamics.
- Automation: Don't underestimate the power of volume automation. Riding the fader on the snare to make the backbeats hit harder, or bringing up the hi-hats in a certain section to emphasize the triplet feel, can make a huge difference.
Nailing That Pro Metal Sound
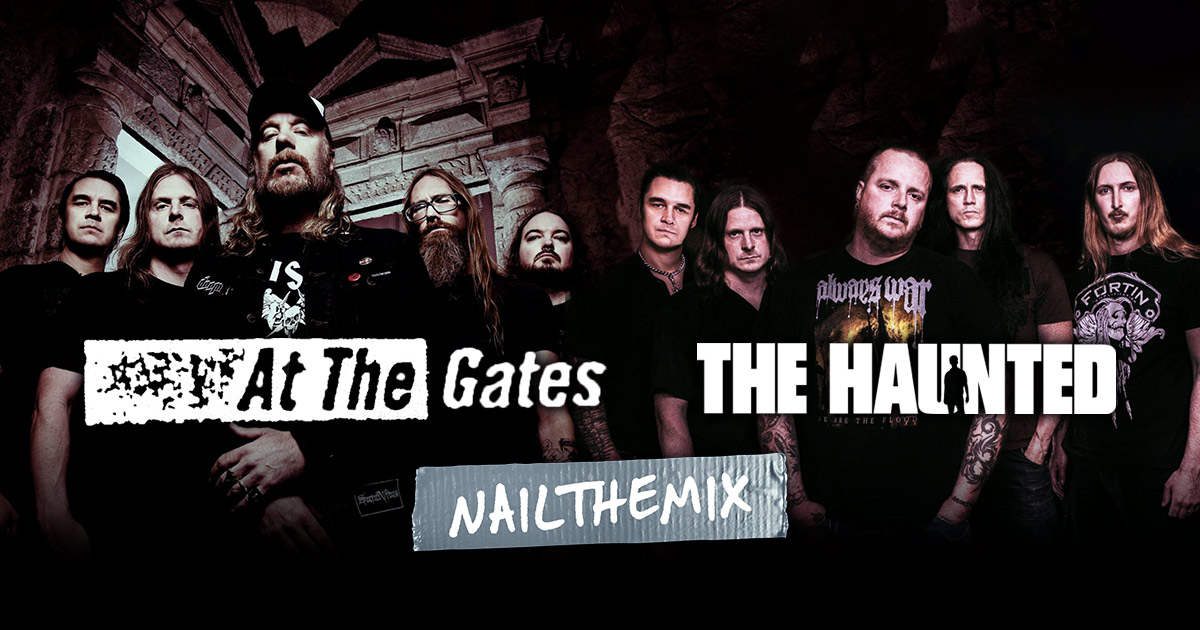
Understanding the theory and application of 12/8 is a huge step. But seeing how seasoned pros actually wrestle these complex rhythms into polished, impactful metal tracks? That’s where the real magic happens. It's one thing to program a 12/8 drum beat; it's another to make it sit perfectly with crushing guitars, a thunderous bass, and screaming vocals, all while maintaining clarity and punch.
If you’re digging into rhythmic complexities like 12/8 and want to see how top-tier producers handle everything from tracking these grooves to mixing them for maximum impact, Nail The Mix is where it’s at. You get to watch world-class producers mix real songs from massive bands, explaining every plugin choice, every EQ tweak, and every compression setting to see how the pros make these intricate parts sit perfectly in a massive metal mix.
Go Forth and Groove!
The 12/8 time signature is an incredibly powerful tool in your metal songwriting and production arsenal. It can bring a unique feel, an epic scope, and a deep rhythmic complexity to your music. So, fire up your DAW, set that time signature, and start experimenting. You might just find that 12/8 is the secret ingredient your heavy tracks have been missing!