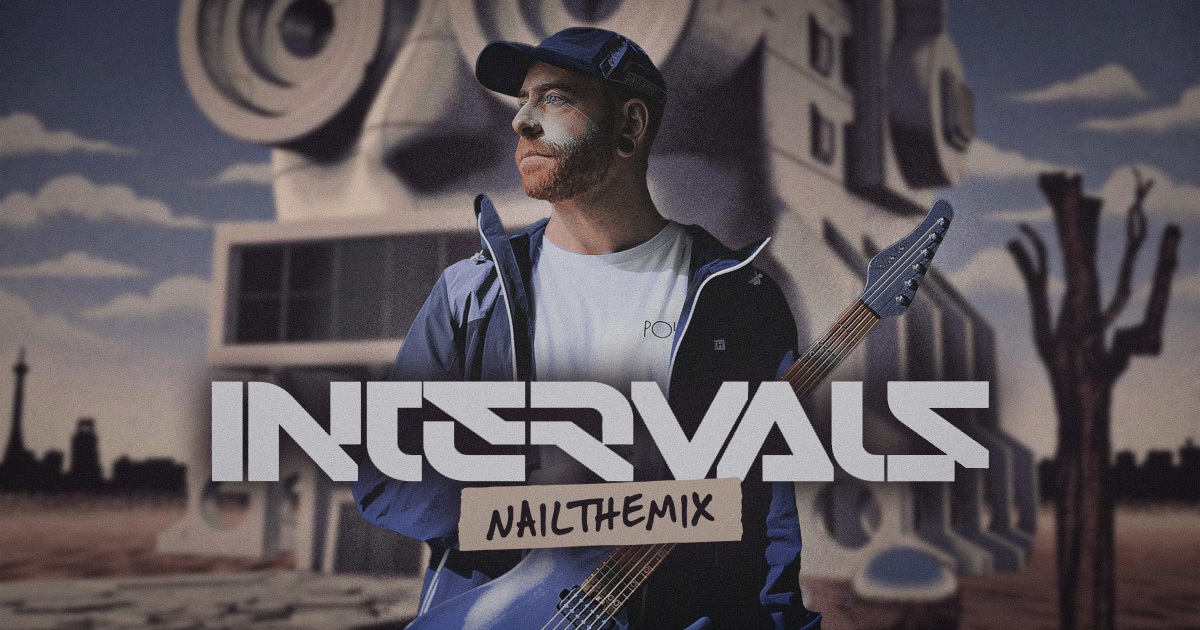
Creating three distinct lead guitar voices in one song with Soundtoys Radiator (ft. Intervals)
Nail The Mix Staff
Ever found yourself wrestling with a mix packed with intricate lead guitars and soaring solos? You’re not alone. Getting those crucial melodic elements to sound full, distinct, and perfectly integrated into a dense modern metal track can be a serious challenge. Bands like Intervals, known for their incredible instrumental prowess, layer these elements masterfully. So, how do the pros handle it?
We got a peek into Sam Guaiana’s session for the Intervals track “Lock and Key,” and he dropped some serious knowledge on his refreshing approach to mixing multiple lead and solo guitars. It’s all about giving each line its own identity while ensuring they all groove together as part of the same song. If you want to learn how to make your lead guitars shine, grab a coffee and let’s dive into Sam’s techniques. You can even hear these techniques in action and mix the song yourself with the original multitracks on Nail The Mix.
Dialing in the Core “Album Lead” Tone
Sam explained that for “Lock and Key,” the main lead (“Lead 1”) and the “Lead Solo” share a very similar, if not identical, core tone. The magic comes from how they’re treated differently in various sections of the song.
Amp Foundation: The High-Gain Starting Point
The foundation of this “Album Lead” tone, as Sam dubbed it, starts right at the source: the amp. He opted for a high-gain lead amp, thinking along the lines of a 5150 or 6505 – a classic choice for powerful, cutting lead sounds. While Aaron Marshall of Intervals likely dialed in the initial tone, Sam mentioned tweaking the cab choice to get it just right.
For leads, especially an intro lead like in “Lock and Key” which is the first thing the listener hears (doubled with a synth, no less!), the goal is a sound that’s vastly different from the rhythm guitars. It needs to grab attention and creatively answer the call of the song’s opening.
Strategic Widening for Impact
To give the lead an expansive feel, Sam employed a widener plugin. He was aiming for that grand ’80s guitar vibe but executed in a modern way that avoids any ’80s cheesiness. He made sure to check this effect pre-fader to really hear what it was doing.
Interestingly, he chose not to send this lead to the main guitar reverb bus. Why? To prevent the lead from getting washed out or eating up too much space. He felt the widener, combined with any delay or reverb already baked into the amp tone, was sufficient. Sending it to the main room verb could lead to that “too much of a good thing” scenario, where frequencies build up and muddy the mix. This decision keeps the lead more focused.
Centering and Punch
This main lead guitar lives right down the middle of the mix. Its job is to answer and interact with the rhythm guitars, especially during riffs where they sync up. By design, the lead needs to pop and maintain its presence in these moments, not disappear into the wall of sound.
Sculpting Leads with Surgical EQ
EQ plays a massive role in how Sam shapes his lead tones, ensuring they sit perfectly in the mix.
The “No Low-End” Philosophy for Leads
One of Sam’s key approaches might surprise you: he generally doesn’t want much, if any, low-end in his lead guitars. He pointed out that while the lead might sound thin in solo, it works perfectly in the context of the full mix. The kick drum and bass guitar are responsible for the low-end foundation. The lead guitar’s role is to sit on top, have its own voice, and avoid contributing to low-mid mud. For more on this, check out these core EQ strategies for mixing modern metal.
He focuses on “cleaning up the business,” which includes getting rid of what he calls “ooky ghost frequencies.”
Mid-Range Carving for Clarity
Sam mentioned his preference for a very mid-forward bass tone. To prevent the lead guitar and bass from clashing in this critical mid-range area, he carves out a little space in the lead guitar’s mids. This strategic scooping helps both elements to be heard clearly.
Taming Shrillness and Balancing Tone
High frequencies are also carefully managed. Sam uses filtering to remove any super shrill top-end that nobody needs to hear. This not only tames harshness but also helps balance the overall tone of the lead. He noted that without this, lower notes played on the lead can “pop out” in an unpleasant way. These subtractive EQ moves can almost act like a form of dynamic control or light compression, evening out the performance.
The “Pleasing” Top-End Boost
After the surgical cuts, Sam uses an SSL-style plugin (he humorously referred to his preset as “Sam start this settings”) to pin the lead into place with a touch of gentle compression and to add a specific kind of brightness. He applies a shelf boost around 8kHz. The magic here is that because he’s already removed the undesirable harsh frequencies above this point, the boost enhances only the pleasing aspects of the top end, creating a smooth, bell-like curve.
Elevating Solos: Differentiation and Character
While the main solo uses the same core “Album Lead” tone, Sam applies some different treatments to make it stand out.
Adapting the EQ for Solo Spotlight
The EQ on the solo is slightly different. Crucially, Sam doesn’t cut as much of the low-mids. Why? During the solo, the rhythm guitars often bail out or simplify, leaving more space in the mix. This allows the solo guitar to have a bit more body and occupy some of those lower frequencies without cluttering things up. If he felt the solo was lacking body during mixing, he’d adjust the filter to bring some back.
Adding “Raw Power” with Radiator
This is where things get tasty. For the solo, Sam introduces the Soundtoys Radiator plugin. This plugin emulates an old Altec preamp and adds a very pleasing type of preamp distortion. He described it as creating a “nice purposeful hiss,” distinct from the often annoying, super-hissy top end of a cranked guitar amp.
The Radiator adds “harmonics on harmonics,” giving pinch harmonics an almost “mighty” quality that’s hard to achieve naturally. This processing helps differentiate the solo from other lead parts, giving it a rawer, more “amp plugged straight in, no fuss” kind of vibe. It’s particularly effective for making fast runs sound cool and articulate. Sam compared this to the ’80s rock guitar production trick of pushing the console faders for solos to get that extra drive and excitement.
Dynamic Mixing: Automation is Key
Static mixes are a no-go for music as dynamic as Intervals. Sam relies heavily on automation.
Widener Automation for Sectional Impact
Remember that widener on the lead? It’s not on all the time. Sam automates it to turn off during sections like the pre-chorus, where he wants a more focused sound to match the tight rhythms and fast drums. Then, when the chorus kicks back in, the widener engages, pulling the listener’s ears out and creating a more surrounding, immersive vibe – a similar concept he uses on bass guitar wideners.
Volume Automation for Seamless Transitions
This is a pro move: Sam meticulously automates the lead guitar’s volume. For instance, whenever the left and right rhythm guitars disappear, the main lead’s volume subtly bumps up by about 1dB. This ensures the lead maintains its perceived level and impact, preventing it from feeling like it drops when the underlying support changes.
He stressed that for such intricate parts, manual fader automation is often the way to go. While a slow compressor (like an LA-3A) might be tempting, it might not react precisely enough. Doing the automation work by hand provides the necessary control for these critical balance adjustments.
Crafting Specialized Lead Voices
Beyond the main lead and solo, “Lock and Key” features other unique lead textures.
The “Answer” Guitars: Supporting Roles
There are “answer” guitars that pop in, often playing octave-up melodies. These use cloned settings from the main lead tone but with one key difference: they don’t have the extra SSL top-end boost. The reasoning is simple: brightness makes things sound closer. By keeping these answer guitars slightly darker, they naturally sit a bit further back in the mix, like background vocals supporting a lead vocal. They also don’t get the Radiator treatment, as their role is to reinforce, not to pop out aggressively.
The “Lo-Fi Boy”: Rhythmic Texture
Sam showcased a “lo-fi boy” lead track, designed to be a more rhythmic, almost filtered-vocal-like element. He achieved this by taking the album lead concept and shaping it with EQ, possibly using a Neural DSP Nali amp sim for the core tone. A Gain Reduction plugin with its lo-fi switch engaged was used to get a bit of “spank” out of it. He also mentioned using a “One Knob” style plugin for certain moments. Automation is rampant here too, applied directly at the track level to create specific moments and make space.
The “Verse Lead”: Intimate and Riffy
The verse features yet another distinct lead voice. This one is described as a “riffy lead,” not a “leady lead” – darker, more subdued, and intimate, again like a filtered vocal. The EQ moves often mirrored those on other leads (since it’s likely the same guitar, encountering similar resonant frequencies), but he also added back some low end since this lead was the main melodic focus in its section. A dynamic EQ was employed to tame a problematic frequency specifically on this tone. Sam also gave a shout-out to a great-sounding built-in plugin reverb used on this part, highlighting how effective stock or simple tools can be.
Bringing Your Lead Guitar Mixes to Life
Sam Guaiana’s approach to mixing the leads and solos in Intervals’ “Lock and Key” is a masterclass in thoughtful, dynamic, and creative processing. Here are some key takeaways:
- Distinct Tones: Ensure your lead tones have their own character, separate from rhythm guitars.
- Strategic EQ: Don’t be afraid to make bold EQ moves. Cut unnecessary lows from leads, carve space for other elements, and tame harshness before boosting pleasant frequencies.
- Context is King: Solos might need more body than leads playing with full rhythms.
- Character Plugins: Use tools like saturation or preamp modelers (e.g., Soundtoys Radiator) to add unique vibe and differentiation.
- Automation is Your Friend: Volume, effects, and EQ automation bring life and balance to complex guitar arrangements.
- Purposeful Processing: Every plugin, every tweak should have a reason.
These techniques provide a fantastic roadmap for tackling complex lead guitar scenarios in your own productions.
Intervals on Nail The Mix
Sam Guaiana mixes "neurogenesis"
Get the Session
Want to see exactly how Sam Guaiana applied these concepts, EQ settings, and automation moves? Imagine watching him build this mix from scratch, explaining every decision, and then getting your hands on the actual multitracks from Intervals to practice these techniques yourself. That’s what Nail The Mix is all about. Each month, you get to learn directly from the world’s top metal producers. Dive deeper into Sam’s Intervals mix session right here and truly unlock your sound mixing modern metal beyond presets.