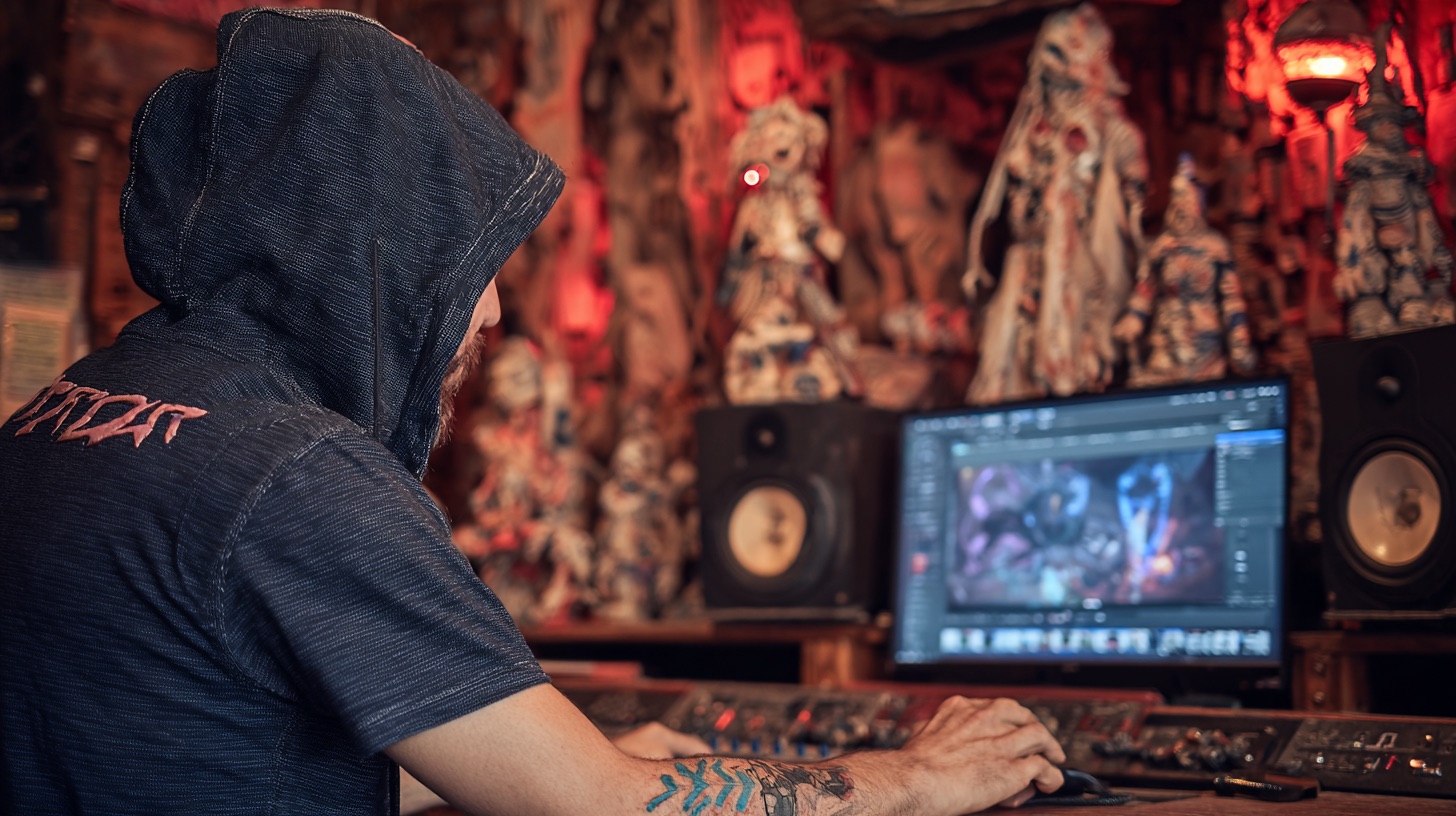
Austin Archey’s Wix Wave Drum Library: Tones & Programming Tips
Nail The Mix Staff
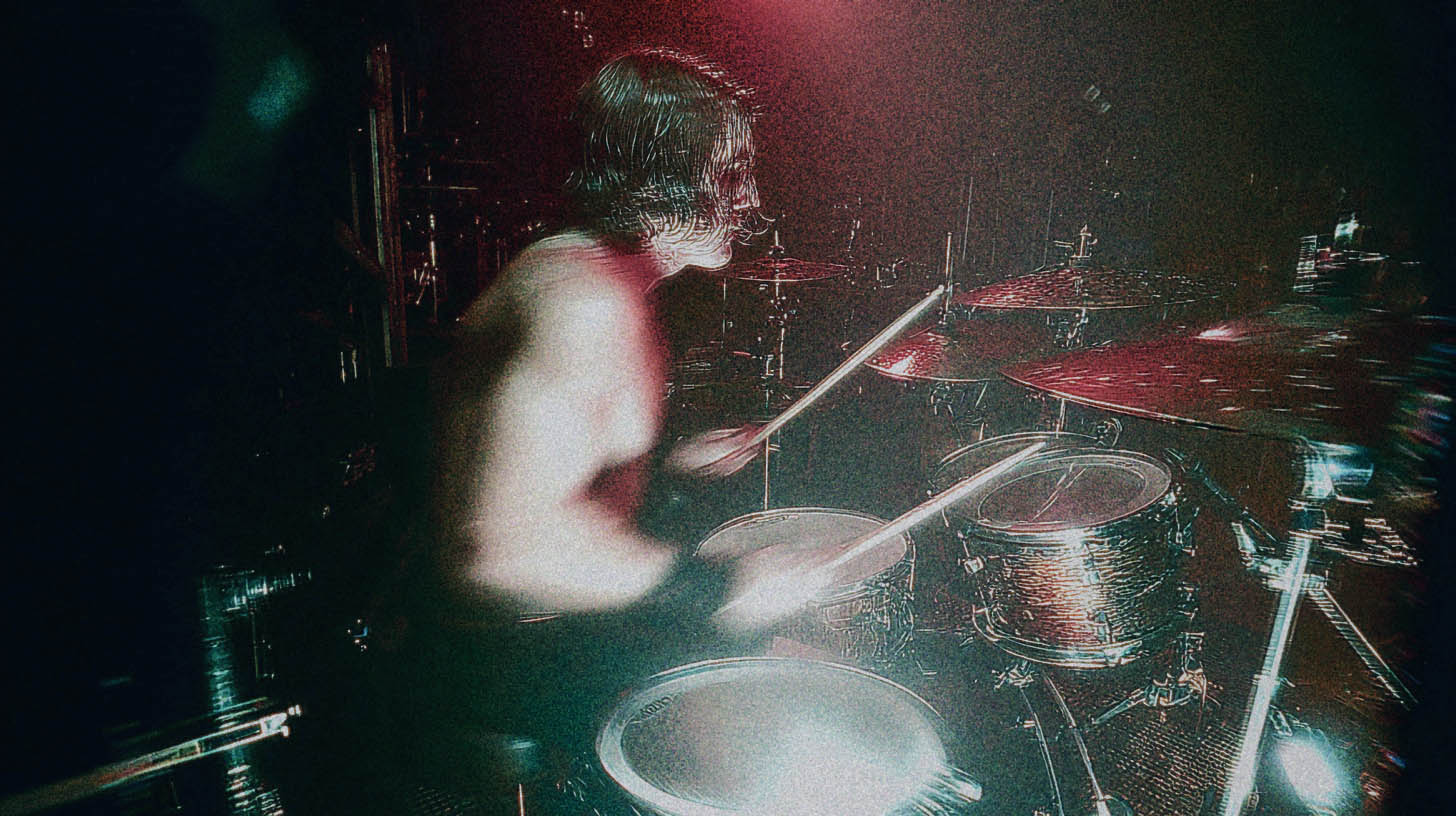
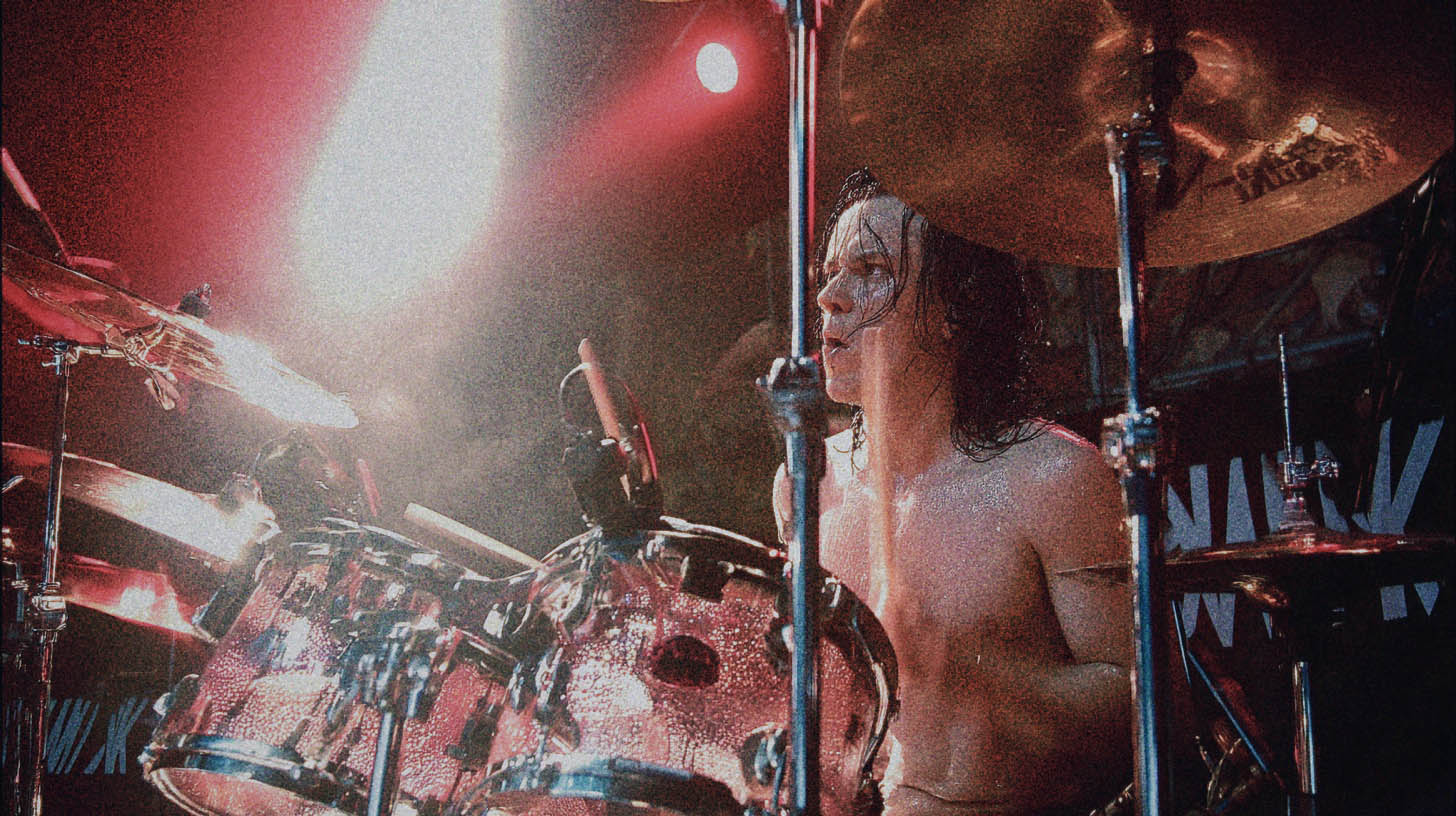
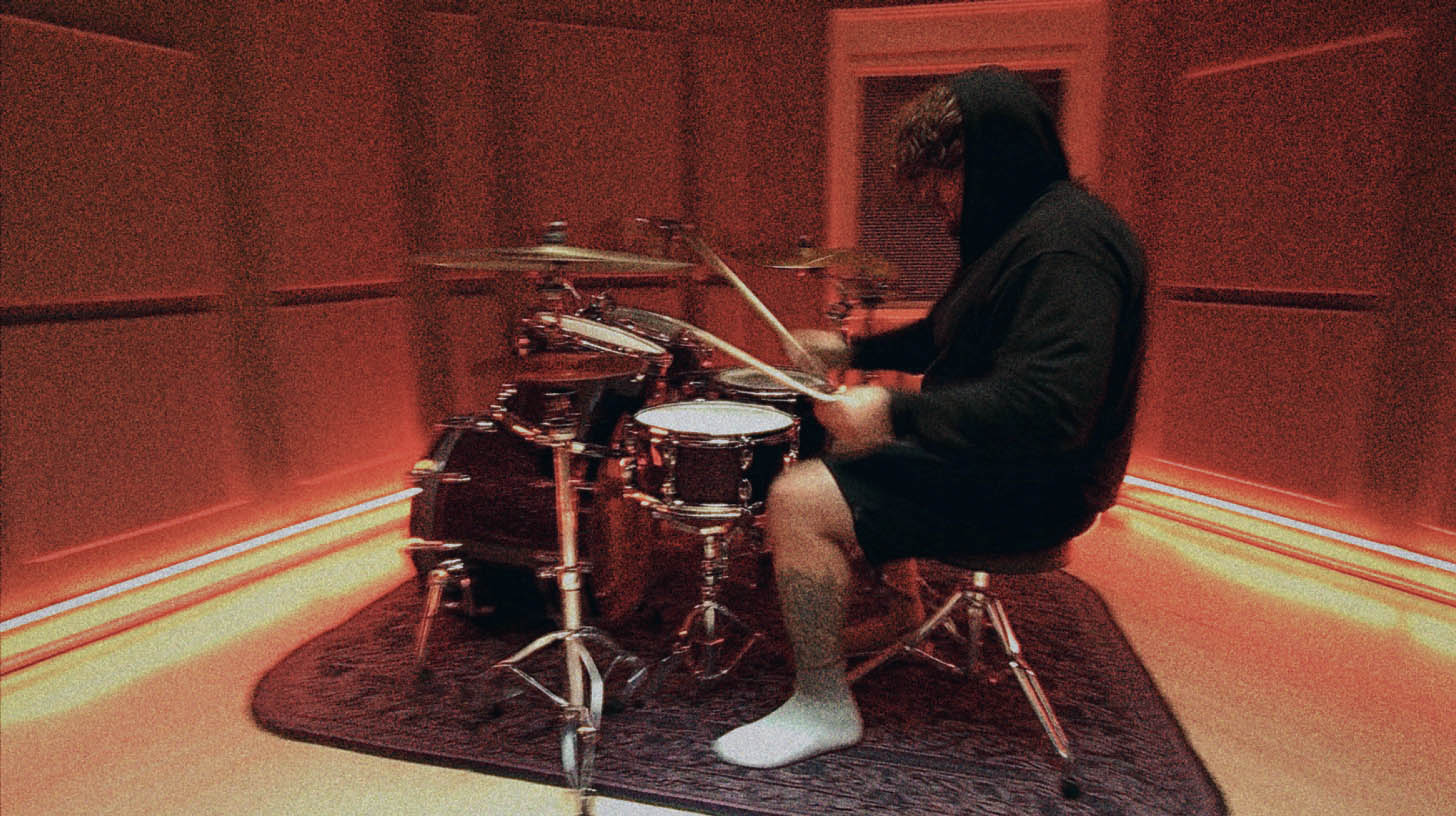
Everyone knows the drum sound of Lorna Shore. It’s a relentless, precise, and absolutely punishing foundation that drives their signature symphonic deathcore sound. A huge part of that is the sheer talent of Austin Archey, but in the studio, it's also about capturing that performance and those drum tones perfectly.
With the release of the Wix Wave Lorna Shore Austin Archey Drum Library, producers now have access to the very sounds that define one of modern metal's most explosive bands. But as any experienced producer knows, having killer samples is only half the battle. If you just load them up and punch in MIDI notes on the grid, you're going to get that dreaded "plastic drums in space" sound.
Let's dig into what this library offers and, more importantly, how to program it to sound like a real, breathing performance that will level up your tracks.
A Look at the Austin Archey Drum Library
This isn't just a handful of one-shots. The Wix Wave library is a deep, multi-sampled instrument built from Austin's actual kit, captured the way it sounds on the records. You get everything from the raw, unprocessed hits to fully mix-ready, processed samples that instantly drop into a production. It’s designed for modern metal, with a focus on punch, clarity, and the kind of aggressive attack needed to cut through eight-string guitars and dense orchestration.
The key here is the multi-sampling. Instead of one single snare sample, you’re getting multiple layers of velocity and round-robins (different hits at the same volume). This is crucial for avoiding the robotic "machine-gun" effect, especially on fast parts like blast beats.
Beyond the Samples: Making Programmed Drums Sound Human
We hear the same complaints about modern metal drums all the time: they sound fake, programmed, and lifeless. But the reality is, nearly every modern metal record you love has sample reinforcement and editing all over it. The problem isn’t the tools; it’s how they’re used.
A great drum performance is full of imperfections. No human drummer hits the drum at the exact same velocity, in the exact same spot, perfectly on the grid every single time. Those tiny variations are what make a performance feel exciting and real. Your job as a producer is to use tools like the Austin Archey library to create that feel, not erase it.
Tip 1: Nail Your Velocities for Dynamic Blasts
Blast beats are often the most obvious giveaway of a poorly programmed drum track. In real life, when a drummer plays a fast blast, they can’t physically hit the snare as hard as they would on a slow, pounding breakdown groove. This means the natural snare hits can get buried in the mix.
Your first instinct might be to just automate the volume up on the live snare track during those sections. The problem? You’re also turning up all the cymbal bleed in the snare mic, which creates a wash of harsh, crusty noise.
This is where samples are your best friend.
Instead of turning up the raw track, you use the MIDI velocity of your snare sample to add the power back in.
- Trigger Your Sample: Use a plugin like Slate Trigger 2 or Superior Drummer 3 to trigger the Wix Wave snare from your live snare track.
- Adjust Velocity by Section: Go into the MIDI editor in your DAW (the piano roll in Pro Tools, Cubase, Reaper, etc.). Isolate the MIDI notes for the blast beat.
- Increase Power Intentionally: Nudge the velocity of those notes up. You’ll see the lines or diamonds under the MIDI notes get higher. This will trigger a harder, louder sample from the library, giving you that crack and punch without the extra cymbal bleed.
- Listen and Pull Back: Don’t just crank the velocities to 127 (max). That will sound unnatural. Push them up until they have the necessary impact, then pull them back a hair. The goal is reinforcement, not complete replacement. It should still feel like it’s connected to the original performance.
Tip 2: Quantize with Feel, Not with a Calculator
The grid is a tool, not a rule. Quantizing everything to 100% is the fastest way to make your drums sound robotic. You want tightness, but you also want a bit of that human variation.
A pro technique is to quantize to a slightly "looser" setting. For extremely tight sections like a "bomb blast" (where the snare hits on the downbeat with double bass filling the gaps), you still don’t want to snap every hit perfectly.
Try setting your quantization strength to around 90-95%. This will pull the hits much closer to the grid, cleaning up any sloppiness, but it will leave tiny variations in timing that preserve the human element.
After you’ve done your main quantization pass, listen closely. You might hear a single hi-hat hit that feels like it’s lagging or a kick drum that’s slightly ahead. Go in and manually nudge those specific MIDI notes just a few milliseconds. This combination of broad quantization and detailed manual editing is what separates a good drum edit from a great one.
Tip 3: Leverage Multi-Samples for Realistic Articulation
- One-Shot Sample: The same exact .WAV file is played every time the drum is triggered. This causes the dreaded machine-gun effect.
- Multi-Sampled Instrument: The software automatically cycles through different recordings of the same drum hit (round-robins) and uses different samples for different velocities. A MIDI velocity of 80 might trigger a solid, medium-loud hit, while a velocity of 120 triggers a blistering rimshot sample.
When programming, make full use of this. Vary your velocities not just between sections, but between individual hits. For a fast 16th-note fill on the snare, no drummer hits every single note with the same force. Program some slight variations—a few ticks up or down on the velocity—for each note. The library will respond by triggering slightly different samples, making the fill sound dramatically more realistic.
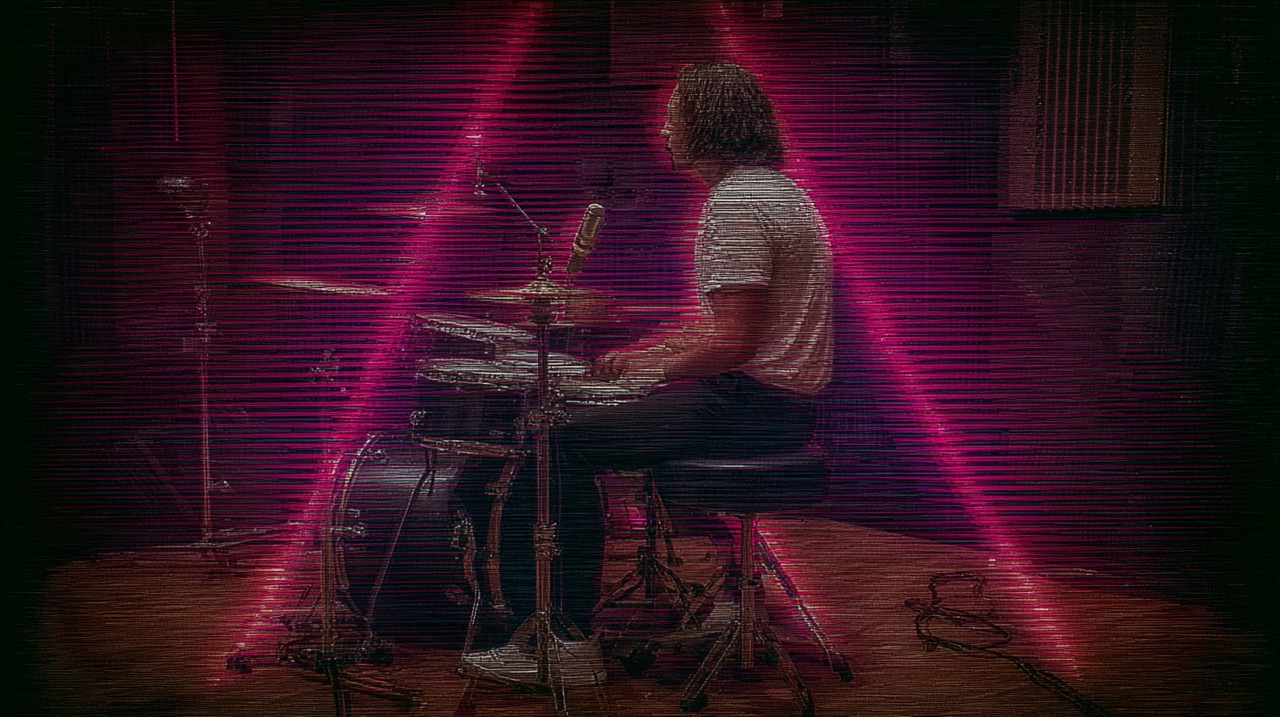
Putting It All Together for a Crushing Mix
Using Austin Archey's drum library with these programming techniques will give you a powerful, realistic, and modern-sounding drum performance. But getting those drums to sit perfectly in a dense mix is the next step. You’ll need to carve out space with smart EQ, control dynamics with the right compression, and make sure the kick and snare punch through the wall of guitars.
- Crafting the perfect low-end punch for the kick while keeping it from clashing with the bass requires careful balancing of kick and bass.
- Applying the right compression to your drum bus can glue the entire kit together and give it that final, aggressive impact.
These are the kinds of advanced mixing decisions that the world’s best producers make every day. The instructors at Nail The Mix are the very people behind the albums you love, and they show you exactly how they do it.
Imagine watching the actual producer of a massive metal album mix it from scratch, explaining every plugin choice, every EQ move, and every automation pass. At Nail The Mix, that’s exactly what you get. Check out the full catalog of Nail The Mix sessions and get ready to see how the pros take amazing drum samples and turn them into a mix-ready masterpiece.