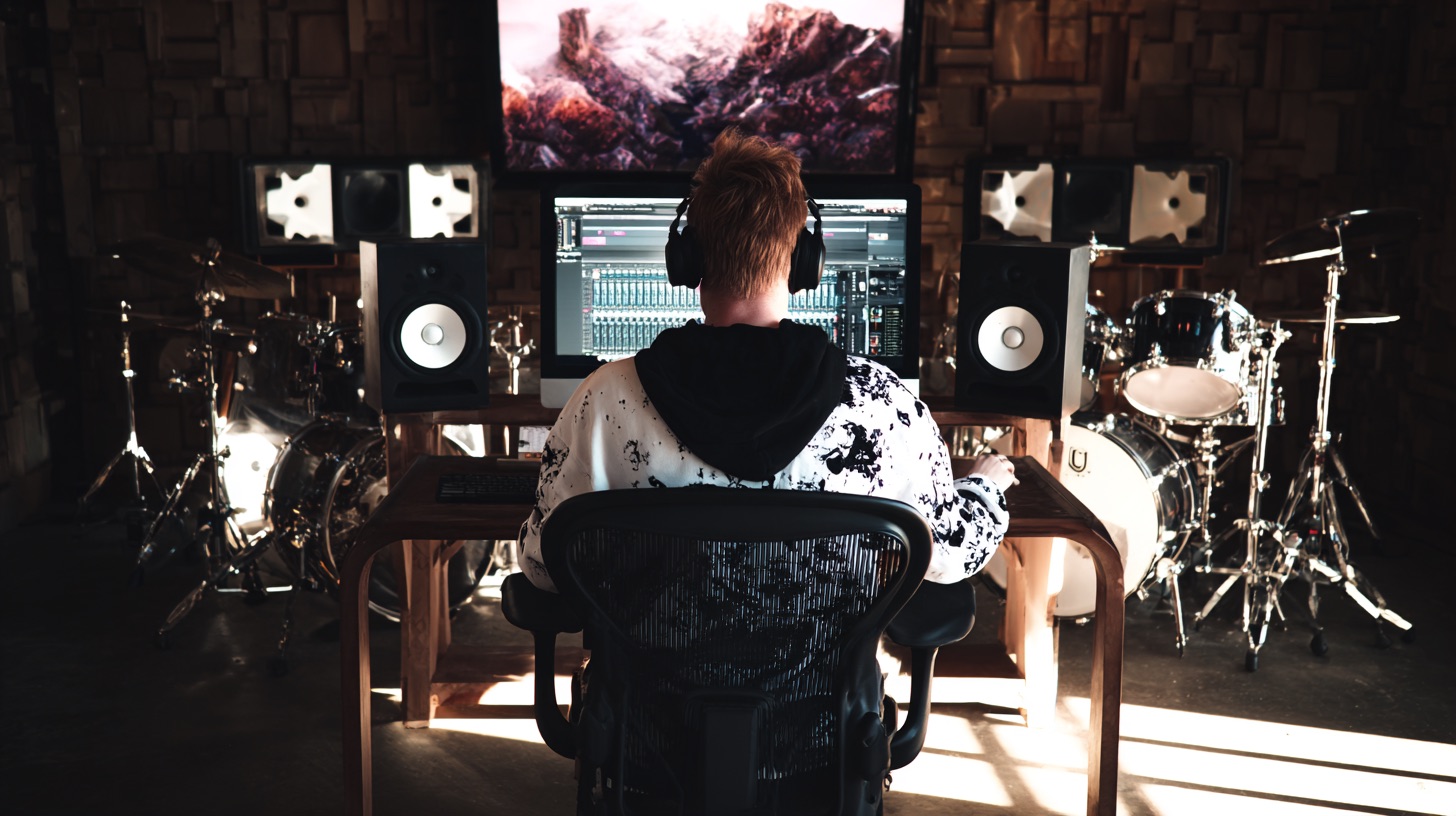
What Is Mixing Music? More Than Just Moving Faders
Nail The Mix Staff
So you’ve tracked some killer riffs, programmed pummeling drums, and laid down a vocal that could strip paint. You’ve got all the raw ingredients. Now what? You jump into your DAW and start pushing faders up and down. That’s mixing, right?
Well, yes and no.
For a metal producer, mixing is way more than just balancing volume levels. It’s an art form. It's the process of taking dozens of individual tracks and forging them into a single, cohesive, and brutal piece of music that hits the listener right in the chest. It's about creating clarity in chaos, maximizing impact, and translating the raw energy of the performance into a polished, professional, and powerful final product.
Let's dive into what mixing really means for us metalheads, breaking down the core components you need to master.
The Foundation: Balancing and Panning for a Massive Soundstage
Before you even touch an EQ or compressor, you need to establish a solid static mix. This is where you set initial volume levels and place each instrument in the stereo field. But even this "basic" step has metal-specific strategies.
Think about the stereo image. For modern metal, a wide, powerful sound is non-negotiable. This often means hard-panning your rhythm guitars. If you’ve quad-tracked guitars (two performances, two tracks each), a classic setup is to pan one pair 100% left and the other 100% right. This creates a colossal wall of sound that envelops the listener.
Your core elements—the kick, snare, lead vocal, and bass—are almost always anchored in the center. They are the backbone of the mix. Everything else gets arranged around them. Toms might be panned from the player's or audience's perspective. Cymbals get spread out to create width and realism.
The goal here is to give every single element its own space to live before you even start processing. If you can make the song feel powerful with just faders and pan pots, you’re on the right track.
Carving Your Space: The Art of EQ
EQ is your sonic chisel. In a dense metal mix, frequencies are fighting for space. Your job is to play referee and carve out a spot for each instrument so they can be heard clearly without turning the mix into a muddy mess.
H3: Subtractive EQ: Making Room for Everything
This is probably the most important concept in EQ. You often get more clarity by cutting frequencies from one instrument to make room for another, rather than boosting.
A classic example is the relationship between the bass and guitars. Your guitars have a ton of low-end information, especially with drop tunings. But if they’re fighting with the bass guitar in the 80-200Hz range, you get mud. The solution? Use a high-pass filter on your guitars. Start around 80-100Hz and move it up until the guitars feel tighter and the bass can breathe, without making the guitars sound thin.
Another key area is the snare. The body and "thwack" of a snare often live between 200Hz and 400Hz. Guess what else lives there? The chug and body of your distorted guitars. Using a parametric EQ like the FabFilter Pro-Q 3, you can make a small, surgical cut in your guitars right where the snare body sits. When you A/B this change, you’ll hear the snare suddenly punch through the mix without you ever having touched the snare track itself.
For more deep-dive strategies on this, our EQ hub page has you covered.
H3: Additive EQ: Adding Bite and Presence
Cutting is crucial, but boosting has its place. This is where you add the aggression and character.
- Kick Drum: Want more clicky attack to cut through a blast beat? Try a narrow boost somewhere between 4kHz and 8kHz.
- Snare Drum: Need more sizzle from the snare wires? A high-shelf boost around 8kHz can add that "air."
- Guitars: To bring out the pick attack and add aggression, a careful boost in the 1.5kHz to 3kHz range can work wonders. Be careful here, as too much can sound harsh and fizzy.
- Bass: To help a clean bass tone cut through distorted guitars, find the frequency that highlights the string noise and pick attack. A plugin like the SansAmp Bass Driver DI or Neural DSP's Parallax excels at this, letting you dial in that top-end grind.
Taming the Chaos: Dynamic Control with Compression
H3: Glueing the Drum Bus
Sending all your drum tracks to a single stereo bus and compressing them together is a staple of modern metal mixing. The goal is "glue"—making the individual drum pieces sound like a single, cohesive kit.
A VCA-style compressor is perfect for this. Think of the legendary SSL G-Series Bus Compressor or plugin emulations from Waves, Slate Digital, or Brainworx. A great starting point is a slow attack (around 30ms) to let the initial crack of the snare and click of the kick poke through, a fast release to bring up the body and room sound, and a low ratio (2:1 or 4:1). Aim for just 2-4dB of gain reduction on the loudest parts. The kit will instantly sound tighter and more powerful.
Want to learn how the pros dial in their bus compression? Check out our complete guide to metal compression secrets.
H3: Shaping Individual Hits
Compression is also used on individual tracks to fundamentally change their character. Take a snare drum. Using a fast FET-style compressor like a UREI 1176 (or a plugin version) with a very fast attack will clamp down on the initial transient, making the body and tail of the snare seem louder. A slower attack will do the opposite, letting the "crack" of the transient punch through before the compressor kicks in, making the snare more aggressive.
Creating Depth and Vibe: Reverb, Delay & Saturation
H3: Reverb and Delay in Metal
- Plate Reverbs: A short plate reverb on a snare can give it a sense of space without a long, messy tail. A classic setting on a plugin like ValhallaPlate might be a decay of less than one second.
- Vocal Ambience: For vocals, instead of a huge reverb, try a simple slapback delay using a plugin like Soundtoys' EchoBoy. A single, quick echo (80-120ms) with no feedback can give a vocal presence and depth without pushing it back in the mix.
- "Ear Candy" Delays: Use automation to send just the last word of a vocal line to a long, ping-pong delay for a dramatic effect that fills the space before the next section kicks in.
H3: The Power of Saturation
Saturation is essentially subtle distortion. It adds harmonics that can make an instrument sound richer, fuller, and more aggressive. It’s a secret weapon for making things feel "finished."
Try a tape saturation plugin like the Slate Digital VTM or UAD Studer A800 across your entire mix bus to add a little bit of weight and "glue." Or, use a more aggressive saturation plugin like the Soundtoys Decapitator on a parallel bus for your drums. Blend it in underneath the main drum bus to add grit and excitement without destroying your transients. It can also work wonders for warming up a sterile-sounding bass DI.

100+ Insanely Detailed Mixing Tutorials
We leave absolutely nothing out, showing you every single step
The Final Polish: Automation Is Everything
A mix isn’t finished until you automate. Automation is the process of programming changes to parameters over time. It’s what transforms a static, robotic mix into a dynamic, living, breathing song.
Think about it:
- Automate the volume of your rhythm guitars to dip down by 1-2dB whenever the vocalist is singing, then pop back up in the instrumental sections.
- Automate the hi-hats to be slightly louder in the chorus than the verse to lift the energy.
- Automate a filter sweep on a synth pad to build tension into a breakdown.
- Automate the master fader to rise by 0.5dB in the final chorus to give it that last push of energy.
This is the final 10% that separates a good mix from a great one. It’s the human touch that guides the listener’s ear and maximizes the emotional impact of the song.
So, What Is Mixing Music?
Mixing is the journey from a folder of raw audio files to a finished track that’s loud, clear, and emotionally impactful. It’s a technical puzzle and a creative performance all in one. Mastering these concepts—balancing, EQ, compression, effects, and automation—is the key.
But knowing what they are is one thing. Seeing exactly how a world-class producer uses them to mix a song from a band like Gojira or Lamb of God is another level entirely. If you’re ready to see these techniques in action and learn the specific plugin chains, settings, and philosophies from the producers who crafted the albums you love, it’s time to go beyond presets and unlock your sound with Nail The Mix. You get the real multitracks from massive songs every month and watch the original producer mix it from scratch, explaining every single decision along the way.
Get a new set of multi-tracks every month from a world-class artist, a livestream with the producer who mixed it, 100+ tutorials, our exclusive plugins and more
Get Started for $1


