What is Gain? The foundation for a great metal mix
Nail The Mix Staff
Ever wrestled with a DI guitar signal that just sounds…off when it hits your favorite amp sim, like a Neural DSP Archetype Nolly? Or maybe your kick drum disappears once you start layering plugins? Chances are, the culprit lurking in the shadows is 'gain'. It’s one of those fundamental concepts in audio that, especially in metal production, can make or break your mix. Get it right, and you get clarity, punch, and power. Get it wrong, and you’re fighting a losing battle against mud and fizz. So, what is gain, and how can you master it to make your metal tracks sound absolutely monstrous?
Gain vs. Volume: What's the Damn Difference?
Alright, let's clear this up first because a lot of folks get these two twisted. Think of gain as the input level or the amount of amplification a signal gets before it hits most of your processing or your channel fader. It’s like the initial strength boost. You’ll find gain knobs on your mic preamps (like the ones on your Focusrite Scarlett or UAD Apollo), on instrument DIs (that trusty Radial J48), and even on guitar pedals (your Tube Screamer’s 'Drive' knob is essentially a gain control).
Volume, on the other hand, is usually talking about the output level – how loud something is after processing, typically controlled by your channel fader or the master output of a plugin. So, gain sets the initial level going into a device or plugin, while volume controls how loud it is coming out. Simple, right? But the implications are huge.
Why Gain Staging is Your Secret Weapon in Metal
Okay, so we know what gain is. Gain staging is simply the process of managing the gain levels at each point in your signal chain. From the mic preamp, to your DAW input, through every single plugin, and onto your buses. In metal, where we're often dealing with high-gain guitars, screaming vocals, and pummeling drums, proper gain staging isn't just good practice – it's non-negotiable if you want a pro-sounding mix.
Taming the Digital Beast: Gain and Amp Sims
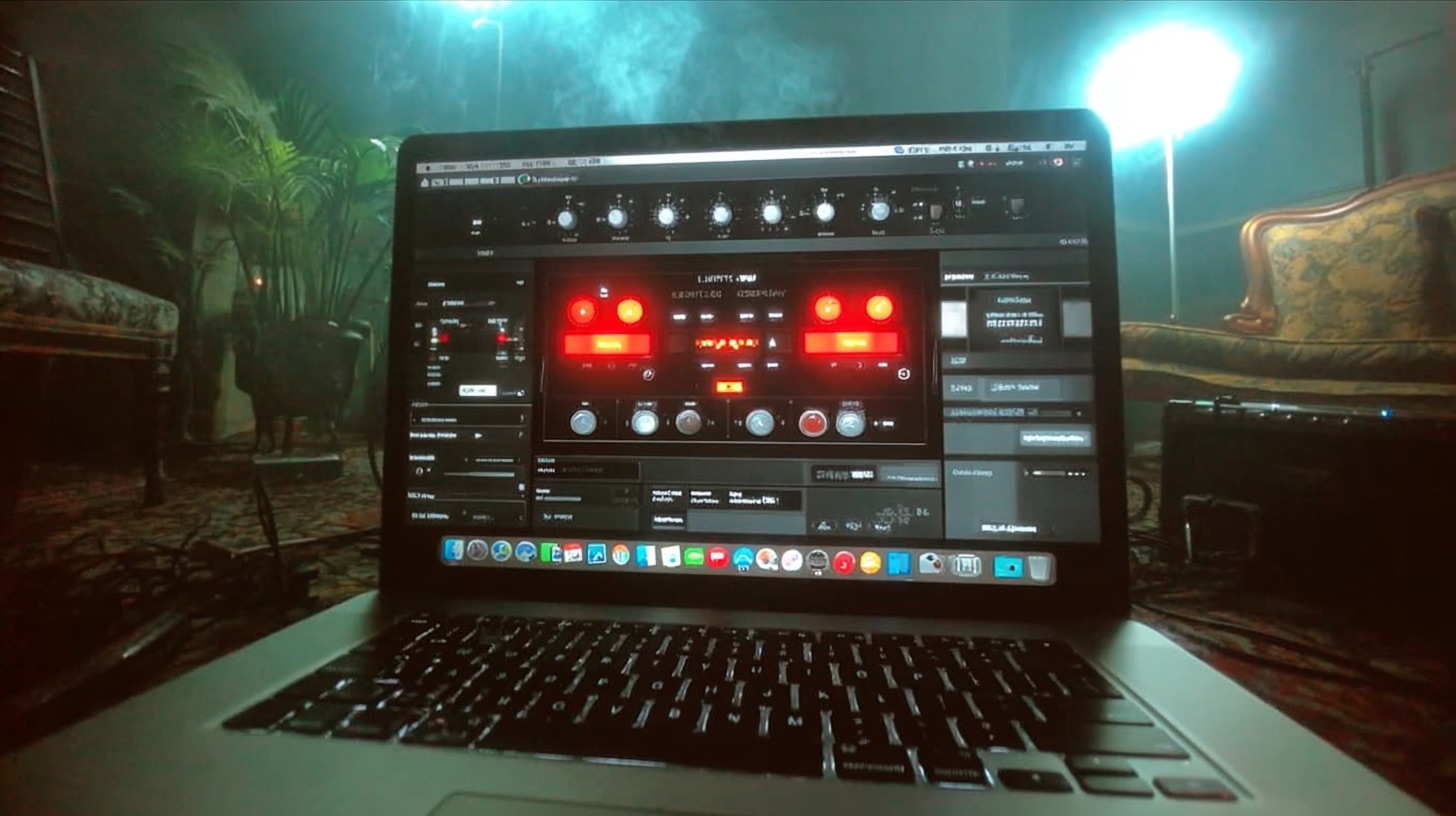
This is a BIG one for modern metal producers. If you’re using amp sims – and let's be real, who isn't rocking a Neural DSP Archetype Petrucci, an STL ToneHub preset, or something from Line 6 Helix Native? – your input gain is EVERYTHING.
Think about it: an amp sim is trying to replicate how a real amp responds. Feed a real Marshall JCM800 a weak signal, and it sounds thin and anemic. Slam it with a super hot signal, and it might get overly compressed and flabby. Amp sims are exactly the same.
- Too Hot: If your DI guitar signal (the clean signal from your interface) is clipping or way too loud going into the sim, you're not getting true amp distortion; you're getting ugly digital distortion before the sim, or the sim itself will sound choked, overly compressed, and fizzy. That 'djent' tone will turn into a 'djen-fizz'.
- Too Cold: Feed it a signal that’s barely tickling the input, and your high-gain tones will lack sustain, feel unresponsive to your playing, and sound weak or thin.
Actionable Tip: Aim for your DI guitar signals to average around -18dBFS to -12dBFS. Peaks might hit -6dBFS, but the average is key. Most audio interfaces like a Focusrite Clarett or an Antelope Zen Q will have input meters. Use them! If your recorded DI is too hot or cold, don't just crank the amp sim's input knob; use a gain utility plugin (like Logic’s Gain plugin, Pro Tools’ Trim, or Reaper’s built-in volume pre-fx) before the amp sim to adjust the DI level cleanly. Getting this right is fundamental to avoiding common issues that pop up when you re-amp metal guitars.
Keeping Your Plugins Happy (And Your Mix Clean)
It’s not just amp sims. Many plugins, especially those emulating analog hardware, are designed to expect a certain input level – often around that -18dBFS sweet spot (often referred to as 0VU).
- EQs: Slamming an EQ like a Waves SSL E-Channel or a Pultec emulation with a super hot signal can lead to unwanted distortion or make the EQ curves behave unpredictably.
- Compressors: An audio compressor like a UAD CLA-76 or FabFilter Pro-C 2 will react drastically differently depending on the input gain. Too hot, and it’s squashing everything into oblivion before you even dial in aggressive settings. Too quiet, and it might not even kick in when you want it to.
- Saturation Plugins: Tools like FabFilter Saturn 2 or Soundtoys Decapitator are all about gain. How hard you drive their input directly shapes the character of the distortion.
Hitting plugins at their optimal level means they work as intended, your mix stays cleaner, and you have more control.
Headroom: Your Mix's Breathing Room
Think of headroom as the space between the loudest peak of your audio signal and the point of digital clipping (0dBFS). Proper gain staging ensures you have plenty of headroom on individual tracks, your buses (like your drum bus or guitar bus), and ultimately, your master fader.
If your tracks are constantly kissing 0dBFS, you've got nowhere to go. Every little boost adds up, and soon you're clipping your master bus, resulting in a distorted, flat-sounding mess with no music dynamics to speak of. Good gain staging leaves you room to maneuver, room for mastering, and generally makes the mixing process way less stressful.
Practical Gain Staging: Tips You Can Use Right Now
Theory is cool, but let's get our hands dirty. Here’s how you can implement good gain staging in your sessions today:
Calibrating Your Inputs (The First Step to Glory)
This starts right at the source. When you’re tracking guitars direct, micing a snare, or recording vocals:
- Adjust the preamp gain on your audio interface (e.g., your Focusrite Scarlett, UAD Apollo, or PreSonus Quantum) so the signal averages around -18dBFS to -12dBFS. For dynamic stuff like vocals or snare, watch the peaks – try to keep them below -6dBFS to avoid any nasty surprises.
- Don't be afraid to ride that gain knob during tracking if the performance is super dynamic. Better to get it right at the source.
- If you're using an external mic preamp like a Neve 1073 clone or an API 512c, the same rules apply to its output feeding your interface's line input.
Gain Staging Through Your DAW Mixer
Once your audio is recorded, the staging continues:
- Clip Gain/Region Gain: Most DAWs (Pro Tools, Logic Pro X, Cubase, Reaper, Studio One) have a way to adjust the gain of individual audio clips before they hit any plugins. This is your first line of defense for evening out inconsistent levels or bringing a quietly recorded DI up to snuff for an amp sim.
- Utility/Trim Plugins: As mentioned, slap a basic gain or trim plugin (every DAW has one!) as the first insert on a channel if you need to adjust the overall level hitting your plugin chain. This is cleaner than just cranking the input of your first fancy plugin.
- Fader Position: Try to keep your channel faders hovering around 0dB (unity gain) for most of the mixing process. This gives you finer control and better fader resolution. If you have to pull a fader down to -30dB just to make it sit right, your signal is probably too hot earlier in the chain.
Watch Those Virtual Instruments!
Those massive drum libraries like Toontrack Superior Drummer 3 or GetGood Drums Modern & Massive can sound incredible, but their default output levels can sometimes be scorching hot! Same goes for many Kontakt instruments or synth plugins like Serum.
- Always check the master output level inside the VI plugin itself and turn it down if needed.
- Alternatively, insert a trim/gain plugin immediately after the VI on its instrument track to bring it down to a sensible level before it hits your EQs and compressors.
Gain Matching Your Plugins (The A/B Test Honesty Check)
This is a HUGE one. When you insert a plugin, especially something like a compressor or a saturator, it often changes the overall loudness. Our ears are easily fooled into thinking 'louder is better.'
- Whenever you're tweaking a plugin, use its output gain control to match the perceived loudness of the processed signal to the bypassed signal.
- Many plugins, like those from FabFilter or iZotope (e.g., Ozone Elements for quick mastering checks, Neutron for channel strips), have auto-gain matching features. Use them!
- This ensures you’re actually making the sound better, not just louder. It's crucial for making objective mixing decisions.
The NTM Edge: Seeing Gain Staging in Action
Understanding gain theory and these practical tips is a massive step forward. But let's be honest, seeing how seasoned pros wrangle gain in the heat of a real metal mix session? That’s where the lightbulbs really go on. Imagine watching a producer like Joey Sturgis, Eyal Levi, or one of our incredible monthly guests like Will Putney or Jens Bogren meticulously set input levels for punishing DIs, balance plugin chains to avoid overload, and ensure every element hits the master bus with power and clarity.
At Nail The Mix, you get exactly that. We don't just talk about it; we show you. You get the raw multi-tracks from huge metal bands and watch the original producer mix the song from scratch, explaining every gain adjustment, every plugin choice, every decision that leads to that polished, brutal final product. If you're ready to see how a deep understanding of gain and gain staging translates into world-class metal mixes, you’ll see firsthand how the pros do it inside Nail The Mix.
Conclusion
So, what is gain? It's the lifeblood of your audio signal, the foundation upon which powerful, clear, and punchy metal mixes are built. From your initial DI signal hitting an amp sim like a Positive Grid BIAS FX, to the delicate balance of levels through your complex vocal chain using a Slate Digital VMR, gain staging is your silent partner in crime.
Mastering it takes a bit of practice and attention to detail, but the payoff is enormous: mixes that translate better, sound more professional, and frankly, just hit harder. So, go fire up your DAW, load up your heaviest session, and start paying attention to those levels. Your ears (and your listeners) will thank you for it.