Metal Room Tone: How To Make Your Mixes Sound Massive
Nail The Mix Staff
Ever listen to a killer metal track and wonder how everything sounds so… BIG? Like the drums are in some colossal space and the guitars have this breathing room around them, even amidst the chaos? Chances are, a big part of that sound is room tone. It's one of those elements that can take your productions from sounding like a collection of isolated tracks to a cohesive, professional, and downright massive mix.
If your metal mixes are feeling a bit sterile, boxy, or just lacking that "something," then diving into the world of room tone might be exactly what you need. Let's break down what it is, how to get it, and how to use it to make your metal tracks truly thunder.
What Exactly IS Room Tone (And Why Should Metalheads Care?)
So, what’s the deal with room tone? Simply put, it's the ambient sound of the space you’re recording in. Think of it as the sonic fingerprint of a room. When you clap your hands in a cathedral, you hear that long, reverberant tail. Clap in your bedroom closet, and it’s probably a tight, muffled thud. That distinct character? That’s largely due to the room’s acoustics.
Now, why should you, a metal producer grinding away on punishing riffs and blast beats, care about this?
- Size and Depth: Room tone is a huge factor in making your mixes sound three-dimensional. It pushes elements back, creates a sense of environment, and stops everything from feeling like it's crammed right up against the listener's eardrums.
- Realism and Glue: Especially with heavily sample-replaced drums or DI guitars run through amp sims, room tone can inject a much-needed dose of realism. It helps "glue" disparate elements together, making them sound like they're performing in the same space.
- Character: A great sounding room can impart a unique character to your tracks. Think of iconic drum sounds – often, the room they were recorded in is as much a part of that sound as the drums themselves.
- Contrast: Metal can be incredibly dense. Room tone, used wisely, can provide a subtle contrast that makes the tight, punchy elements hit even harder.
Forget that dead, digital silence between notes. In the world of massive metal mixes, a little bit of well-crafted space is your friend.
Capturing Authentic Room Tone: Mics, Placement, and The Real Deal
If you’re lucky enough to have access to a decent-sounding live room, capturing authentic room tone is the gold standard. For drums in particular, a professional miking strategy is key. Here’s how you can approach it:
Choosing Your Weapons: Mics for Room Tone
You’re not just sticking any old mic in the corner. The right microphone can make a world of difference:
- Large Diaphragm Condensers (LDCs): Mics like the Neumann U87 or a U47 FET clone are classics for a reason. They capture a full, detailed picture of the room. Even more budget-friendly LDCs like an Audio-Technica AT4050 or a Rode NT1 can do a great job.
- Small Diaphragm Condensers (SDCs): Often used in pairs for stereo room miking, SDCs like Neumann KM184s or AKG C451s offer a very accurate and often brighter capture of the room. Great for picking up detail in cymbal decay.
- Ribbon Mics: If your room is a bit bright or you want a darker, smoother room sound, ribbons like the Royer R-121 or Coles 4038 are fantastic. They naturally roll off some high frequencies, which can be perfect for taming harshness, especially from cymbals in a drum room.
- Dynamics (In a Pinch): While not ideal, a Shure SM57 or Sennheiser MD421 can capture some room character if it's all you've got. You'll likely need to EQ it more heavily.
Strategic Placement: Finding the Sweet Spot
Where you put those mics is just as important as which ones you choose.
- Distance is Key: The further the mics are from the source (drums, guitar amp), the more room sound and less direct sound they'll pick up. For drums, start by placing room mics anywhere from 8-20 feet away.
- Height Matters: Experiment with different heights. Knee-height can pick up more floor reflections and low-end build-up, while higher placements might give a more open sound.
- Pointing: You can point them directly at the source, or even away from it towards a particularly nice-sounding wall or corner to capture more diffuse reflections.
- Mono vs. Stereo:
- Mono: A single room mic can work, especially if you pan it subtly or use it to reinforce the center.
- Stereo: This is where things get exciting for wide, immersive sounds.
- Spaced Pair (A/B): Two omnidirectional or cardioid mics spaced several feet apart. Can give a very wide, sometimes less focused image. Be wary of phase issues.
- XY: Two cardioid mics with their capsules nearly touching, angled at 90 degrees. Gives a good stereo image with minimal phase problems.
- ORTF: Two cardioid mics with capsules 17cm apart, angled at 110 degrees. Aims to mimic human hearing, often providing a natural and wide stereo image.
- Taming Bad Rooms: If your room isn’t exactly Abbey Road, don’t despair. There are even clever tricks to make small rooms sound massive. Use gobos (portable acoustic panels), heavy blankets, or even mattresses to absorb nasty reflections or section off areas to control the sound the room mics pick up.
During the Session: What to Listen For
- Phase, Phase, Phase! This is CRITICAL. When you blend your room mics with your close mics (especially on drums), listen for phase cancellation – that hollow, thin sound where low end disappears. Flip the polarity switch on your preamp or console. For finer adjustments, a plugin like Sound Radix Auto-Align can be a lifesaver, but it’s also a powerful skill to learn how to manually fix phase issues in your DAW.
- Balance: Is it all room and no definition? Or too much direct sound? Adjust placement until you get a good balance that complements the close mics.
- Nasty Frequencies: Listen for horrible flutter echoes, ringing frequencies, or excessive boominess. Try to mitigate these with placement or acoustic treatment before you hit record.
No Epic Live Room? No Problem! Faking It 'Til You Make It
Let’s be real, not everyone has access to a perfectly tuned live room. But fear not, the digital realm offers killer alternatives for creating huge room sounds without dedicated room mics.
Impulse Responses: Your Secret Weapon for Virtual Room Tone
This is a game-changer, especially for metal producers. Impulse Responses (IRs) are essentially sonic snapshots of real acoustic spaces.
- How They Work: You load an IR into a convolution reverb plugin (like Logic Pro’s Space Designer, Waves IR-1, Altiverb, or free options like SIR Audio Tools SIR1/2). The plugin then "applies" that room's characteristics to your audio.
- Finding Good Room IRs: There are tons of commercial and free IRs out there. Look for captures of:
- Drum rooms (small, medium, large)
- Studio live rooms
- Even slightly unconventional spaces if you're feeling creative.
- Many guitar cab IR packs (like those from OwnHammer or York Audio) often include room mic IRs alongside close mic options.
- The Trick: For general room tone, you typically want a shorter room IR. We're not talking massive cathedral reverbs here (unless that's a specific effect you want). Think realistic room decays.
- Blending: Send your drums, guitars, or whatever needs space to an aux track with your convolution reverb. Blend the wet signal to taste.
Using IRs is an incredibly powerful way to get pro-sounding room ambience without ever leaving your bedroom studio.
Reverb Plugins: Crafting Room Ambience from Scratch
Algorithmic reverbs are your other best friend for faking room tone. Plugins like ValhallaRoom, FabFilter Pro-R, or even stock DAW reverbs can be tweaked to create believable spaces.
- Algorithm Choice: Start with "Room," "Chamber," or "Studio" algorithms.
- Key Settings to Dial In:
- Decay Time (RT60): For typical room tone, aim for shorter decay times, maybe 0.5 to 1.5 seconds. Longer for a more "epic" feel.
- Pre-Delay: This is crucial! Adding 10-40ms of pre-delay separates the dry signal from the onset of the reverb, improving clarity and making the "room" feel larger.
- Diffusion & Density: Higher diffusion can make the reverb sound smoother and less like a series of distinct echoes.
- EQ is Your Friend: Most reverb plugins have built-in EQs, or you can EQ the send/return. Roll off excessive low-end mud (below 100-200Hz) and high-end sizzle (above 5-8kHz) to make the room tone sit better in the mix. Don't be afraid to get surgical with your EQ strategies.
Delays: The Sneaky Way to Add Space
Don’t underestimate the power of simple delays for creating a sense of space!
- Slapback Delays: A very short delay (20-80ms) with minimal feedback, often filtered, can mimic early reflections and add a subtle sense of ambience. Plugins like Soundtoys EchoBoy or FabFilter Timeless 3 are great for this, but your stock DAW delay can work wonders too.
- Stereo Widening: Use slightly different short delay times on the left and right channels to create a wider feel.
Mixing Room Tone into Your Metal Mayhem
Okay, you’ve captured or created your room tone. Now, how do you make it work in a dense, aggressive metal mix?
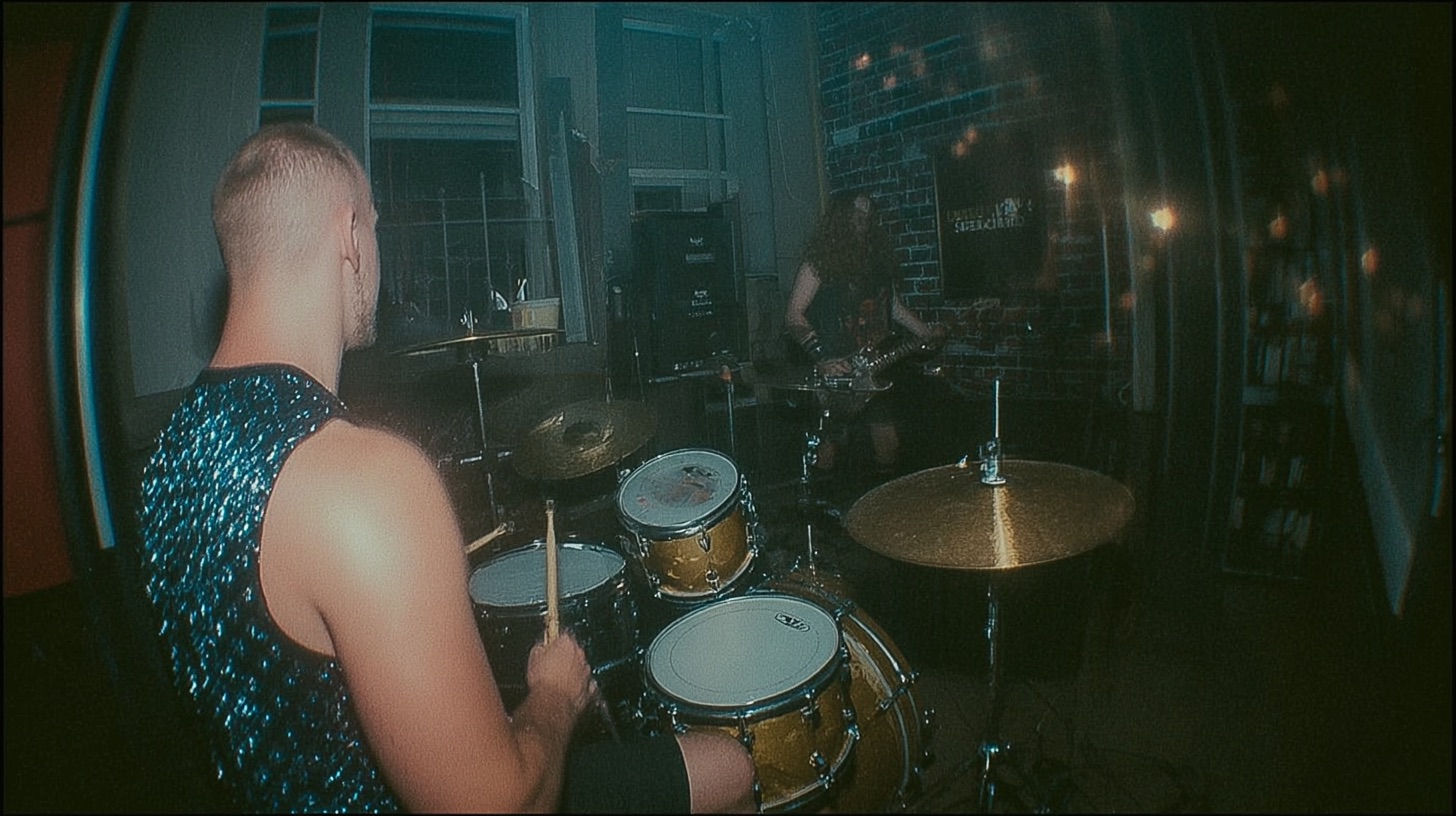
Drums: Making Them Explode (In a Good Way)
This is where room tone truly shines in metal. You can even get creative and turbocharge your drum rooms with a PA system for fatter sounds.
- Blending: Carefully balance your room mics/reverb with your close mics. The room should support and enhance, not overwhelm.
- Compression! Glorious Compression! This is where the fun begins. Heavily compressing your drum room mics is a classic metal trick.
- Try a FET-style compressor plugin like a Waves CLA-76, Arturia Comp FET-76, or Softube FET Compressor.
- Settings: Go aggressive! Fast attack (to let just a tiny bit of transient poke through, or super-fast to squash it), fast release (to make it pump and breathe with the groove), and high ratios (8:1, 12:1, 20:1, or even "All Buttons In" mode if your plugin has it!).
- This "smashing" brings up the low-level details of the room, the decay, and creates that explosive, larger-than-life drum sound. To master this, it’s essential to understand the basics of compression for rock and metal. Learn more about how to dial these in with our metal compression secrets.
- Gating (Sometimes): If the room sound is too messy or has a long, uncontrolled decay, you can gate the room mics (or the send to your room reverb). Key the gate from the snare and/or kick to tighten it up so the room "blooms" with the main hits and then gets out of the way.
- EQing Rooms:
- Cut the Mud: Room mics can pick up a lot of low-mid build-up (200-500Hz). Scoop this out to prevent a muddy mix.
- Tame Cymbals: If cymbals are too harsh or washy in the room mics, use a high-shelf cut or notch out specific offensive frequencies.
- Boost for Effect: Sometimes a little boost in the low end (60-100Hz) or a presence boost (2-5kHz) on the room mics can add power or excitement.
Guitars: Adding Depth Without Mud
Room tone on guitars needs a more subtle touch, especially with high-gain tones.
- DI Guitars & Amp Sims: If you're using amp sims like those from Neural DSP, STL Tones ToneHub, IK Multimedia AmpliTube, or Native Instruments Guitar Rig, they often have room mic options within their cab sections. Experiment with these! Alternatively, send your re-amped DI signal to a short room IR or reverb.
- Cohesion: Sending multiple guitar tracks to a shared, subtle room reverb can help them gel and sound like they’re in the same space. This is also a great way to start to widen your metal guitars for an immersive feel.
- Watch the Wash: Be careful not to make your palm-muted chugs sound washy or indistinct. Keep the room tone tight and controlled. Often, less is more.
Vocals: A Touch of Space
While you might use longer, more obvious reverbs and delays on vocals for effect, a very short, subtle room reverb can help them sit in the mix naturally without sounding "dry" or disconnected.
- Blend It Low: The goal here is usually for the listener to feel the space rather than consciously hear it as reverb.
- Backing Vocals/Doubles: Room tone can really help blend vocal layers together.
The "Overall Room" Bus Trick
Consider creating an aux track with a good general-purpose room reverb or IR. Send small amounts of various elements (drums, guitars, even a touch of bass or vocals) to this bus. This can create an overarching sense of cohesive space for your entire mix, making everything feel like it belongs together. Automate the send levels to this bus to make certain sections feel bigger or more intimate.
Room Tone Don'ts: Avoiding Common Pitfalls
- Too Much of a Good Thing: Drenching your mix in room tone will make it sound distant, washy, and undefined. It’s a seasoning, not the main course.
- Bad Sounding Rooms: If your recorded room tone is from a tiny, boxy, flutter-echo-filled space, it’s probably going to do more harm than good. In these cases, mute those mics and rely on IRs or algorithmic reverbs.
- Phase Nightmares: We said it before, we'll say it again: always check phase when blending real room mics with close mics. That "ø" button is your friend!
- Untreated Room Tone: Don’t just slap a room mic in the mix and call it a day. EQ it, compress it, shape it so it serves the song.
Taking Your Room Tone (And Mixes) to the Next Level
Mastering the art of capturing, creating, and blending room tone is a hallmark of a pro-sounding metal mix. It’s about adding that crucial dimension, realism, and sheer size that makes tracks leap out of the speakers. Experiment with different mics, placements, plugins, and techniques. Listen critically to your favorite metal albums – you'll start to hear how room tone plays a vital role in their impact.
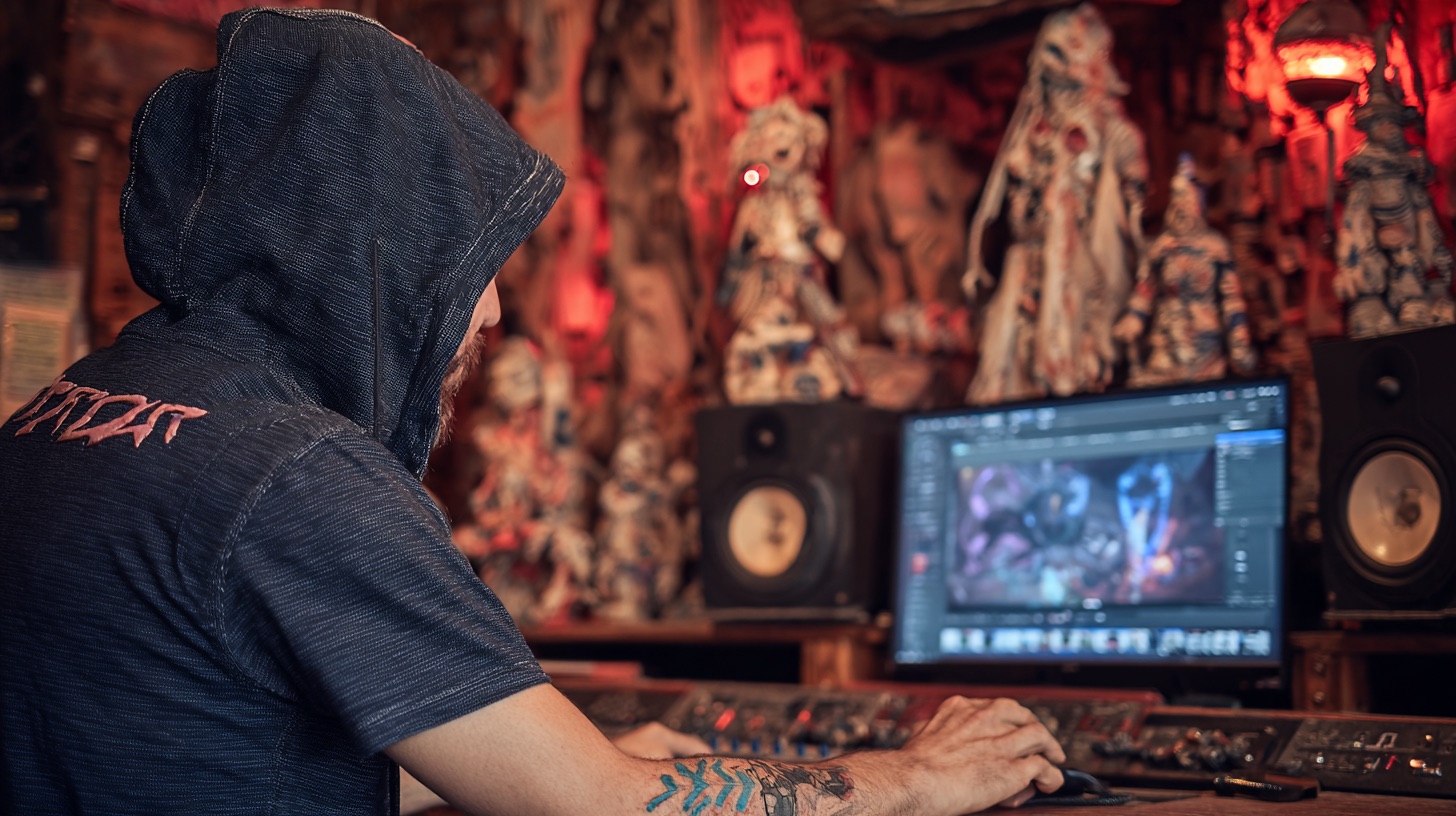
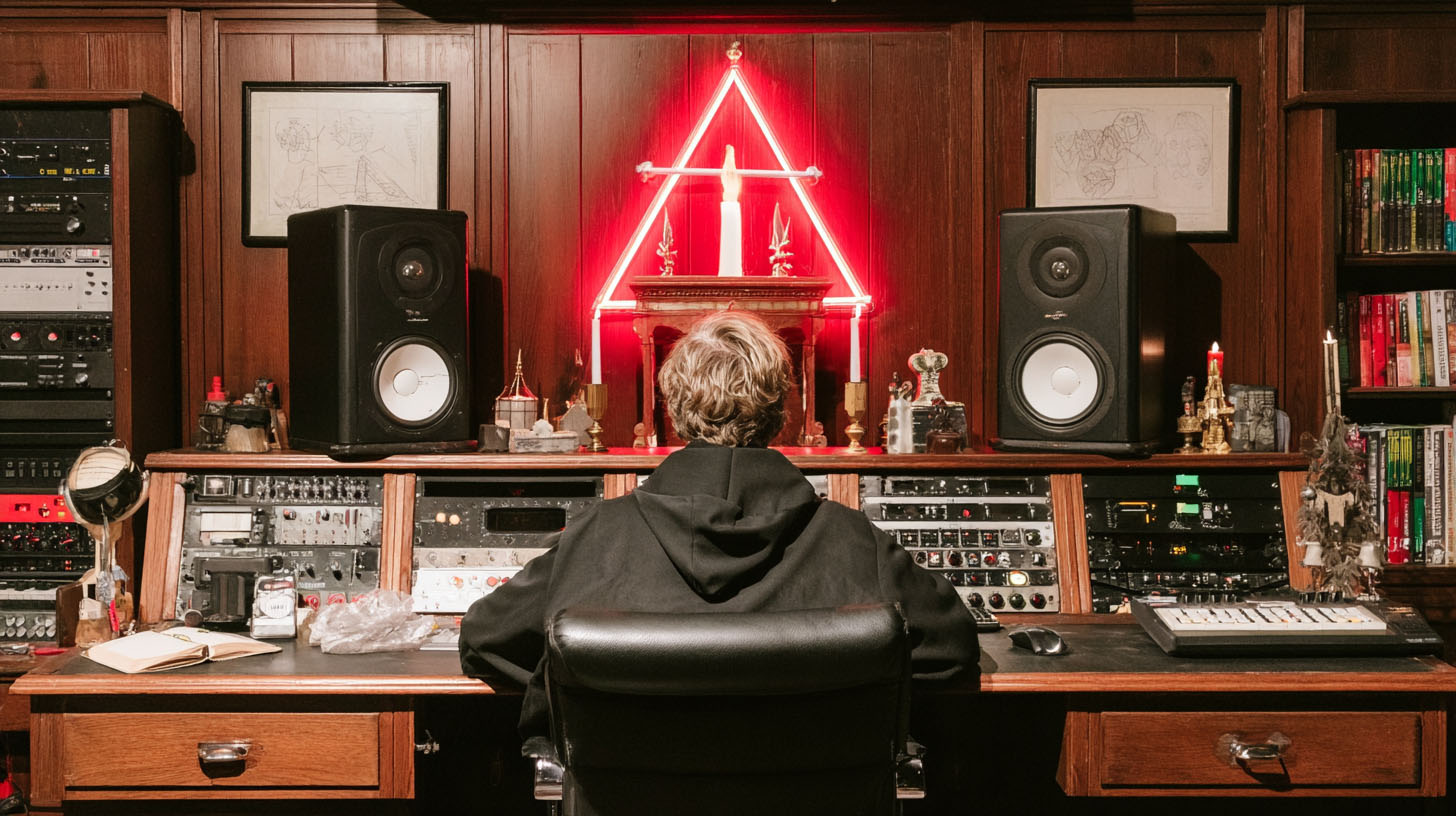
Want to see how world-class producers wrangle real room mics, craft convincing virtual spaces with IRs and plugins, and blend it all seamlessly to create those massive, polished metal mixes you aspire to? Imagine looking over the shoulder of engineers who have mixed bands like Gojira, Periphery, and Meshuggah as they sculpt drum ambience, add depth to guitars, and make the whole mix breathe. Nail The Mix gives you precisely that opportunity. Every month, you get the actual multi-tracks from huge metal songs and watch the original producers mix them from scratch, explaining every plugin choice, every fader move, and every decision about space and ambience. It’s about learning not just the 'what,' but the critical 'why' and 'how' behind crafting truly epic sounding metal.
Ready to stop your mixes sounding small and start crafting mixes with serious depth and power? Unlock Your Sound: Mixing Modern Metal Beyond Presets and see how the pros make it happen.