Creating Creepy Vocoder Vocal Effects (ft. Humanity’s Last Breath)
Nail The Mix Staff
The vocal tracks on a Humanity’s Last Breath record are a different beast. They’re not just screams; they’re an atmospheric weapon. A huge part of that iconic, unsettling sound comes from the expertly crafted effect layers, especially those menacing whisper tracks that slither through one of the densest mixes in modern metal.
Ever wondered how producer/mixer Buster Odeholm gets those whispers to sound so present and downright terrifying without getting completely buried? We got a look inside his session for “Abyssal Mouth” and saw exactly how he uses a unique chain of plugins and smart processing to create those memorable vocal moments. Let’s break down his approach.
Starting with a Solid Foundation
Before diving into the wild effects, Buster does something incredibly practical: he copies the basic processing chain from the main vocal track over to his effects tracks. This is a killer workflow hack. By starting with the same core compression, EQ, and saturation, he ensures the effect tracks immediately share the same sonic DNA as the lead vocal. They already “fit” in the mix’s world, giving him a perfect, vibe-matched canvas to build upon with more creative processing.
The Secret Weapon: Waves Morphoder for Unearthly Texture
Here’s where things get weird. For that signature creepy quality on the whispers, Buster reveals a key plugin he uses: the Waves Morphoder. He mentions that he used this effect all over the album, much to the chagrin of some of his bandmates—but the result speaks for itself.
The Morphoder is a powerful vocoder that lets you imprint the characteristics of one sound (a carrier) onto another (the modulator). In this case, he’s using it directly on the whisper track. Instead of a typical robotic vocoder sound, he dials in a setting that adds a ghostly, synthetic layer to the human voice. It creates an unsettling texture that’s part human, part machine, and 100% menacing. This isn’t just a simple effect; it’s a sound design tool that fundamentally changes the character of the vocal performance.
Taming the Chaos: Aggressive Cleanup and Control
Adding a wild effect like Morphoder is only half the battle. As Buster demonstrates, these creative plugins often generate a ton of sonic garbage that can muddy up a mix in a hurry. The real pro move is knowing how to control it.
Carving Out the Mud with EQ
The first thing Buster addresses after engaging the Morphoder is the massive amount of low-end it creates. He immediately follows it with an EQ to aggressively filter out all the unnecessary low-frequency information. In a mix as heavy as Humanity’s Last Breath, every bit of the low-end spectrum is precious real estate reserved for the bass and kick drum. He notes there’s “way too much low end information” and that he doesn’t “want any of it,” carving it out to keep the whispers from conflicting with the mix’s foundation. This kind of surgical cleanup is one of the most important EQ strategies for mixing modern metal.
Controlling Dynamics with a Limiter and Soothe
Whisper tracks are notoriously uneven. They have sharp, breathy transients and quiet tails, making them a nightmare to balance. To solve this, Buster uses a one-two punch for dynamic control.
First, he inserts a limiter. This acts as an absolute ceiling, catching any unexpectedly loud peaks and ensuring the whisper track stays locked in place. It’s a simple but crucial move for consistency.
Second, he uses oeksound Soothe. This isn’t a traditional compressor, but a dynamic resonance suppressor. Whispers and vocal effects can have harsh, piercing frequencies that become painful at high volume. Soothe intelligently ducks these harsh frequencies only when they appear, smoothing out the sound without making it dull. It’s the perfect tool for taming the harshness of an effected vocal without destroying its aggressive character. These tools are a modern approach that go beyond simple volume reduction.
Creating Space and Width
To give the effects layers their own dimension, Buster employs a few classic techniques. He adds a doubler to create stereo width, making the whispers feel like they are surrounding the listener.
He also sets up reverbs and delays on sends, but with a critical caveat: automation. He mentions automating the reverb send just like he did with the drums. This means the reverb isn’t on all the time, which would wash out the mix. Instead, it likely swells in the gaps between phrases or at the end of words, creating a sense of space and decay without sacrificing clarity.
Putting It All Together for Maximum Impact
So, the formula for those creepy Humanity’s Last Breath vocal effects is:
- Start with a solid vocal chain copied from the leads.
- Add a creative texture tool like Waves Morphoder to transform the sound.
- Control the chaos with aggressive high-pass filtering, limiting, and dynamic resonance suppression with Soothe.
- Create dimension with doublers and carefully automated time-based effects.
These are powerhouse techniques you can apply to your own productions to make your vocals stand out.
Humanity's Last Breath on Nail The Mix
Buster Odeholm mixes "Labyrinthian"
Get the Session
But reading about it is one thing. Imagine being able to pull up the full multitrack session for Humanity’s Last Breath’s “Abyssal Mouth” and watch Buster Odeholm himself mix it from scratch, explaining every plugin choice and automation move. With Nail The Mix, you can do exactly that. You get the raw tracks from legendary bands and learn directly from the producers who created these iconic sounds. It’s the ultimate way to unlock your sound and start mixing modern metal beyond presets.
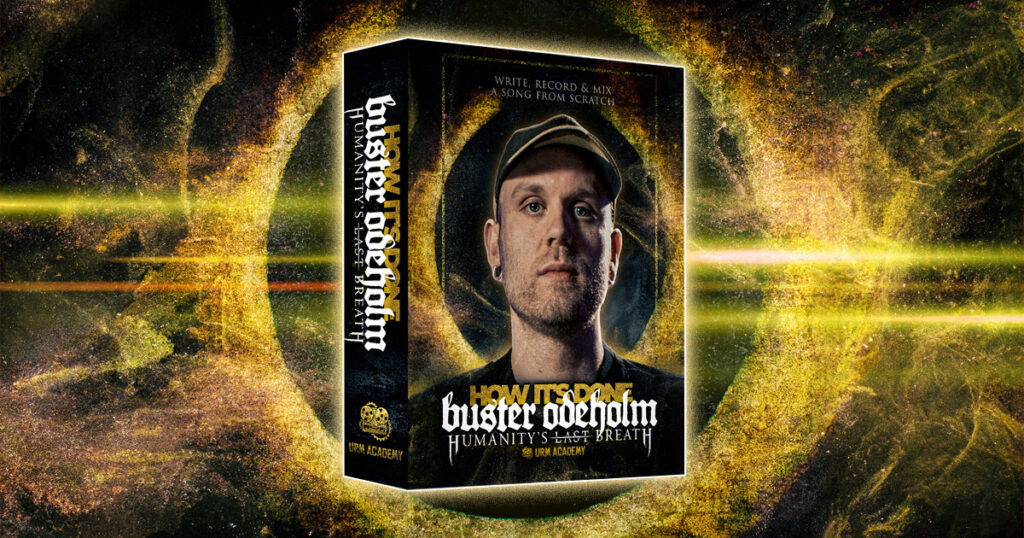
And for those who want to dive really deep, get Buster’s course “How It’s Done.”

