How To Edit & Mix TIGHT Metal Guitars (ft. Veil Of Maya)
Nail The Mix Staff
The guitar sound of Veil Of Maya is legendary. It’s not just heavy; it’s inhumanly tight, mechanical, and precise, forming a devastating wall of sound that locks in perfectly with the band’s complex rhythms. Ever wonder how Marc Okubo’s already killer performances get pushed to that next level of aggression and clarity in the mix?
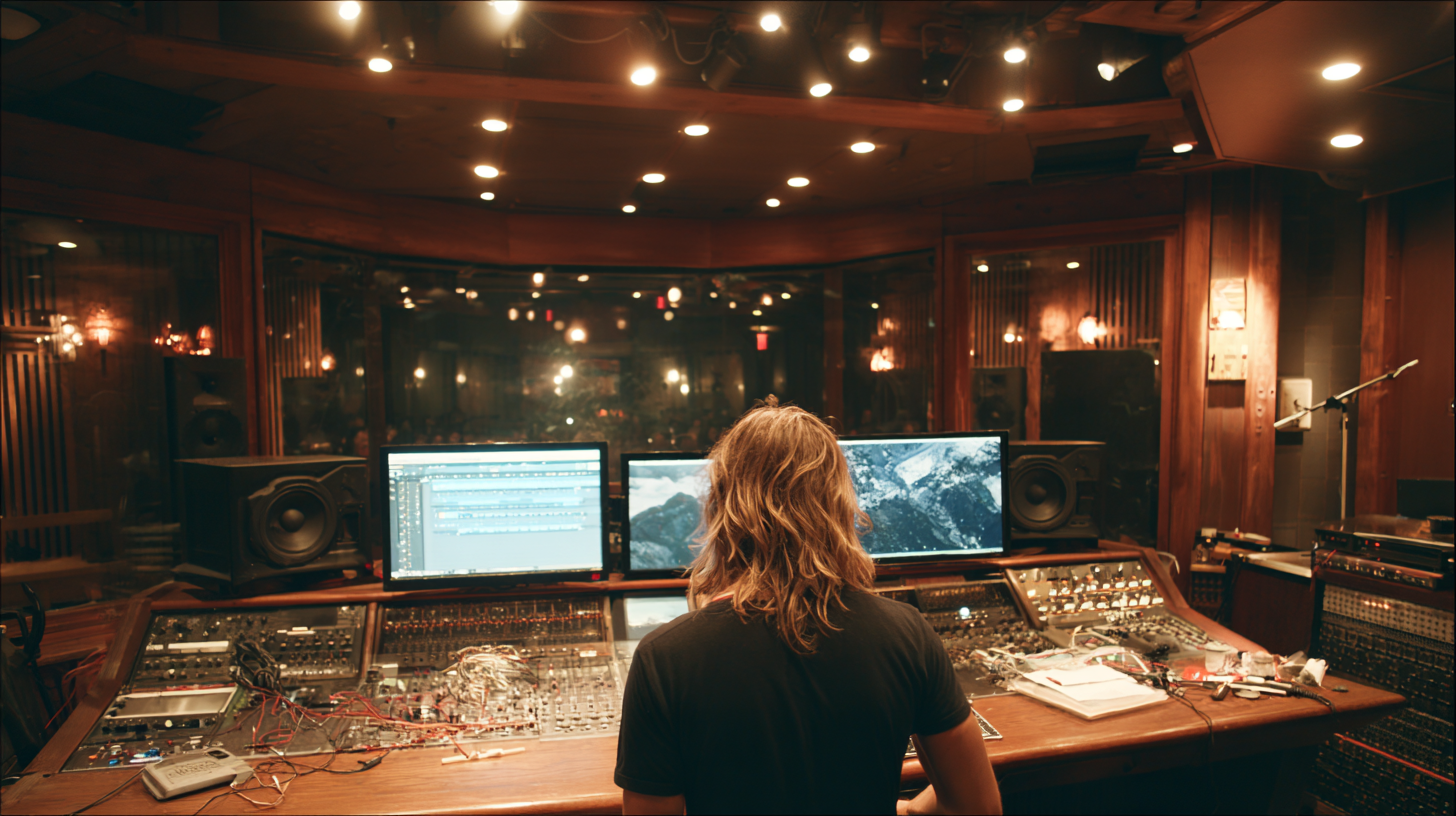
We got to sit down with producer Zach Jones as he broke down his mix for Veil Of Maya, revealing the exact techniques he used to craft their insanely tight guitar tones. It’s a masterclass in modern metal production, combining surgical editing, clever tone layering, and a whole lot of creative processing. Let’s dive into the core concepts you can apply to your own mixes.
Want to learn how the pros do it? Nail The Mix gives you the multi-tracks from huge artists and lets you watch the original producers mix them from scratch every month.
The Foundation: Editing for a Mechanical Feel
The first secret to this sound isn’t an amp, a pedal, or a plugin—it’s the editing. To get that signature VOM mechanical tightness, Zach took an extreme approach.
Ripping Off the Transient
You heard that right. For many of the rhythm parts, Zach went in and surgically cut the initial pick attack (or transient) completely off the front of the guitar waveforms.
Why would you do this? In a dense mix like this one, other elements were already providing that sharp, percussive transient. The synths and slap bass were full of attack, so the guitars didn’t need to do the same job. By removing the guitar pick attack, you eliminate any potential flamming between the layers and create a sound that’s less like a strummed string and more like a solid wall of distortion hitting you instantly. It’s a bold move that results in a uniquely tight and controlled sound, a hallmark of pro-level guitar editing that’s perfect for fast, syncopated modern metal.
Building the Tone: The Art of Layering and Contrast
Zach’s approach to the rhythm guitars is based on creative layering. The guitars are quad-tracked, but instead of using four identical tones, he built two distinct, contrasting tones that are blended together for each side (left and right).
The “Sizzle” Layer: Open and Hairy
The first layer is all about top-end texture and life. Using a Fortin amp sim, Zach dialed in a tone that he described as having more “sizzle” and “hair.” This sound is a bit looser, more open-sounding, and brings the aggressive high-end character.
The EQ strategy for this layer involved filtering, of course, but also carefully introducing some high-end back into the signal to really emphasize that sizzle and air. This layer provides the aggression and texture.
The “Mid-Range” Layer: Pinned and Focused
The second layer is the complete opposite. It’s designed to be the solid, foundational core of the guitar sound. This tone is super tight, with no sizzle, and focuses purely on that powerful, modern 1k-2k mid-range. Zach used the stock IRs that came with the amp sim, proving you don’t always need fancy third-party impulse responses to get a killer sound.
The EQ on this layer involved a lot more filtering to keep it clean and a very slight half-dB boost in the upper mids to help it punch through.
The Power of Contrast Compression
Here’s where it gets really cool. The two layers aren’t just different in tone, but also in dynamics. To learn more about how the pros use this essential tool, check out our guide on what a compressor does.
- The Sizzle Layer is more dynamic, with less compression. This allows the top-end to breathe and feel a bit more open and “loose.”
- The Mid-Range Layer is heavily compressed and “pinned” in place. This ensures the core mid-range of the guitar tone is incredibly consistent and never moves, providing a solid, unwavering foundation.
By blending a dynamic, airy layer with a static, focused mid-range layer, you get the best of both worlds: a guitar tone that feels massive and consistent but also has life and texture.
Gluing It All Together: Guitar Bus Processing
With four tracks of heavily processed guitars, you need to make them sound like a single, cohesive unit. Zach used a chain of plugins on his main guitar bus to achieve this.
Surgical Subtractive EQ
First up, more EQ. A key move here was a significant cut at 4kHz, a frequency Zach calls “just the worst” for guitars. Taming this area is crucial for getting rid of harshness. He also used a Pultec-style EQ to add a bit of “bite” and utilize its famous “airband” to bring in some musical high-end sheen without adding harshness.
Taming the Fizz with Soothe
To further control any harshness, especially during heavy chugging, a plugin like Soothe was used to dynamically tame nasty resonant frequencies, ensuring the tone stays powerful but pleasant.
Character and Control with an SSL Channel
Next in the chain was an SSL Channel strip. This classic processor is perfect for adding that signature SSL mid-range punch and for controlling the low-end, keeping the chugs tight and focused.
Punch and Movement with Parallel Compression
To add even more punch and energy, Zach set up a parallel bus for the guitars. He sent the main guitar bus to an auxiliary track with a compressor set to a fast attack, fast release, and a 6:1 ratio. This parallel track was then blended back in with the main guitars.
This technique adds a ton of punchy movement without squashing the main signal. Even better, you can automate the volume of this parallel bus throughout the song—push it up in heavy sections for more impact, and pull it back in softer parts. It’s a fantastic way to add dynamics to an otherwise consistent guitar tone. If you’re looking to dive deeper into advanced techniques like this, check out our comprehensive production and mixing courses.
Bringing It All Together
Zach Jones’s approach to mixing Veil Of Maya’s guitars is a masterclass in modern metal production. By combining these techniques, you can achieve a sound that is both surgically precise and crushingly heavy.
To recap the key takeaways:
- Edit aggressively: Don’t be afraid to cut the pick transients if other instruments are providing the attack.
- Layer contrasting tones: Blend a “sizzle” layer with a focused “mid-range” layer.
- Use contrast compression: Keep your mid-range foundation static while letting the top-end breathe.
- Process your bus: Use surgical EQ, dynamic resonance suppressors, and character EQs to glue everything together.
- Add punch with parallel compression: Use it to add energy and automate it for extra dynamics.
Veil of Maya on Nail The Mix
Zach Jones mixes "Red Fur"
Get the Session
These are the kinds of incredible, detailed insights you get every single month at Nail The Mix. If you want to see exactly how Zach Jones dials in these tones, automates his parallel busses, and makes it all sit in a dense, powerful mix, check out his full Nail The Mix session. You’ll get the raw multi-tracks from the actual song and watch him mix it from scratch, explaining every single move he makes.
Click here to get the Veil Of Maya multi-tracks and watch Zach’s full mixing session now!