Dialing in Sylosis’s Crushing Guitar Tones w/ STL Tonality
Nail The Mix Staff
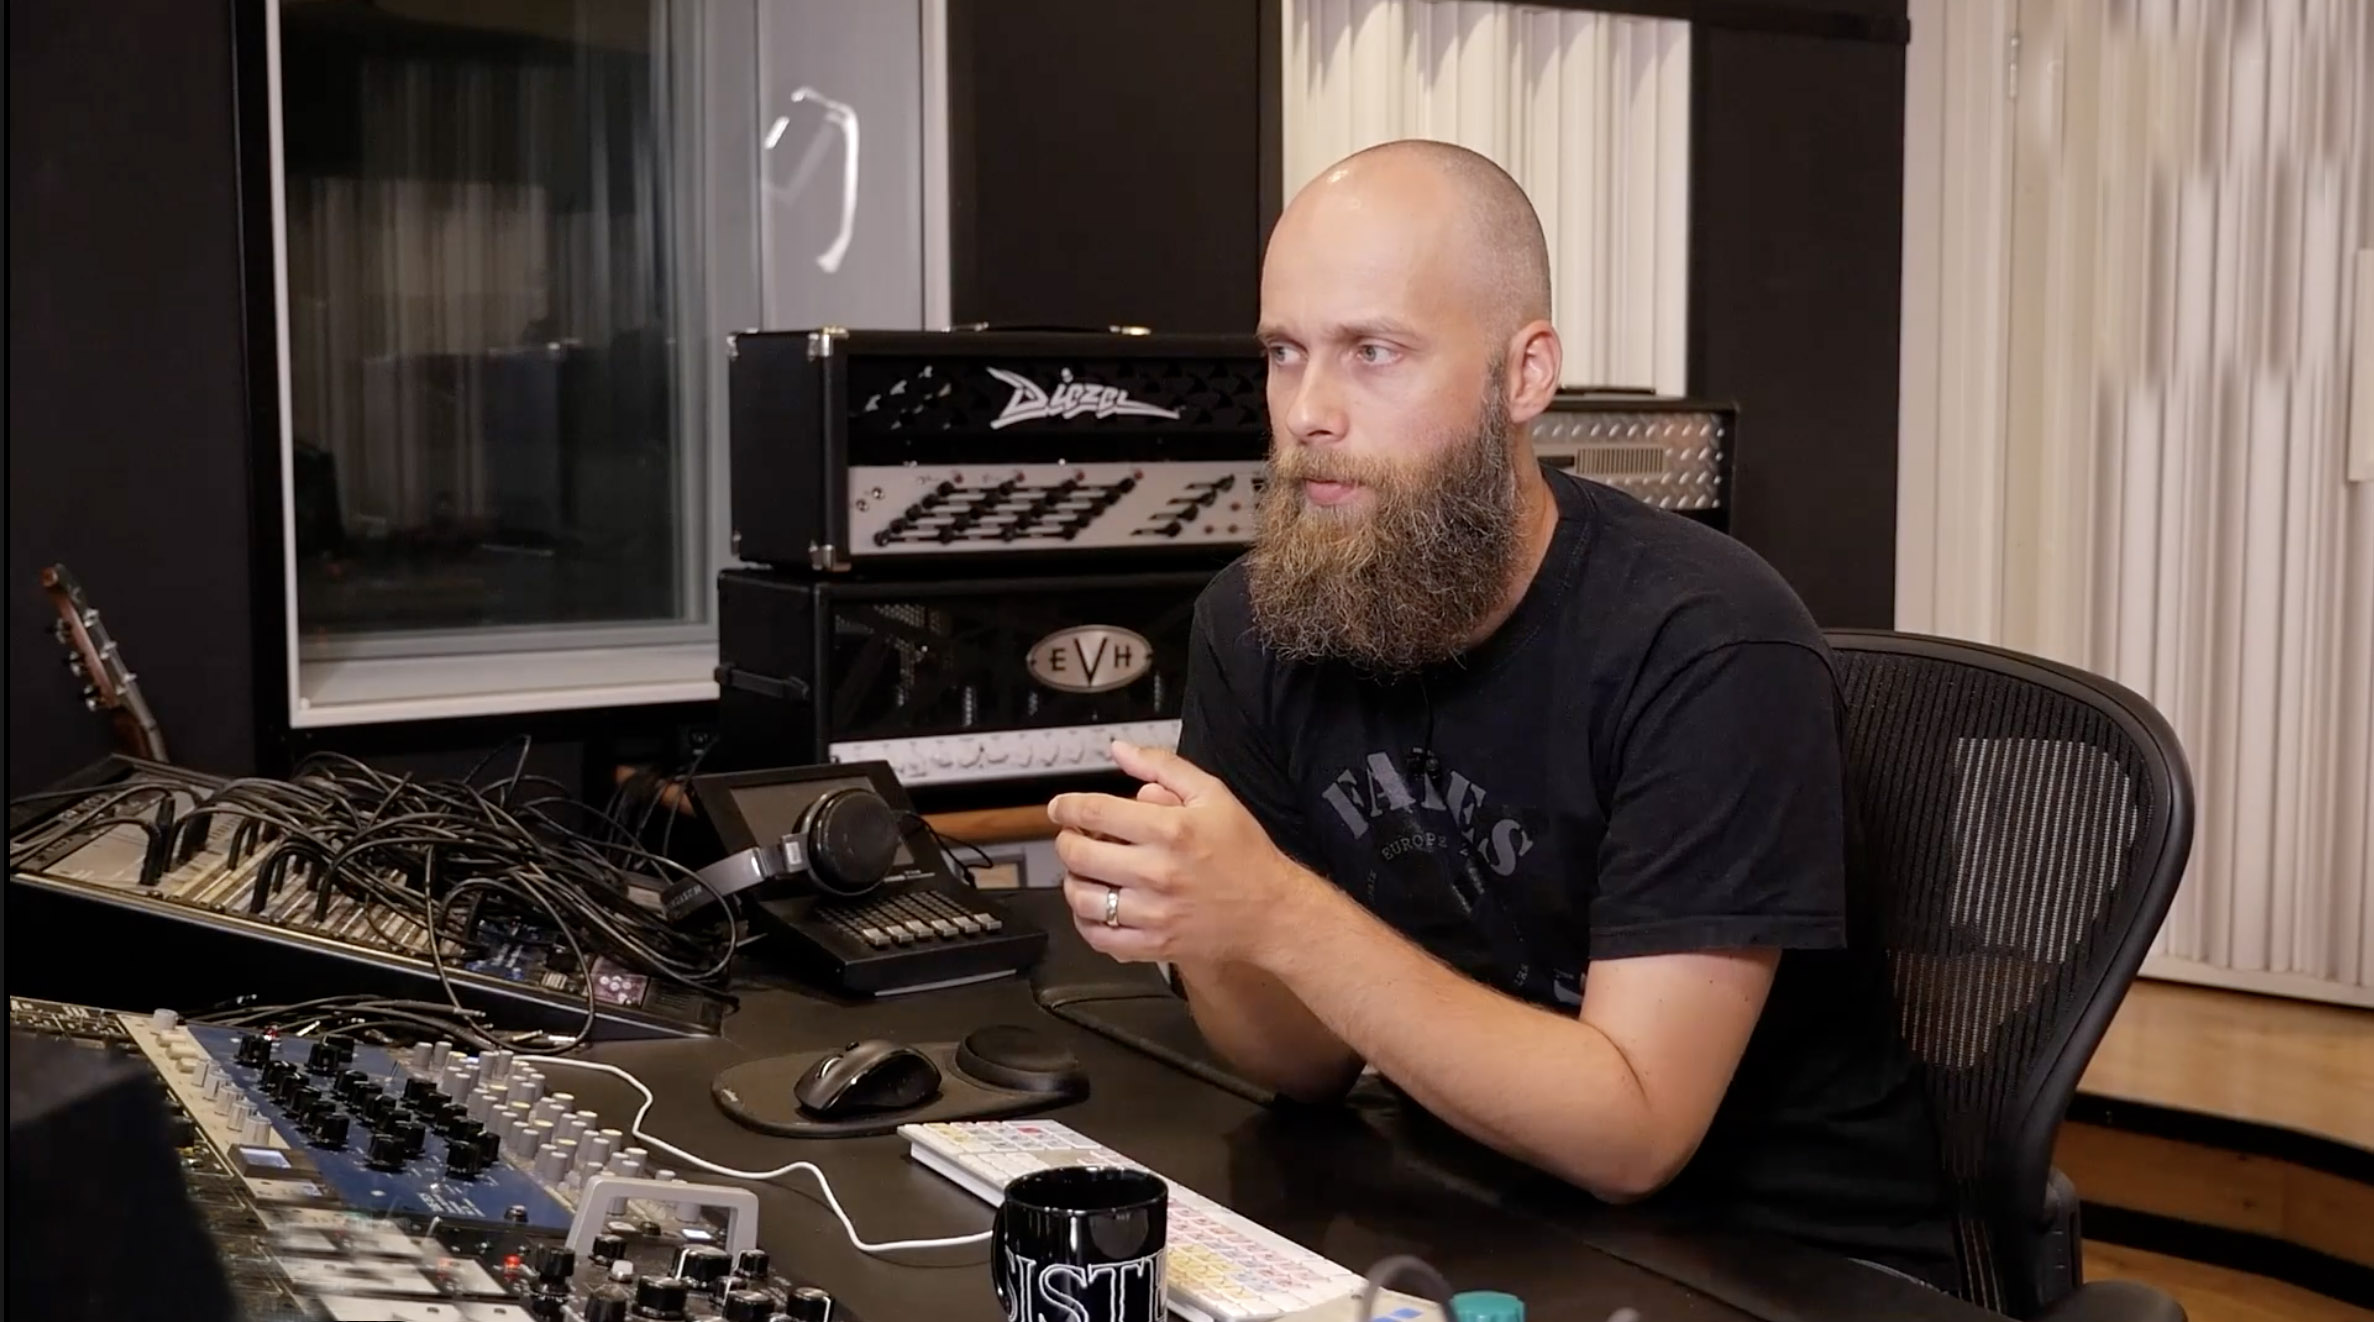
Let’s be real, the guitar tone on a Sylosis record is absolutely monstrous. It’s thick, aggressive, and surgically precise, cutting through a dense mix without ever sounding thin or fizzy. Ever wonder how their principal songwriter, vocalist, and producer Josh Middleton achieves that sound?
Hint: It’s not about finding some magical preset. It’s a methodical process of building the tone from the ground up, starting with the amp sim and ending with some clever bus processing. We got to see Josh build his signature tone from scratch using the STL Tonality suite during his exclusive Nail The Mix session, and we’re breaking down the key moves for you.
The Foundation: Why You Should Start with Guitars
Before even touching a plugin, Josh makes a crucial workflow decision: he starts with the guitars. A lot of producers begin with drums, getting them to slam in isolation. The problem? As soon as you bring in the wall of guitars, that perfect drum sound can fall apart. The kick might sound too “ticky” or get buried, forcing you to go back and re-EQ everything.
By getting a rough guitar tone dialed in first, you create context. You immediately hear what the drums need to compete with, allowing you to shape their attack and tone to cut through the guitars from the get-go. It’s a simple workflow hack that can save you a ton of headaches later.
Dialing the Core Tone: The 5150 Rhythm Guitars
For the main rhythm tracks, Josh reaches for a classic: the 5150. But his approach to dialing it in might surprise you.
The Stompbox: Tightening, Not Distorting
Like many metal producers, Josh kicks things off with an overdrive pedal in front of the amp—in this case, the Maxon OD808 model inside STL Tonality. But he’s not using it for more gain.
- Drive: Kept at or near zero. The 5150 already has more than enough gain.
- Level: Set at unity. He’s not boosting the signal into the amp.
- Tone: Turned all the way down.
This might seem counterintuitive, but the pedal’s job here is to act as a filter. Engaging the OD808 inherently tightens the low-end and focuses the midrange around 720Hz, even with the knobs at zero. Turning the tone knob down creates a thick, focused sound without adding unwanted high-end fizz.
Amp Settings and the “Scooped” Mid Myth
Looking at Josh’s 5150 settings, you might think he’s going for a classic, super-scooped tone. The mids are dialed way back. But here’s the key: the signal chain he’s emulating—a Mesa/Boogie cabinet with Celestion Vintage 30 speakers mic’d with a Shure SM57—is packed with midrange.
By pulling mids out at the amp, he’s simply balancing the mid-heavy character of the cab and mic. It’s a perfect example of how your amp settings are relative to your entire signal chain.
His approach to the top end is also critical:
- High Control: Kept low (around 4.5). On a 5150, this control can introduce harshness in the 1-2kHz range, which he wants to avoid.
- Presence Control: Cranked high. This control adds the high-end sizzle and bite he’s looking for without boosting that harsh 1-2kHz area. On a real 5150 (and this faithful emulation), the presence knob does very little until it’s past the halfway point, so cranking it is necessary to get the desired effect.
Cab & Mic Placement: Shaping the Tone at the Source
Mic placement is where you can do some of your most effective EQ’ing. Josh starts with a single SM57 model on the V30 cab. His primary goal is to find a position that minimizes the harsh “fizz” that often lives around 6kHz. By positioning the virtual mic to roll off that frequency, he gets a harder, less mushy sound before ever reaching for an EQ plugin.
He then blends in a second microphone model, the Sennheiser MD 421, but very sparingly. The 421 is a much more scooped-sounding mic, but it has a notorious spike around 4.3kHz. Instead of trying to EQ that out later, he just uses a tiny bit of the 421 to add a different texture, keeping the 57 as the foundation of the sound.
Layering for Thickness: The Quad-Tracked Rectifier
For the additional quad-tracked layers, Josh doesn’t just copy the same tone. He creates a complementary sound to fill out the sonic spectrum.
A Different Flavor of Heavy
He switches to a different amp head—the Mesa/Boogie Dual Rectifier model—and a different cab emulation (one with V30s from the year 2000, for all you nerds). The Rectifier has a different gain structure and voicing, providing a new dimension to the wall of sound.
Since the Rectifier is inherently a bit looser and lower-gain than the 5150, he adjusts the OD808 stompbox settings, pushing the drive and tone up slightly to give the amp the push and tightness it needs.
Gluing It All Together: Guitar Bus Processing
With the four guitar tracks recorded (two 5150s, two Rectifiers), Josh routes them all to a single group bus for final processing. This is where he fine-tunes the combined tone to sit perfectly in the mix.
Taming the Chugs with Multiband Compression
First up is the Waves C4 Multiband Compressor. He’s not using it to squash the whole signal. Instead, he uses one band to focus only on the low-mid “chug” frequencies, roughly between 65Hz and 294Hz.
He sets the threshold so the compressor only kicks in on the aggressive palm mutes. This tightens up the low-end mud and keeps the chugs clean and defined without thinning out the sustained chords. It’s a classic move for a reason. For more on dynamic control, check out these metal compression secrets.
Surgical & Broad-Stroke EQ
Next comes the master EQ for the guitar bus, using a combination of plugins for different tasks.
- Broad Shaping (SSL-Style EQ): He adds a wide boost to the high-end “air” for excitement and a low-shelf boost to bring back some sub-bass that can sometimes be lacking in amp sims. He also adds a healthy boost around 3kHz, which he calls the “annoying but necessary” area for bite and aggression.
- Surgical Cleaning (FabFilter Pro-Q 3): After boosting, some problematic frequencies become more obvious. He uses dynamic EQ to tame two specific “whistle” tones he can hear: a harsh spike at 2.3kHz and a low “hairdryer” hum around 700Hz. He also carves out some of the muddy frequencies in the palm-mute region that the C4 was already working on.
A Note on High-Passing
Josh makes a great point about high-pass filters. A common mistake is to cut the lows too aggressively, which can leave you with nothing but the muddy 200-400Hz range. He prefers a gentler slope, making sure to retain some of the sub-bass for a more pleasing and powerful foundation. This is just one of many important things to keep in mind when EQing metal guitars– less is oftentimes more.
Bring It All Home
Building a crushing guitar tone like this is a game of inches. It’s about making smart, incremental decisions at every stage:
- Start with guitars to give your drums context.
- Use an OD pedal for focus, not just gain.
- Balance your amp EQ against your cab and mic choice.
- Layer different amp tones (like a 5150 and Recto) for thickness.
- Use bus processing to tame mud and add aggressive bite.
These tips from Josh Middleton are a killer starting point for dialing in your own tones. But seeing the techniques is one thing—watching them get applied in a real-world mix is another level entirely.
Sylosis on Nail The Mix
Josh Middleton mixes "Poison For The Lost"
Get the Session
In the full Sylosis session, you can watch Josh make these guitar tones work with bone-crushing drums, a thunderous bass, and his signature vocals. If you want to see the whole picture, grab the multitracks and watch the full mix from start to finish.
And if you’re serious about levelling up your production game, see what Nail The Mix is all about, and check out our in-depth course, Unlock Your Sound: Mixing Modern Metal Beyond Presets, to master the fundamental principles the pros use every day.