Parallel compression on drum fills and committing guitar tones during tracking (ft. Silverstein)
Nail The Mix Staff
Silverstein has been a post-hardcore staple for two decades, and a track like “Burn It Down” shows exactly why. It’s a masterclass in modern rock production: aggressive, polished, and packing an insanely catchy vocal hook. Produced by the phenomenal Sam Guaiana, the song perfectly balances raw energy with radio-ready clarity.
Ever wanted to peek behind the curtain and see what a session like this actually looks like? We got our hands on the raw multi-tracks for “Burn It Down” and uncovered some killer production techniques you can try in your own mixes. Let’s break down the drums, guitars, and vocals to see how this modern rock anthem was built.
Building a Modern Rock Drum Sound
The drum tracks in this session are a fantastic lesson in capturing both power and detail. It’s not just about a great-sounding kit; it’s about how you mic it to give you maximum flexibility in the mix.
Beyond the Shells: Detailed Cymbal Micing
Right away, you can see a focus on cymbal detail. Alongside the standard overheads, the session features dedicated spot mics for the hi-hats and Chinas.
Why is this so important? In a dense, guitar-heavy mix, cymbals can easily turn into a washy, indistinct mess. By using spot mics, you gain surgical control. You can turn up the sharp, articulate “chick” of the hi-hats during a verse or crank the trashy attack of a China for a heavy breakdown without flooding the entire mix with cymbal bleed. It’s all about control.
Blending Rooms for Size and Punch
The session includes multiple sets of room and overhead mics. This isn’t just for redundancy; it’s a classic technique for shaping the space around the drums. You might have one pair of overheads capturing a tight, focused, and punchy image of the kit, while a second, more distant pair of room mics captures a huge, ambient, and explosive sound.
By blending these different sources, you can dial in the perfect amount of size and space. Want a dry, tight verse? Favor the close mics. Need the chorus to explode? Automate the fader on those room mics and let the kit feel massive.
The “Smashed” Drum Fill: A Creative Production Trick
One of the coolest parts of the “Burn It Down” session is a special drum production track. You hear it in the song as a heavily processed, almost lo-fi, and totally smashed-out drum fill that adds a unique texture and impact. It’s a super sick effect, and the best part is the session also includes the original, clean recording of that drum performance.
This gives you a perfect opportunity to reverse-engineer the sound and try it yourself.
How To Recreate The Sound
Ready to try making your own smashed drum bus? It’s a great way to add energy and character.
- Isolate the Raw Drums: Start with your clean drum performance—either a fill or a full beat that you want to process.
- Use a Parallel Bus: Don’t put effects directly on your main drum track. Instead, send a copy of the drums to an auxiliary/bus track. This is the essence of parallel compression, which lets you blend the processed sound with your clean drums.
- Slam It with Compression: This is where the magic happens. Use a fast, aggressive compressor—think of a plugin modeled after a classic FET compressor like the Urei 1176. Set a super-fast attack, a fast release, and a high ratio (or go for the famous “all buttons in” mode if your plugin has it). The goal isn’t subtle dynamic control; it’s to obliterate the transients and bring up all the room sound and tail-end sustain.
- Add Grit and Shape: Don’t stop at compression. Add a saturation plugin for some harmonic distortion and grit. Follow it with an aggressive EQ curve to shape the chaos. You could use a steep high-pass and low-pass filter to give it a “tele-phoney,” band-limited sound, or boost the mids for extra aggression.
- Blend to Taste: Finally, slowly bring up the fader of your parallel “smash bus” and blend it in underneath your main drum kit until it adds the right amount of energy and texture without overwhelming everything.
Locked-In Guitars and Bass: The Power of Commitment
Looking at the bass and guitar tracks, you see a production philosophy built on making confident decisions early on.
Bass Tone: Compressed on the Way In
The session features a single bass track that appears to have been recorded with a bit of compression on the way in. This is a pro move. Applying light compression while tracking helps tame any wild peaks in the performance before the signal even hits your DAW. The result is a more consistent, solid bass track that sits in the mix more easily and requires less work later.
Committing to Guitar Tones
For the most part, the guitar tracks in this session are printed with the amp tone already baked in. While there are a couple of rhythm DI tracks included for potential re-amping, the majority of the layers are committed sounds. This shows a high level of confidence in the tones dialed in during recording. It forces you to make good decisions upfront and can actually speed up the mixing process significantly because you’re not endlessly tweaking amp sims.
Crafting Catchy, Layered Vocals
Of course, you can’t talk about a Silverstein song without mentioning the killer vocals. The performance is incredible, but the way the vocals are arranged and stacked in the session is key to their impact. The session has a healthy stack of background vocals, which are printed down to stereo tracks.
This suggests they were either double-tracked and panned hard left and right, or they were processed with stereo effects like a chorus or micro-pitch shifter and then “printed” to a stereo file. Either way, this technique creates instant width and an immersive quality. It allows the massive harmonies in the chorus to surround the powerful lead vocal, making the hook feel even bigger and more memorable.
Mix It Yourself and Learn from the Pros
Breaking down these multi-tracks gives you some awesome insights into how a track like “Burn It Down” is constructed. You can see the smart choices made with drum micing, the creative flair of processed drum fills, and the power of committed tones and layered vocals.
Silverstein on Nail The Mix
Sam Guaiana mixes "Burn It Down"
Get the Session
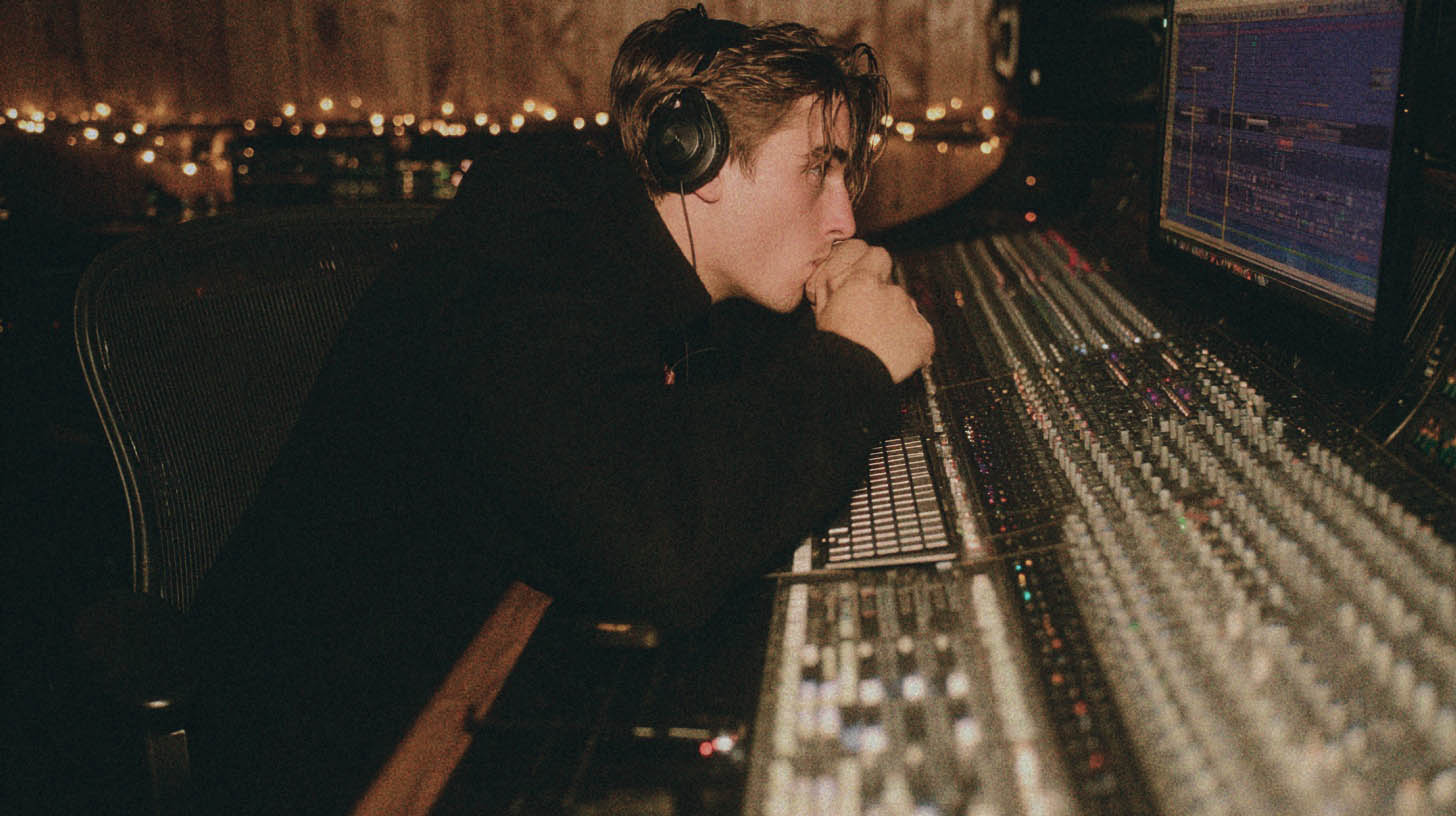
These are the kinds of real-world techniques that can elevate your own productions. But analyzing tracks is one thing… what if you could watch Sam Guaiana himself mix this entire song from scratch, explaining every single plugin and fader move he makes along the way?
That’s what Nail The Mix is all about.
When you join, you get access to the raw multi-tracks for “Burn It Down” and a ton of other massive metal and rock songs. You can practice your skills on pro-level recordings and even enter our monthly mix contest for a chance to win an insane prize package from companies like JZ Microphones, Empirical Labs, Joey Sturgis Tones, and Drumforge. Better yet, you get to watch the original producer mix the song in a live, multi-hour class, answering your questions in real time. It’s time to get your hands on these multi-tracks and see what you can do.
If you’re ready to learn from the best in the business, come join the NTM community.