Mixing Metal Drums: Parallel compression
Nail The Mix Staff
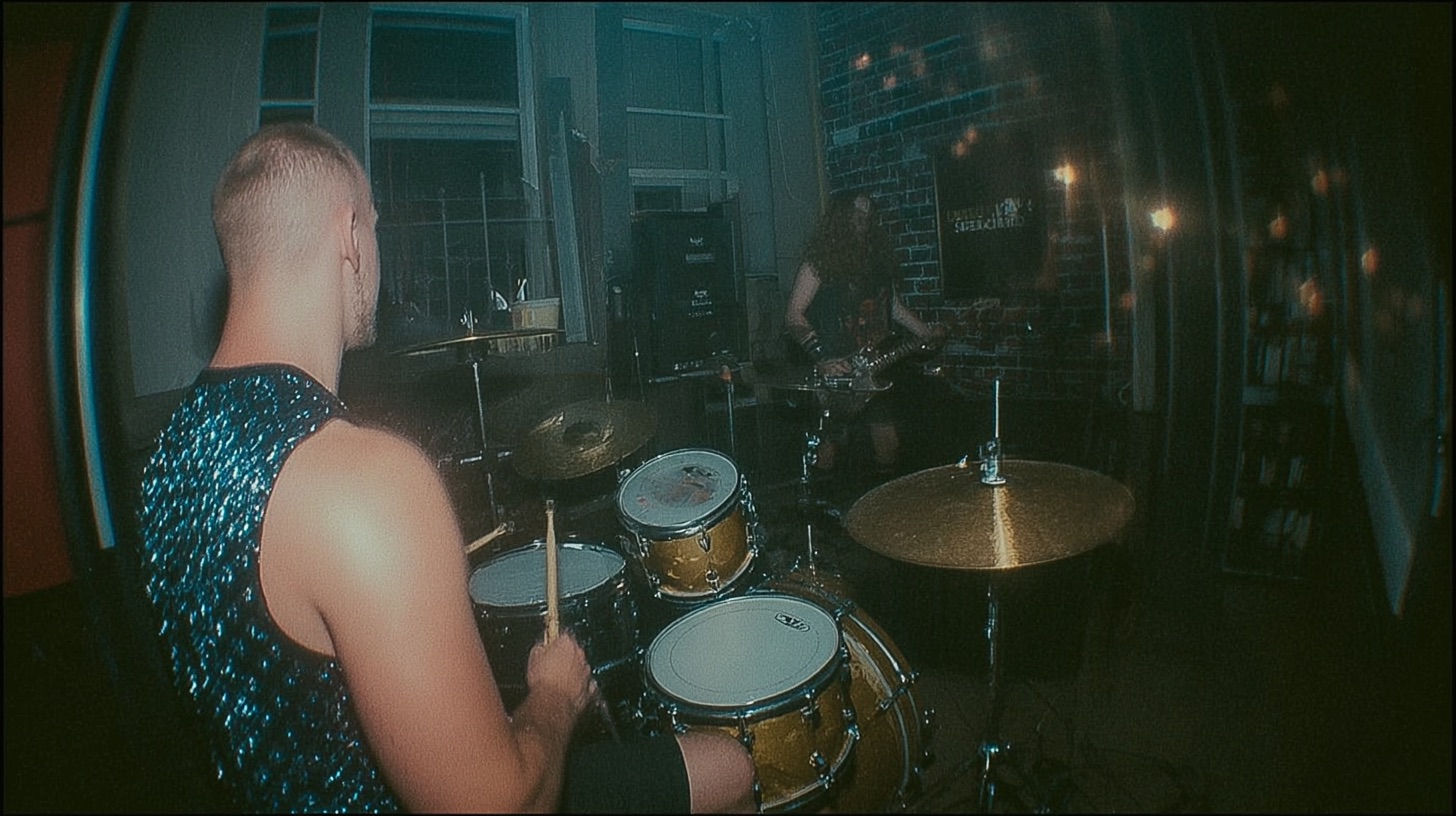
Every metal producer knows that an epic drum sound is the backbone of a crushing mix. While your close mics capture the punch and attack of individual drums, it's the overheads and room mics that glue everything together, adding space, depth, and that professional sheen. Getting these right can transform a decent drum recording into a monstrous force, especially if you want to mix drums without relying on samples. Even when using programmed drums, the same overhead and room principles apply—see how Daniel Braunstein uses Superior Drummer’s room tracks with full kit bleed to glue Spiritbox’s drum sound together. We're diving into some killer techniques for mixing metal drum overheads and room mics, inspired by the pros, to help you achieve that massive sound. These are the kinds of nuanced approaches you can see in action every month at Nail The Mix, where top producers break down their full sessions. For a great example of a world-class producer’s systematic mix evaluation process—using A/B referencing to ensure every element competes with the best—see Dave Otero’s Magic AB referencing breakdown on Archspire.
Let's get those cymbals shimmering and those rooms roaring! For a focused breakdown of how a modern metalcore producer crafts huge tom sounds using MIDI triggers, saturation, and parallel processing, see Kellen McGregor’s Memphis May Fire tom mixing technique.
Sculpting Your Overheads for Clarity and Punch
Overheads are crucial for capturing the overall picture of the kit, especially the cymbals and the snare's interaction with the kit. The goal here is clarity, width, and just the right amount of aggression without harshness.
Taming the Lows and Highs with EQ
First things first, let's clean up those overheads with some strategic EQ.
A common issue is too much kick drum bleeding into the overhead mics. This can make your low-end muddy and unfocused.
- Action: Use a high-pass filter to gently roll off the unnecessary low-end. This helps tighten up the overheads and keeps the kick drum’s impact clean and defined in its own mics.
Next, cymbals, especially in metal, can get harsh and piercing if not handled correctly. - Action: Listen for any overly bright or "clangy" frequencies in the high-end, particularly during sections with lots of crash cymbals. A subtle dip with your EQ can tame this harshness, making the cymbals sit better in the mix without losing their energy.
- Pro Tip: Sweep around with a narrow Q to find any specific annoying ringing frequencies from cymbals or even the snare in the overheads and notch them out. For a systematic approach to finding problem frequencies, check out how Jamie King uses EQ reference curves for drum mix prep on The Contortionist.
- Note: high-pass filtering on overheads can introduce phase issues that undermine snare punch—learn exactly how this works and how to fix it in this high-pass filter phase trap breakdown.
Adding Weight with Saturation: The VCC Channel Trick
Once the EQ has cleaned things up, it's time to add some character and weight. For this, a console emulation plugin can work wonders.
- Plugin: The Slate Digital VCC Channel is a great choice.
- Setting: Try the "Brit N" setting (emulating a classic Neve console).
- How-to: Don't be afraid to crank the Drive and Input controls on the VCC. This isn't about subtle warming; it's about pushing the emulation to get some pleasing harmonic saturation and coloration. This can really bring out the "meat" of the snare within the overheads and give the cymbals a bit more body.
Consistent Cymbals with Parallel Compression
To give your cymbals a more consistent volume and a touch more sustain without squashing the life out of them, parallel compression is your friend. Mastering the basics of compression for mixing rock and metal is key to getting this right.
- Why Parallel? Especially if you're working with well-recorded or sample-replaced cymbals that are already fairly consistent, you don't need to slam them with direct compression. Parallel processing, sometimes done with an aggressive automation trick on a parallel bus, allows you to blend in heavily compressed signal with the dry signal, giving you that "extra extra" bit of control and excitement. Check out more on metal compression techniques here.
- Goal: The aim is to subtly even out the dynamics of the cymbals, making them feel more solid and present throughout the track. For a detailed walkthrough of using parallel routing and meticulous editing to isolate and compress specific snare hits, see how Max Morton handles ghost notes on Jinjer’s drum mix.
Now, listen to your overheads with the rest of the kit. They should sound clearer, fuller, and more controlled, and can even be manipulated to get huge drum room sounds without room mics. For a deeper look at managing multiple cymbal layers—including dedicated spot mics for hi-hats, ride, and cymbal stacks to isolate accent hits from overhead bleed—see the Animals As Leaders drum mixing breakdown. For a metalcore hybrid drum approach—blending a live kit with a programmed kick for consistency and control—see how Daniel Braunstein and Henrik Udd handled drums on Dayseeker’s “Sleeptalk”.
Crafting Massive Room Sounds That Breathe
Room mics are where you can really add size, depth, and character to your drum sound. The goal is to make them sound big, exciting, and supportive of the close mics, without turning into a washy mess. There are even ways to turbocharge them using a PA system for fatter sounds. For a programmed drum example of this concept, see how Tyler Smyth uses dedicated kick, snare, and tom room tracks to add realism to Blessthefall's programmed drums. For a unique production approach where kicks and shells are recorded in separate passes for maximum mix control, check out the Attila "Three 6" session breakdown with Andrew Wade.
Mono Room: Foundation with "Kramer PIE" Style Compression
Let's start with the mono room mic. A classic compressor can work wonders here.
- Plugin Choice: A compressor like the Waves Kramer PIE Compressor (based on the Pye compressor) is excellent for this. The video mentions "Creamer Pie," which points to this style of unit.
- Settings Example:
- Decay Time (Release): Around 1
- Mode: Limit
- Output: Around 6.5 (adjust to taste and for gain staging)
- Threshold: Around -14dB (again, adjust based on your input signal)
- Goal: To make the mono room sound significantly bigger and add some aggressive sustain.
Near Room: Squashing for Size with the Kush Audio UBK-1
For stereo near rooms, you can get even more aggressive to create a wide, impactful ambience.
- Plugin: The Kush Audio UBK-1 is a fantastic character compressor for this task.
- Goal: Similar to the mono room, you want to make this room sound larger than life. Don't be afraid to really "squash" it a bit to bring up the low-level details and sustain. The UBK-1 excels at adding vibe and movement.
Far Room: Lengthening Decay with a Transient Designer
Far room mics capture, well, the far ambience of the room. You can manipulate their perceived length and character with a transient designer.
- Plugin: Use a transient designer (the video showed "DF Trons," but any good transient shaper like the SPL Transient Designer or similar will work).
- Technique: Increase the Sustain portion of the signal. This will effectively lengthen the decay of the room sound, making it feel more spacious and epic—a core technique to make small drum rooms sound massive.
Strategic EQ for Compressed Rooms: Taming Cymbals, Preserving Body
Heavily compressing room mics can bring up a lot of cymbal wash, which can quickly become harsh and overbearing.
- Problem: All that lovely compression makes the room huge, but YIKES, the cymbals are piercing!
- Solution: Use EQ after your compressors to tame those hyped cymbals.
- Instead of just a harsh high-pass filter that might thin things out too much, consider using a basic shelf EQ or targeted cuts to control the offensive frequencies. The idea is to reduce the harshness while still preserving some of the "meat" and energy of the cymbals in the room mics – this helps them feel bigger and fatter in the overall mix. For a masterclass in turning problematic cymbal-heavy room mics into a depth-adding secret weapon, see how Tom Lord-Alge rescues the room mics on Angels & Airwaves.
- Also, listen for any problematic snare ring in the mid-range of your room mics and gently notch that out if needed.
- Workflow Tip: Once you’ve dialed in the EQ on one room mic (e.g., the Far Room), copy those settings to your other room mics (Near Room, Mono Room) as a starting point and tweak as needed.
Gluing it Together: Room Bus Compression
After treating individual room mics, sending them all to a dedicated stereo room bus allows for one final layer of processing to make them feel cohesive.
- Technique: Apply a touch of compression to the entire room bus. You don't need much; just enough to add a nice amount of "life" and "glue" to the combined room sound, similar to how aggressive bus compression can be used for metal. For a detailed walkthrough, see how Tyler Smyth uses heavy 1176 compression on the Blessthefall drum bus for maximum slam. For a kick-specific approach to bus processing, see how Andrew Wade uses sample blending, phase tricks, and parallel distortion on Wage War’s metalcore kick.
- Optional Tweak: You can also add another EQ on the room bus post-compression to do a final shaping, perhaps to tighten up the very low end just a touch more.
Blending and Context: Bringing It All Home
Now that your overheads and individual room mics are processed, it's crucial to blend them back in with your close mics and listen to the entire drum kit.
- Balance is Key: The rooms in the video example were initially a bit too loud after processing. Don't be afraid to pull them down significantly and then slowly bring them back up until they sit perfectly, supporting the main kit without overpowering it.
- Full Mix Context: Always make your final judgment calls in the context of the full mix. What sounds great in solo might be too much or too little when all the instruments are playing.
The result should be a drum sound that's not only punchy and clear from the close mics but also wide, deep, and exciting thanks to well-crafted overheads and room ambience. For a different take on this concept, see how Nick Morzov routes drums through parallel "wet" and "dry" buses when mixing Animals As Leaders. For a kick-specific take on multi-mic blending, see how David Castillo uses multiple kick mics with SSL EQ and 1176 compression on Decapitated. For a prog metal deep dive into EQing and panning toms across stereo fills, see how Jens Bogren mixes Opeth’s toms with phantom stereo and aggressive compression. For a different perspective on production complexity—exploring how Jacob Hansen captures an exhaustive drum session for Amaranthe while knowing which tracks to use and which to leave out—see the raw multitracks breakdown of “365”. For a look at how the Fredman dual-SM57 micing technique produces one of modern metal’s most iconic guitar tones through careful mic positioning and EQ, see Fredrik Nordström’s BMTH micing and EQ hacks.
Want to see exactly how Grammy-winning producers handle these elements, explaining every plugin choice and mixing decision in real-time with actual multitracks from bands like Gojira, Periphery, and Lamb of God? That's what Nail The Mix is all about. You get the raw tracks and watch the original producer mix the song from scratch.
If you're ready to go beyond presets and truly unlock your sound in modern metal mixing, learning these detailed techniques for overheads, rooms, and every other part of the mix is essential. Give these tips a try on your next project!